Hugelkultur: Not as Strange as You Might Think

by Diana Sette

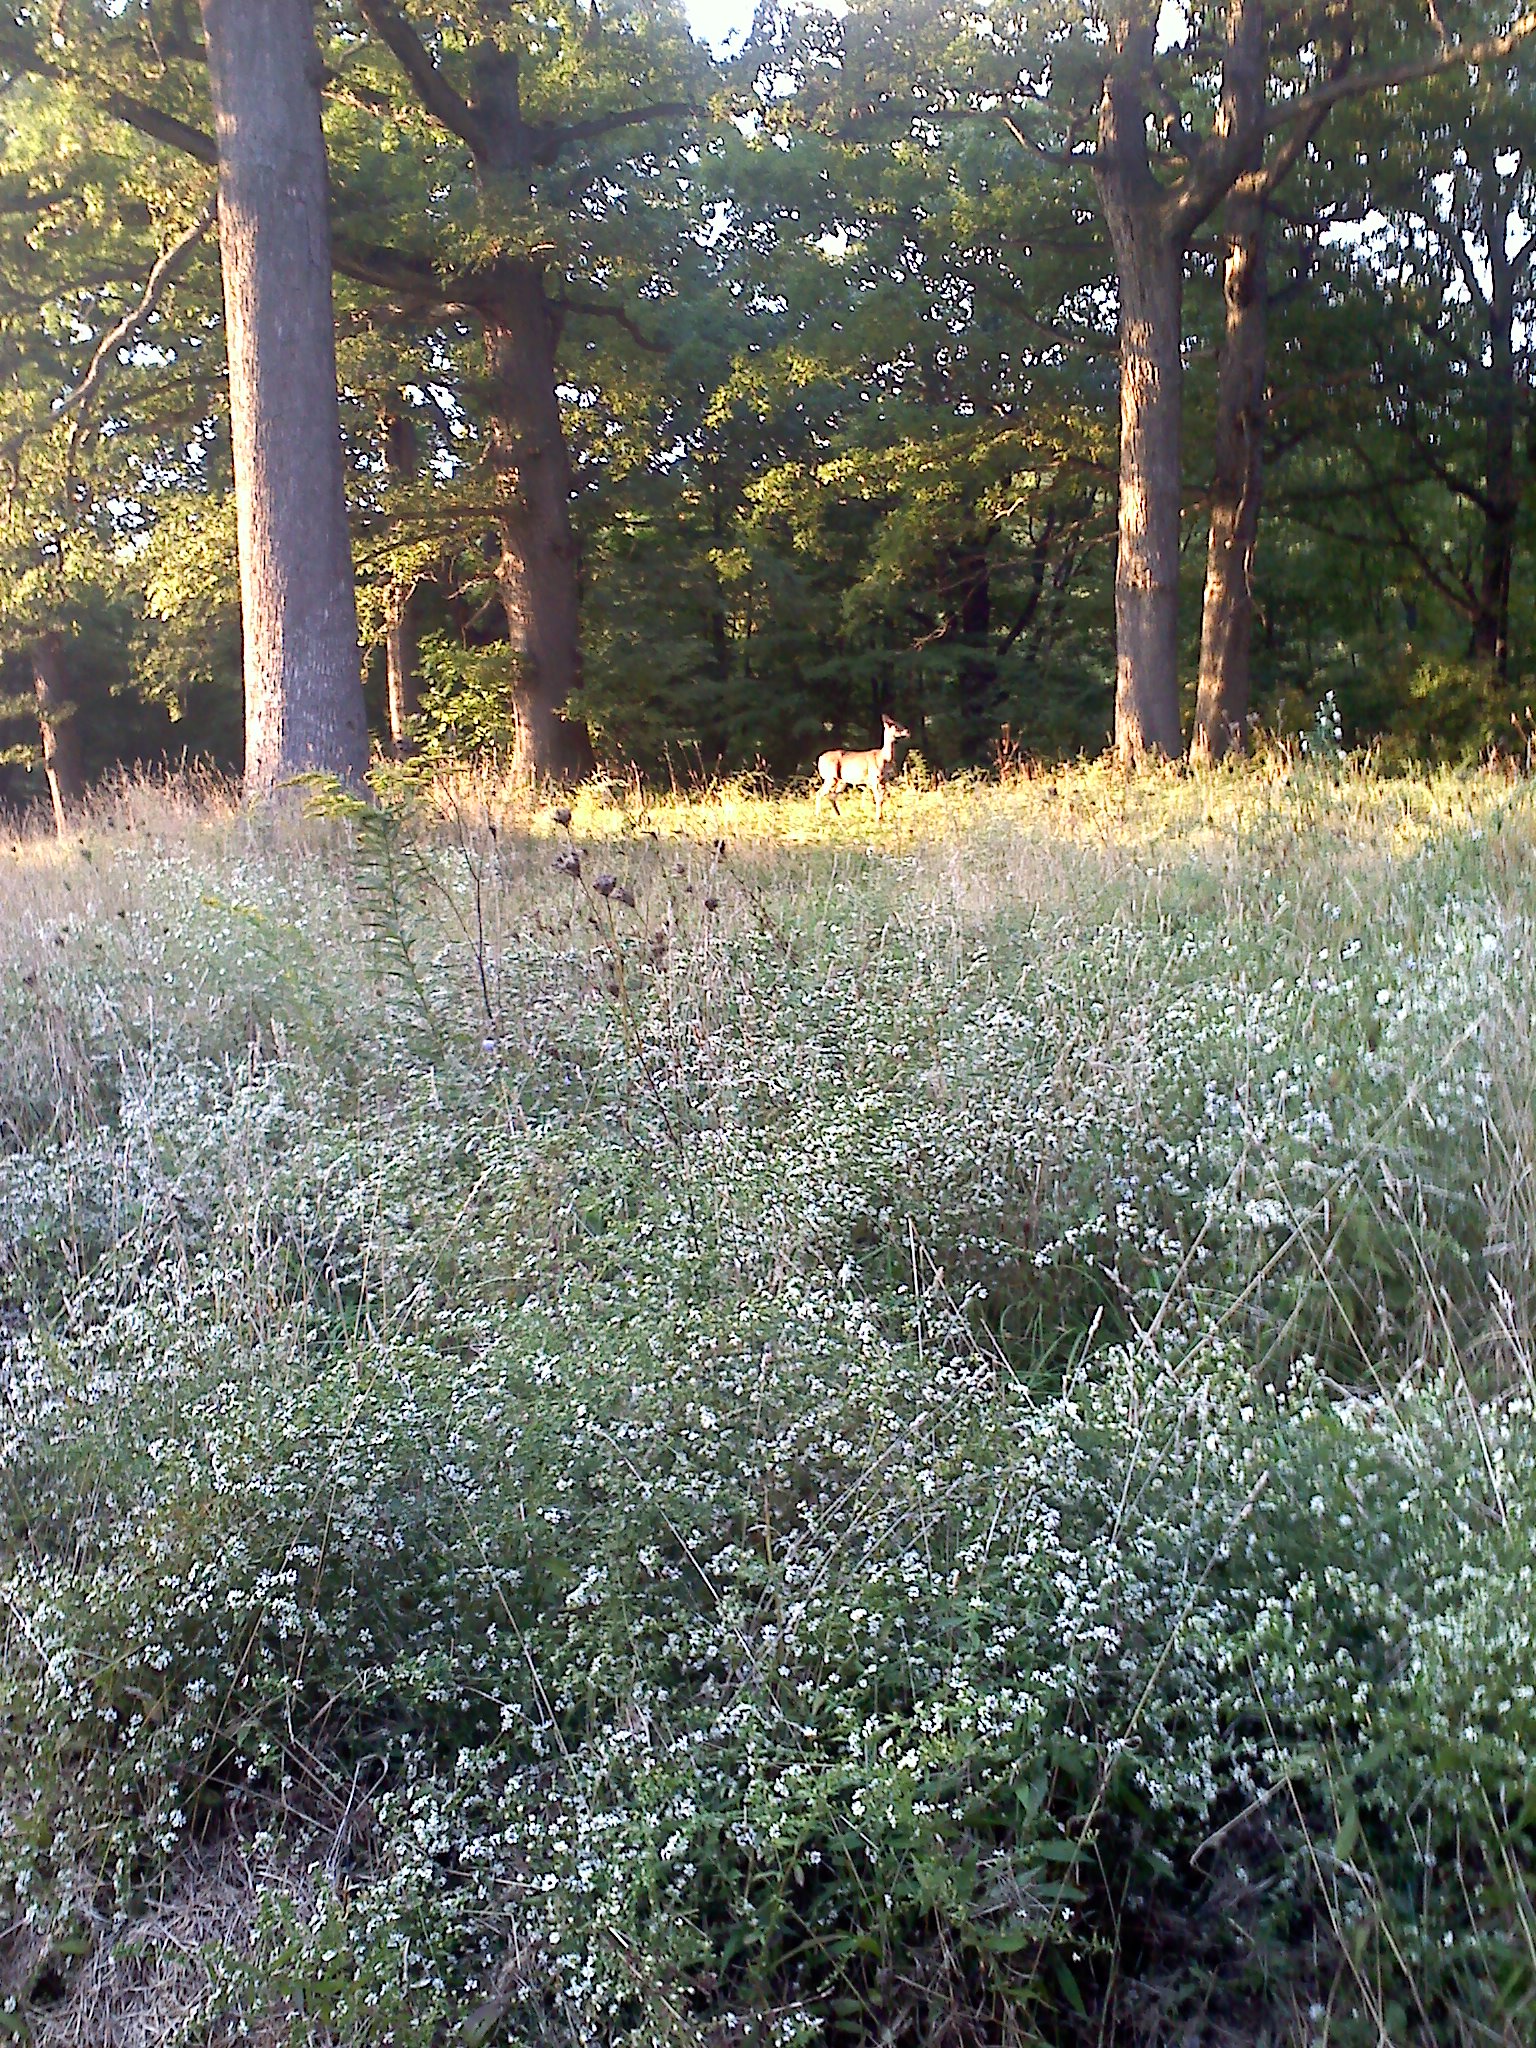
PERMACULTURE IS CONSTANTLY WORKING to model systems after designs in nature, and the practice of hugelkultur is a prime example. Before we get into talking about hugelkultur, I invite you to imagine the forest floor of an old growth forest. Layers of humus, maybe little slopes from tree roots, or moss-covered, decomposing fallen logs, cover the landscape. Herbaceous plants unfurl in the crevices and atop mounds. Self-mulched surfaces produce rich, organic matter from which mushrooms and shrubs spring. Decaying leaves are food for worms, insects, and other arthropods. There is no need for a hose to water, and if it down-pours there, it is unlikely to flood, as the carbon-rich soils have such an extensive water holding capacity. In addition to that, no human needs to fertilize the trees, or the ferns, or the herbs and shrubs producing beautiful berries and nutrient-dense greens. No, this system is self-sustaining and regenerative.

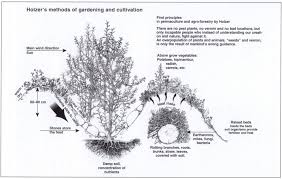
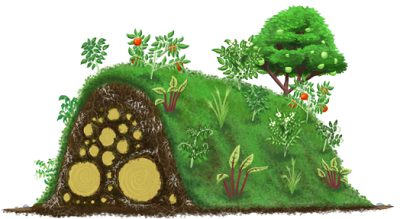
hugelkultur-cross-section

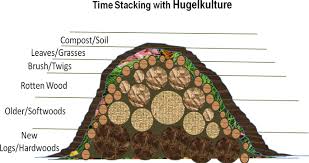
From this springs the inspiration for hugelkultur.   Hugelkultur is a raised bed with an intentionally layered structure with large wooden logs as the base layer. Layers atop the thick fallen-tree-like-foundation include smaller logs, branches, twigs, manure or other high nitrogen organic waste, local soil with indigenous microbes, straw, compost, wood chips, grass clippings, and even food scraps. The idea is essentially to recreate the conditions of a forest floor by building a raised bed with a compost pile that balances the carbon (“browns” like wood and straw) with the nitrogen (“greens” like food scraps, manure, or grass clippings) all put into the raised bed.

Sepp Holzer, a permaculturist from Austria, popularized the hugelkultur practice as a way to build a self-fertilizing garden with minimal irrigation and increased growing space and microclimates. Many people across the planet are beginning to implement this practice in their garden-farms. Why? For lots of good reasons!

First, once you start working with trees and perennials, any gardener can tell you that it’s not hard to accumulate a large pile of cuttings from pruning, or from rotten wood. Therefore, hugelkultur is a practice that supports putting those waste products to good use by recycling their nutrients.

hugelkultur-cross-section-ii

Second, hugelkultur is a great way to build soil. As mentioned above, the layering process,  similar to “lasagna gardening” but with wood and logs included, is like building an instant compost pile in your raised bed. Also, if you’re gardening in an area with compact clay soils or water-logged areas, hugelkultur beds can be the solution to building soil through raised beds.

Third, to reiterate the point above, hugelkultur beds are self-fertilizing because they are built to be like slow-release compost piles that feed the microbial life in the soil, giving access to nutrients and minerals in the earth.

Fourth, hugelkultur beds require minimal irrigation. Woody material has a great capacity to store water—by imitating the forest floor and building a raised bed with dead woody material as the base, you are creating a growing bed that can hold water in its structure. The wood retains moisture and feeds it slowly to plants as needed.

Fifth, the practice of hugelkultur supports the conservation of water and also increases drought-tolerance.

Sixth, like any raised bed, the mound structure of hugelkultur provides a height advantage that is more resilient to floods. In addition to simple mounding, the log layers will work to absorb excess water and spread it upward, while the height will keep many plants growing at a higher level high and dry. 

hugelkultur-diagram

Finally, hugelkultur expands the “edge” and microclimates available to grow in. Think of the ever-popular herb spiral that capitalizes on the variation of height and growing conditions in a contained spiral pattern. The plants at the top enjoy slightly warmer and dryer soils, while the plants toward the base of the spiral enjoy damper and cooler soils. The same scenario plays out for the hugelkultur bed that is more angled.

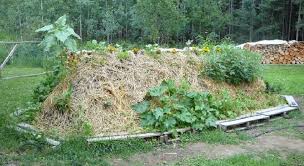
While many hugelkultur beds are built to be a more rounded, half-circle type shape, others can be taller or triangular to better leverage the potential for diverse growing conditions or microclimates. The extra steepness of the tall triangular shape also allows for the natural settling of decomposition. Some hugelkultur builders have utilized wooden pallets as a base for the sides of the hugelkultur bed to help support the structure of the steepness, while also providing a little more foundation for planting at various heights. People who build hugelkultur beds more tall and steeply also report the benefit of an easier harvest due to less bending and reaching. Clearly, the reasons to build a hugelkultur bed are extensive!

How to build a hugelkultur bed

Materials needed:

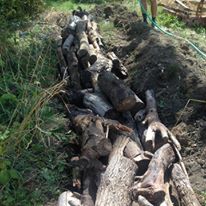
• large logs or tree trunks (best if soaked overnight or for a few hours beforehand). The type of wood you use for the beds is important. Softwoods like apple, alder, poplar, dry willow, and birch are generally best—similar choices as you might make for growing mushrooms. Avoid eucalyptus, cedar, or cypress because of their acidity and/or anti-fungal, anti-microbial properties. 

hugelkultur-big-logs

• water • medium-sized trunks & branches

• shovel

• spade

• wheelbarrow

• ground stakes, rope, or spray paint (optional, but helpful)

• small branches (not necessary, but useful)

• recently pruned green material

• organic waste/manure/food scrapes

• local soil

• compost

• straw

• wood chips (optional)

Step 1: Decide on the location of the bed.

Step 2: Use the ground stakes/rope/ spray paint to outline the bed. This step is especially useful, and highly recommended when working with a larger group, so that everyone understands and can easily visualize the plan.

Step 3: Use spades and shovels to edge the outline, and then dig a 3-4” trench. Important: save the soil for later.

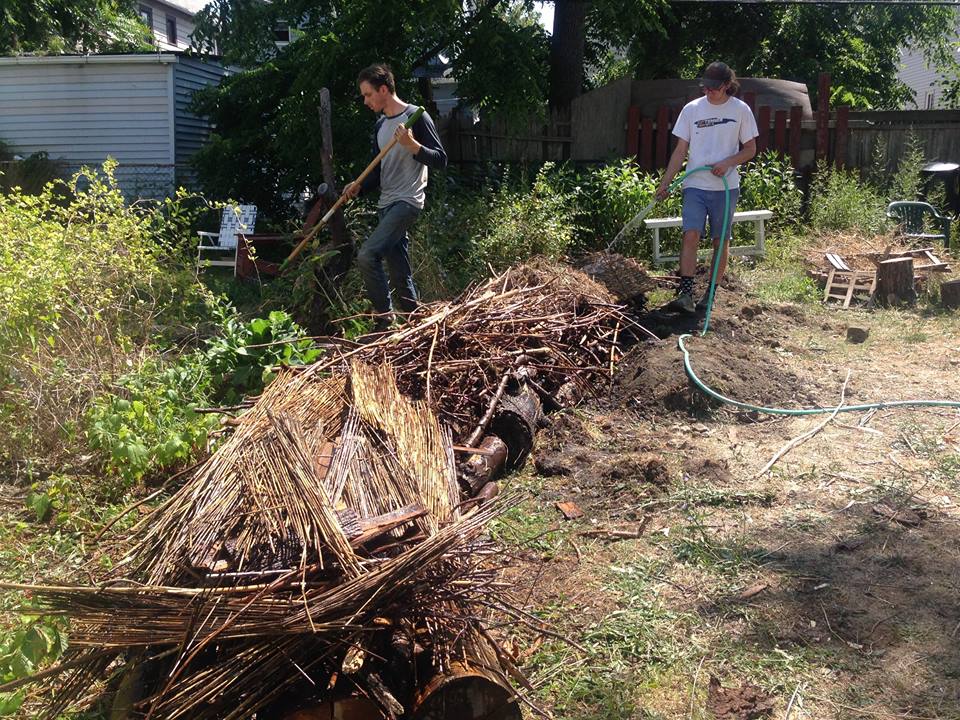
Step 4: Place the large logs as the bottom layer of the trench. This will help to improve drainage and retain humidity of the bed soil. It is preferable that the logs are pre-soaked prior to using, as this will significantly help the soil and microbes get off to a good start in maintaining moisture for the bed. If logs are not pre-soaked, another option is to run the hose during the process of layering the bed as to wet all materials.

Step 5: Place smaller tree trunks and branches on top of the bigger ones. 

hugelkultur-smaller-branches

Step 6: Place organic waste, or recently pruned green material on top of that. This nitrogen layers will balance the slow-to-break-down high-carbon layers of wood.

Step 7: Place the soil from Step 3 on top of the pile. This will seed indigenous microbes into the bed.

hugelkultur-soil-and-compost

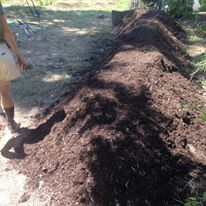
Step 8: Cover with compost to give soil health a jumpstart. 

Step 9: Top off with either straw or wood chips, and plant within the top layer of the bed. Plants that need less water should be planted towards the top of the mound, and those that need a larger amount of water should be planted near the bottom.

Many hugelkultur gardeners recommend waiting a full moon cycle before planting the bed to allow for settling and integration of the layers. The devil’s in the details… A few notes to consider when building a hugelkultur bed: Have all materials prepared and ready on-site before starting. Building a hugelkultur bed can be hard work with the lugging of large logs and piles of soil and wood chips. It’s always a good idea to get a group together to help. Maybe offer it as a free skill-share event about hugelkultur beds, or be ready to offer the nutrient-dense food that will be growing soon. However you do it—remember, many hands make light work! Save annual prunings for hugelkultur layering materials. If you want an added bonus of mycelium, when soaking wood materials in water, you can use mycelium powders mixed into the water as an inoculant to jumpstart the soil food web for the new raised bed. For the top of the hugelkultur mound, select plants that need less water like garlic, and for the bottom, chose plants that enjoy more water like beans. 

hugelkultur-plantings


If one does want to use irrigation for the hugelkultur bed (e.g., in drylands or during extreme drought), there are a couple options to consider. One option is to shape the hugelkultur bed in a more tiered fashion, allowing for lines of drip irrigation to be laid down and staked along the top ridge, then along two tiered levels on the sides of the bed, and two more along each side at the base. Using drip irrigation is the most water-saving approach.

However, another option for irrigation that is perhaps more efficient in utilizing the benefits of how the moisture flows through the hugelkultur bed, is implementing irrigation channels. This method of irrigation is particularly useful if your growing area is prone to flooding. Have fun and happy hugelkultur!

hugelkultur-planting-iii hugelkultur-planting-v hugelkultur-planting-iv

Diana Sette is a passionate community cultivator, gardener, writer, facilitator, and mother. She is a Certified Permaculture Teacher and Designer, and is the Co-Founder of Possibilitarian Garden (Facebook: Possibilitarian Garden) and Possibilitarian Regenerative Community Homestead aka PORCH (www. buckeyeporch.org) in Cleveland, OH. Diana serves on the board of The Hummingbird Project (hummingbirdproject.org), and Green Triangle (greentriangle.org). She is a frequent contributor to Gardenopolis Cleveland. More on Diana at dianasette.wordpress.com.
The Peripatetic Gardener Visits Naumkeag

by Lois Rose

By chance, because of my son’s wedding, I was able to visit a unique and memorable garden near Stockbridge, Massachusetts recently. We had part of day “off” from wedding festivities and decided to see this estate which includes a “cottage” designed by Stanford White and built for Joseph Hodges Choate, a well-known attorney, between 1886 and 1887 on the top of a hill overlooking fields and mountains.

The 44-room mansion called to my husband and cousin but for me and my other cousin it was the gardens.  Mabel Choate, the daughter of Joseph, worked with Fletcher Steele for over 30 years to produce them.  They are a “collection” of garden rooms, eclectic and entertaining, spanning most of the space around the house on the hill top.  Unfortunately they had fallen into disrepair over the years.  The Trustees of Naumkeag took over the restoration of the gardens and there is a tremendous amount of new planting and replanting going on. 
The Blue Steps are the most well-known aspect of the rooms, extending from an area near the house down to the lowest part of the gardens.  If you have ever glanced through a book about structures in gardens, then this picture will be familiar. 

The Tree Peony Garden has been completely redone and the peonies are not looking their best after a serious drought this past summer.  Built into the side of the hill on terraces, it must have baked in the heat.  The Chinese Garden is quaint with mostly hardscape at this point.  The Evergreen Garden is impressive and elegant. The Afternoon Garden is against the side of the house and has a great view down to the fields below the house. 

Water features, stonework, paths—all restored or in the process.  New plantings have restored privacy and recreated vistas throughout the gardens.  There is an unexpected grove of pines and older trees five minutes from the house: suddenly you are in the woods, away from anything planned or ordered. 

The house delighted my companions, but I think my cousin Dan and I got the better part of the tour.

Eating Local: Butternut Squash

by Jonathan Hull

“Eating local,” the goal of all of us who want to save the planet, presents special hurdles for residents of temperate climates such as NE Ohio:  Our short growing seasons limit access to local fresh produce for way too long.

Yet there is at least one standard garden crop that can provide staple eating throughout the year—even up until (and even past!) the next harvest.  I write of the humble butternut squash.

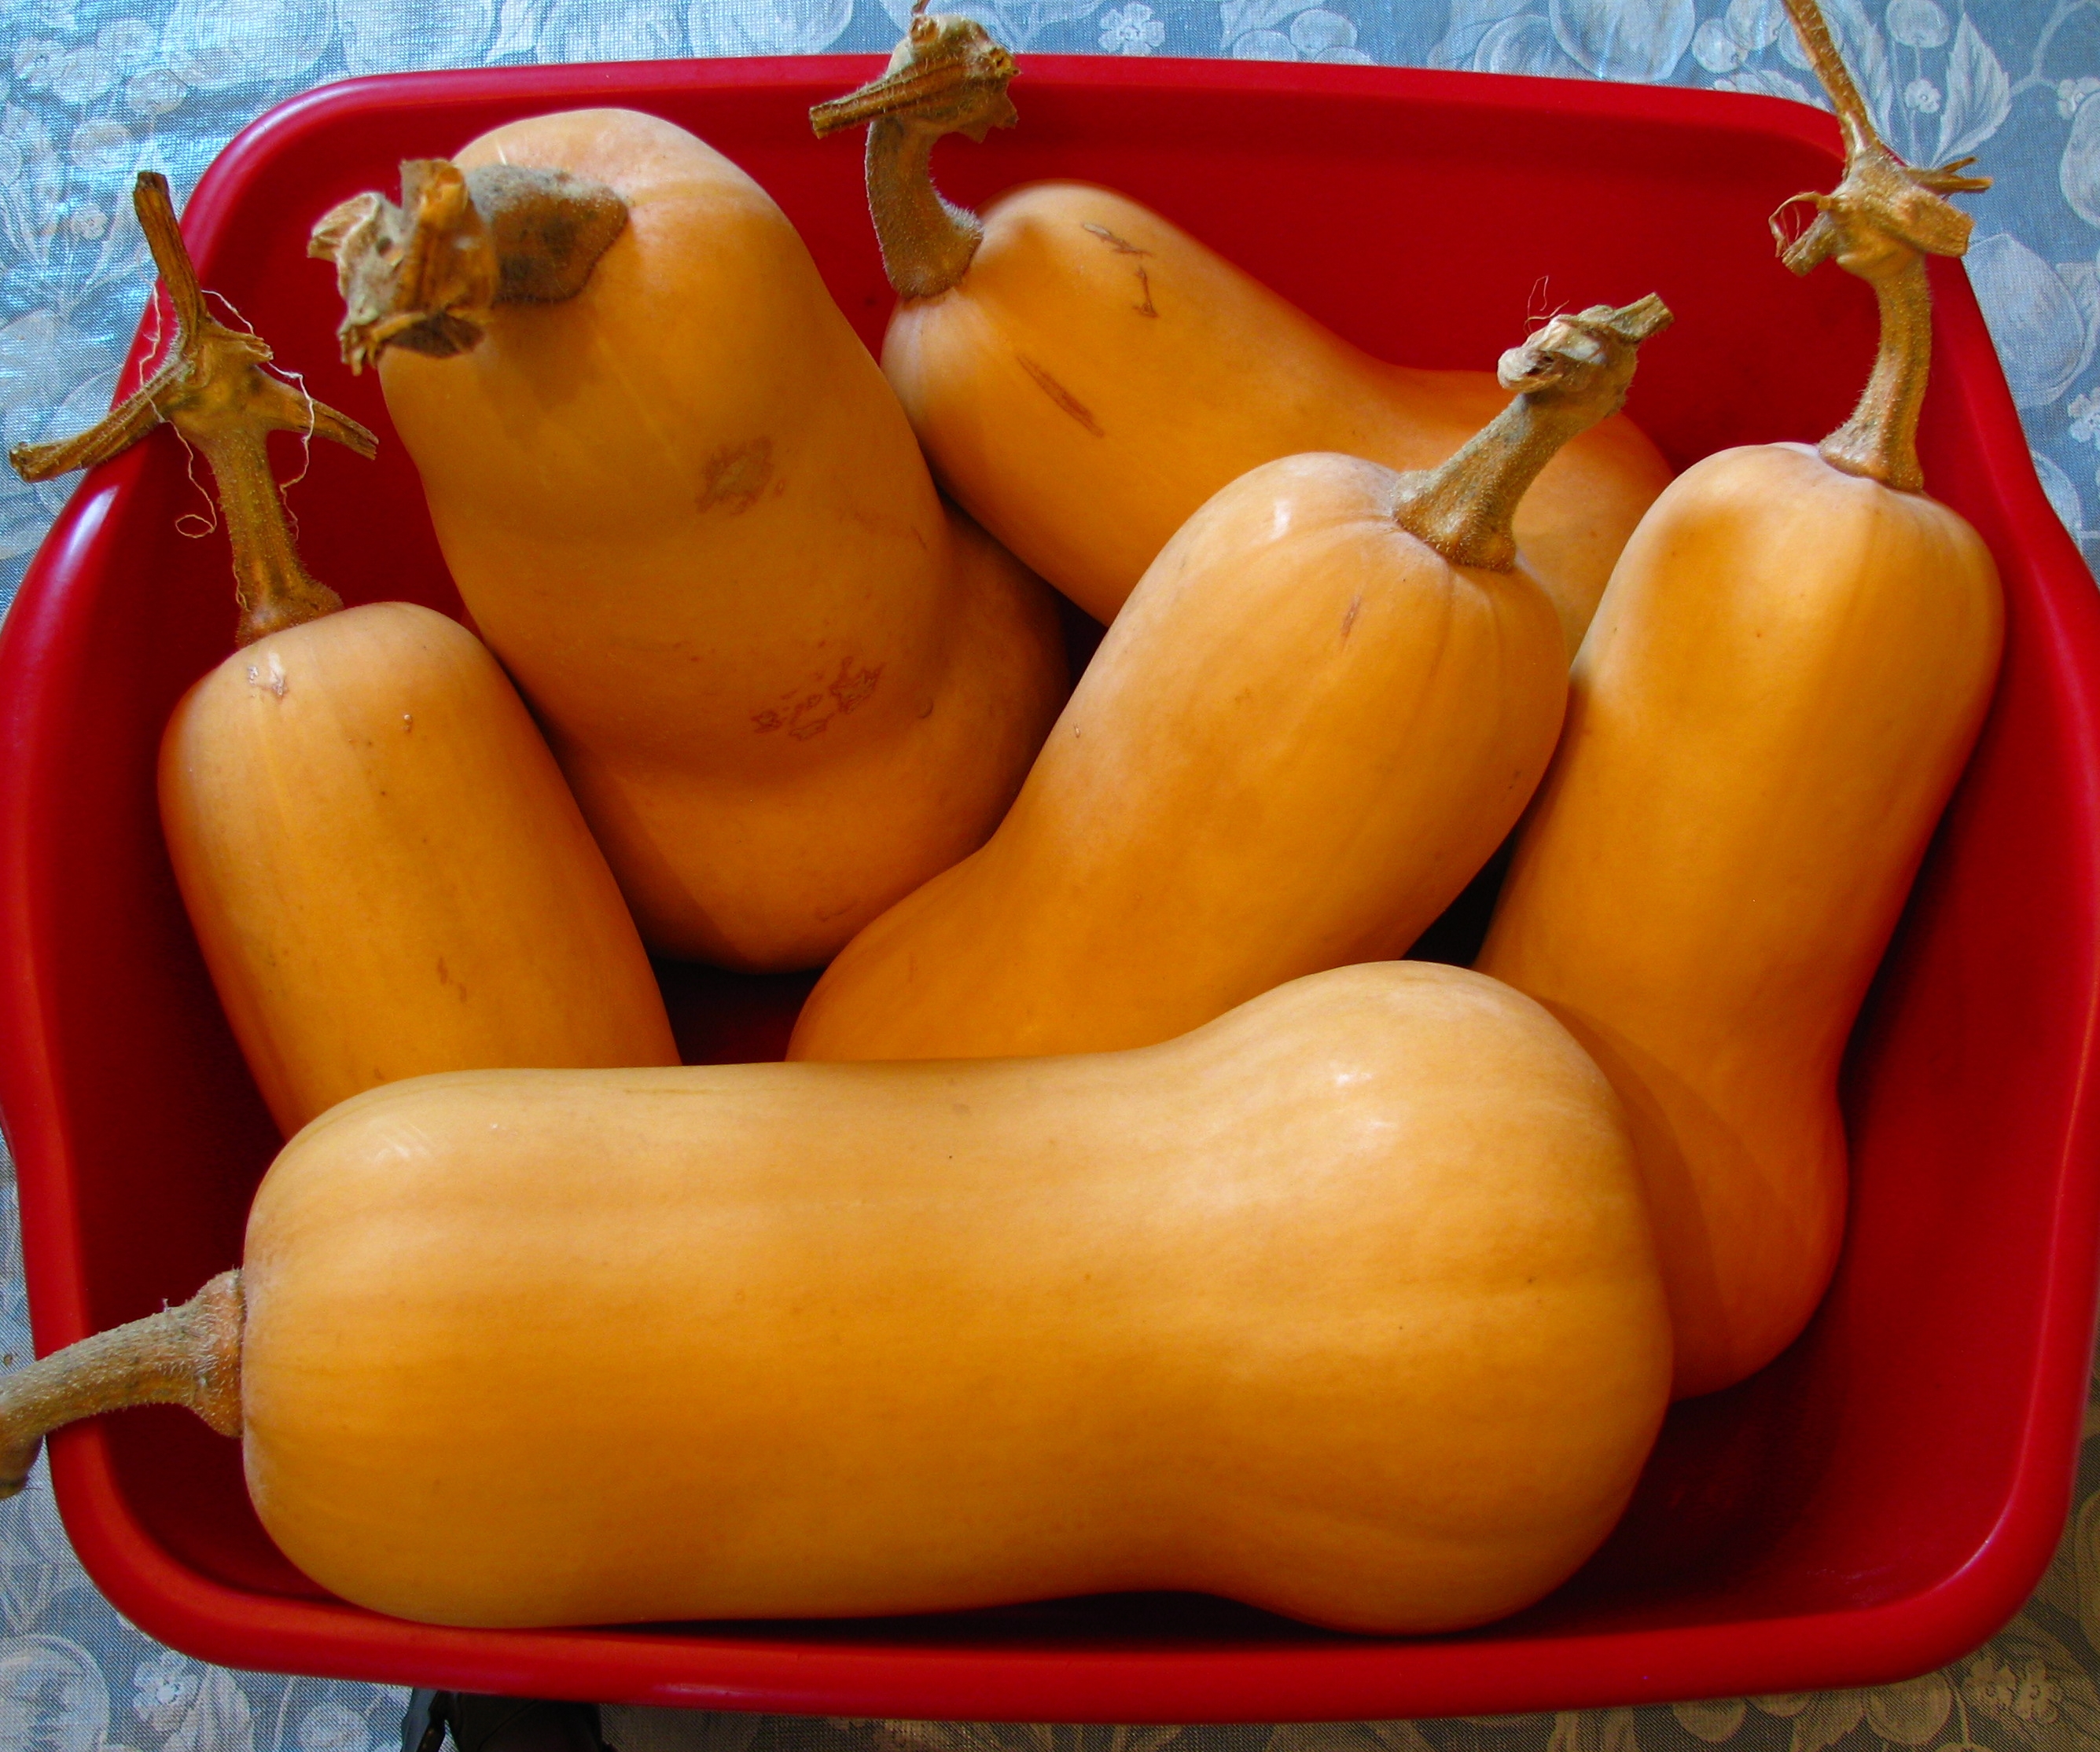
squash-from-last-year-ready-for-pumpkin-pie

Raised and stored correctly, butternut squash can, with minimal special equipment or processing, provide year-round good eating.  And let me emphasize the word “good.”  At the end of this article, I’ll offer three recipes of which my family never seems to tire.

Squash to the Rescue

In my experience, squash is by far the easiest crop from the garden to store.  Under proper conditions that I will outline below, it can easily keep for two years and potentially even more.  I’ve eaten squash that was more than two years old that still tasted great.  Once we settled on a specific variety—butternut—it became the highest yielding and most consistent crop from our garden from year to year.  Grown in one raised bed 30 inches wide and only 32 feet long we have had harvests of between 150-175 pounds of squash!  This averages out to about three pounds of squash every week for a year. 

Site Selection:

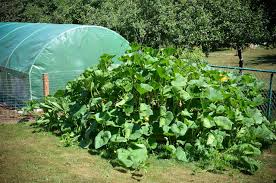
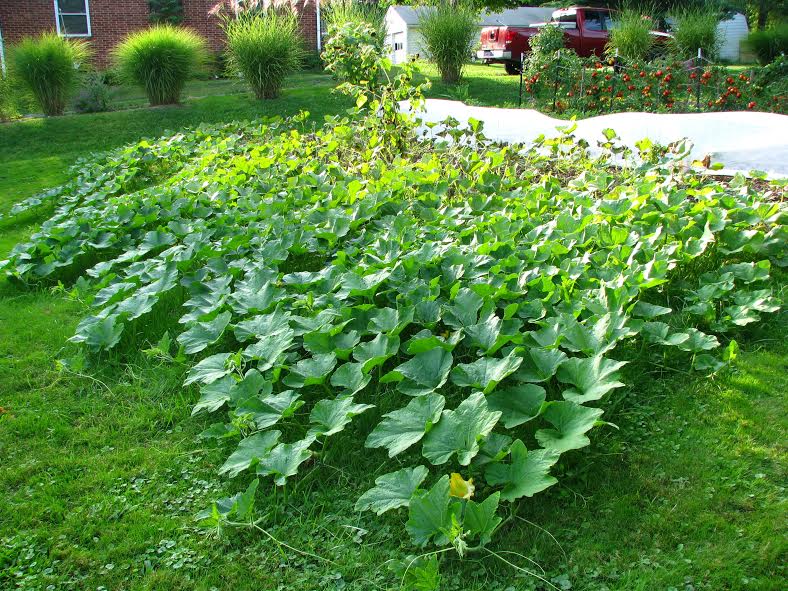
The challenge to growing squash in a small garden plot is that these vigorous growers take up a lot of space.  From the dimensions described above, our squash vines grew to take up more than five times the space of the bed they grew in. 

squash-over-grass

Squash originally evolved in a partnership with mastodons and mammoths (a fascinating story for another time) and seem to have adopted the brash nature of their former partners.  They go wherever they please in the garden and will happily overwhelm smaller plants.  With proper placement, however, small plots can take advantage of squash’s exuberance without sacrificing a lot of space.   

This placement involves planting squash at the edge of the garden.  If your garden is contained within a trellis, fence, or a wall, then this might be a great place to grow squash vertically.  If your garden is in a clearing of trees then squash can be allowed to grow in the border between the garden and the trees. The main consideration for growing squash in any placement is that it requires full sun.

In our case, we grow squash at the edge of the garden and the lawn and then train the vines to grow out over the grass.  Since we already use a lawn mower for other parts of the yard, the space the vines will eventually grow into can be easily maintained.  As the vines grow out onto the lawn, I set the mower to cut the grass very short for a pass or two in front of the vines.  The vines can then effectively shade out the grass below them, and more or less keep the grass from growing high. 

This way I can grow the squash in a small bed and only sacrifice a bit of lawn – of which we have plenty.

Soil Preparation:

If you are growing squash for storage, then you will be planting it in the summer.  Be sure to keep its growing bed covered throughout the spring. This might be with a short rotation spring vegetable, a deep layer of mulch or a cover crop.  Squash are heavy feeders and will happily grow in soil amended with heavy applications of compost.  If I’ve got enough compost on hand I try to give the squash bed a double helping of compost spread to 4” deep.  As in the rest of the garden, I amend the soil with various minerals as indicated through yearly soil tests.  I also amend the garden every spring with recommended applications of broad spectrum mineral rock dusts such as Greensand and Carbonatite.  Some growing guides recommend planting squash in ‘hills’, but since I use raised beds I don’t bother since the entire bed is a ‘hill’.

Selecting the best squash variety:

There is a dazzling diversity of squash varieties that grow fruits of various sizes, shapes and colors.  Some will store longer than others.  Some are more resistant to pests and diseases and some will have higher yields.  Some may have better flavor or be better suited to certain dishes.  As with other crops in the garden, feel free to experiment with different varieties.  However, I have also found that there comes a time when you have to settle on a variety that works well for your circumstances year in and year out .

So for instance, I love the taste of the deep orange flesh of Hubbard squash varieties.  However, I tried to grow this type for several years and never got a harvest.  Insects called squash vine borers destroyed the vines.  This led me to the butternut varieties which grow on thinner woodier stems that the vine borers avoid.  Specifically, ‘Waltham’ butternut is the gold standard for storage squash in our garden.  It is resistant to diseases such as powdery mildew and gives consistently large yields.  It has a great flavor and is amendable to various dishes.  It has a small seed cavity and comes in sizes that are suitable for cooking small dishes.   When properly harvested, cured, and stored, the harvest from the year before will easily carry us through to when the next crop is ready to eat. 

Planting:

Deciding on the best planting date is a balance between two considerations.  First, squash love hot weather and grow best in soil temperatures at 90 degrees F.  It’s best to wait until things really warm up in the summer to plant the seeds out.  However, you don’t want to wait too long because you want to give the squash time to fully mature their fruit before the first frost sets in.  Fully mature fruit is important for long-term storage.  With that said, I’ve found it better to err on the side of a later planting date.  Cool soil slows down their growth and even seems to stunt them for a time, so that any extra growing time is lost by getting them in too early.  We are in Zone 6 and shoot for a planting date around June 15th.

Warming Aids:

Since the weather doesn’t always give us what we hope for, we like to give extra insurance that our plants have the warm soil they like.  In the past we used black plastic mulch to help warm the soil.  It works well, but comes with downsides.  It is hard to use with our soil building techniques such as in-season crop rotations, deep mulching and cover cropping.  It always seems to be down when it’s needed up and up when it’s needed down.  If you don’t have drip line irrigation, watering seems inconsistent as the water only has a small hole through which to reach the soil.

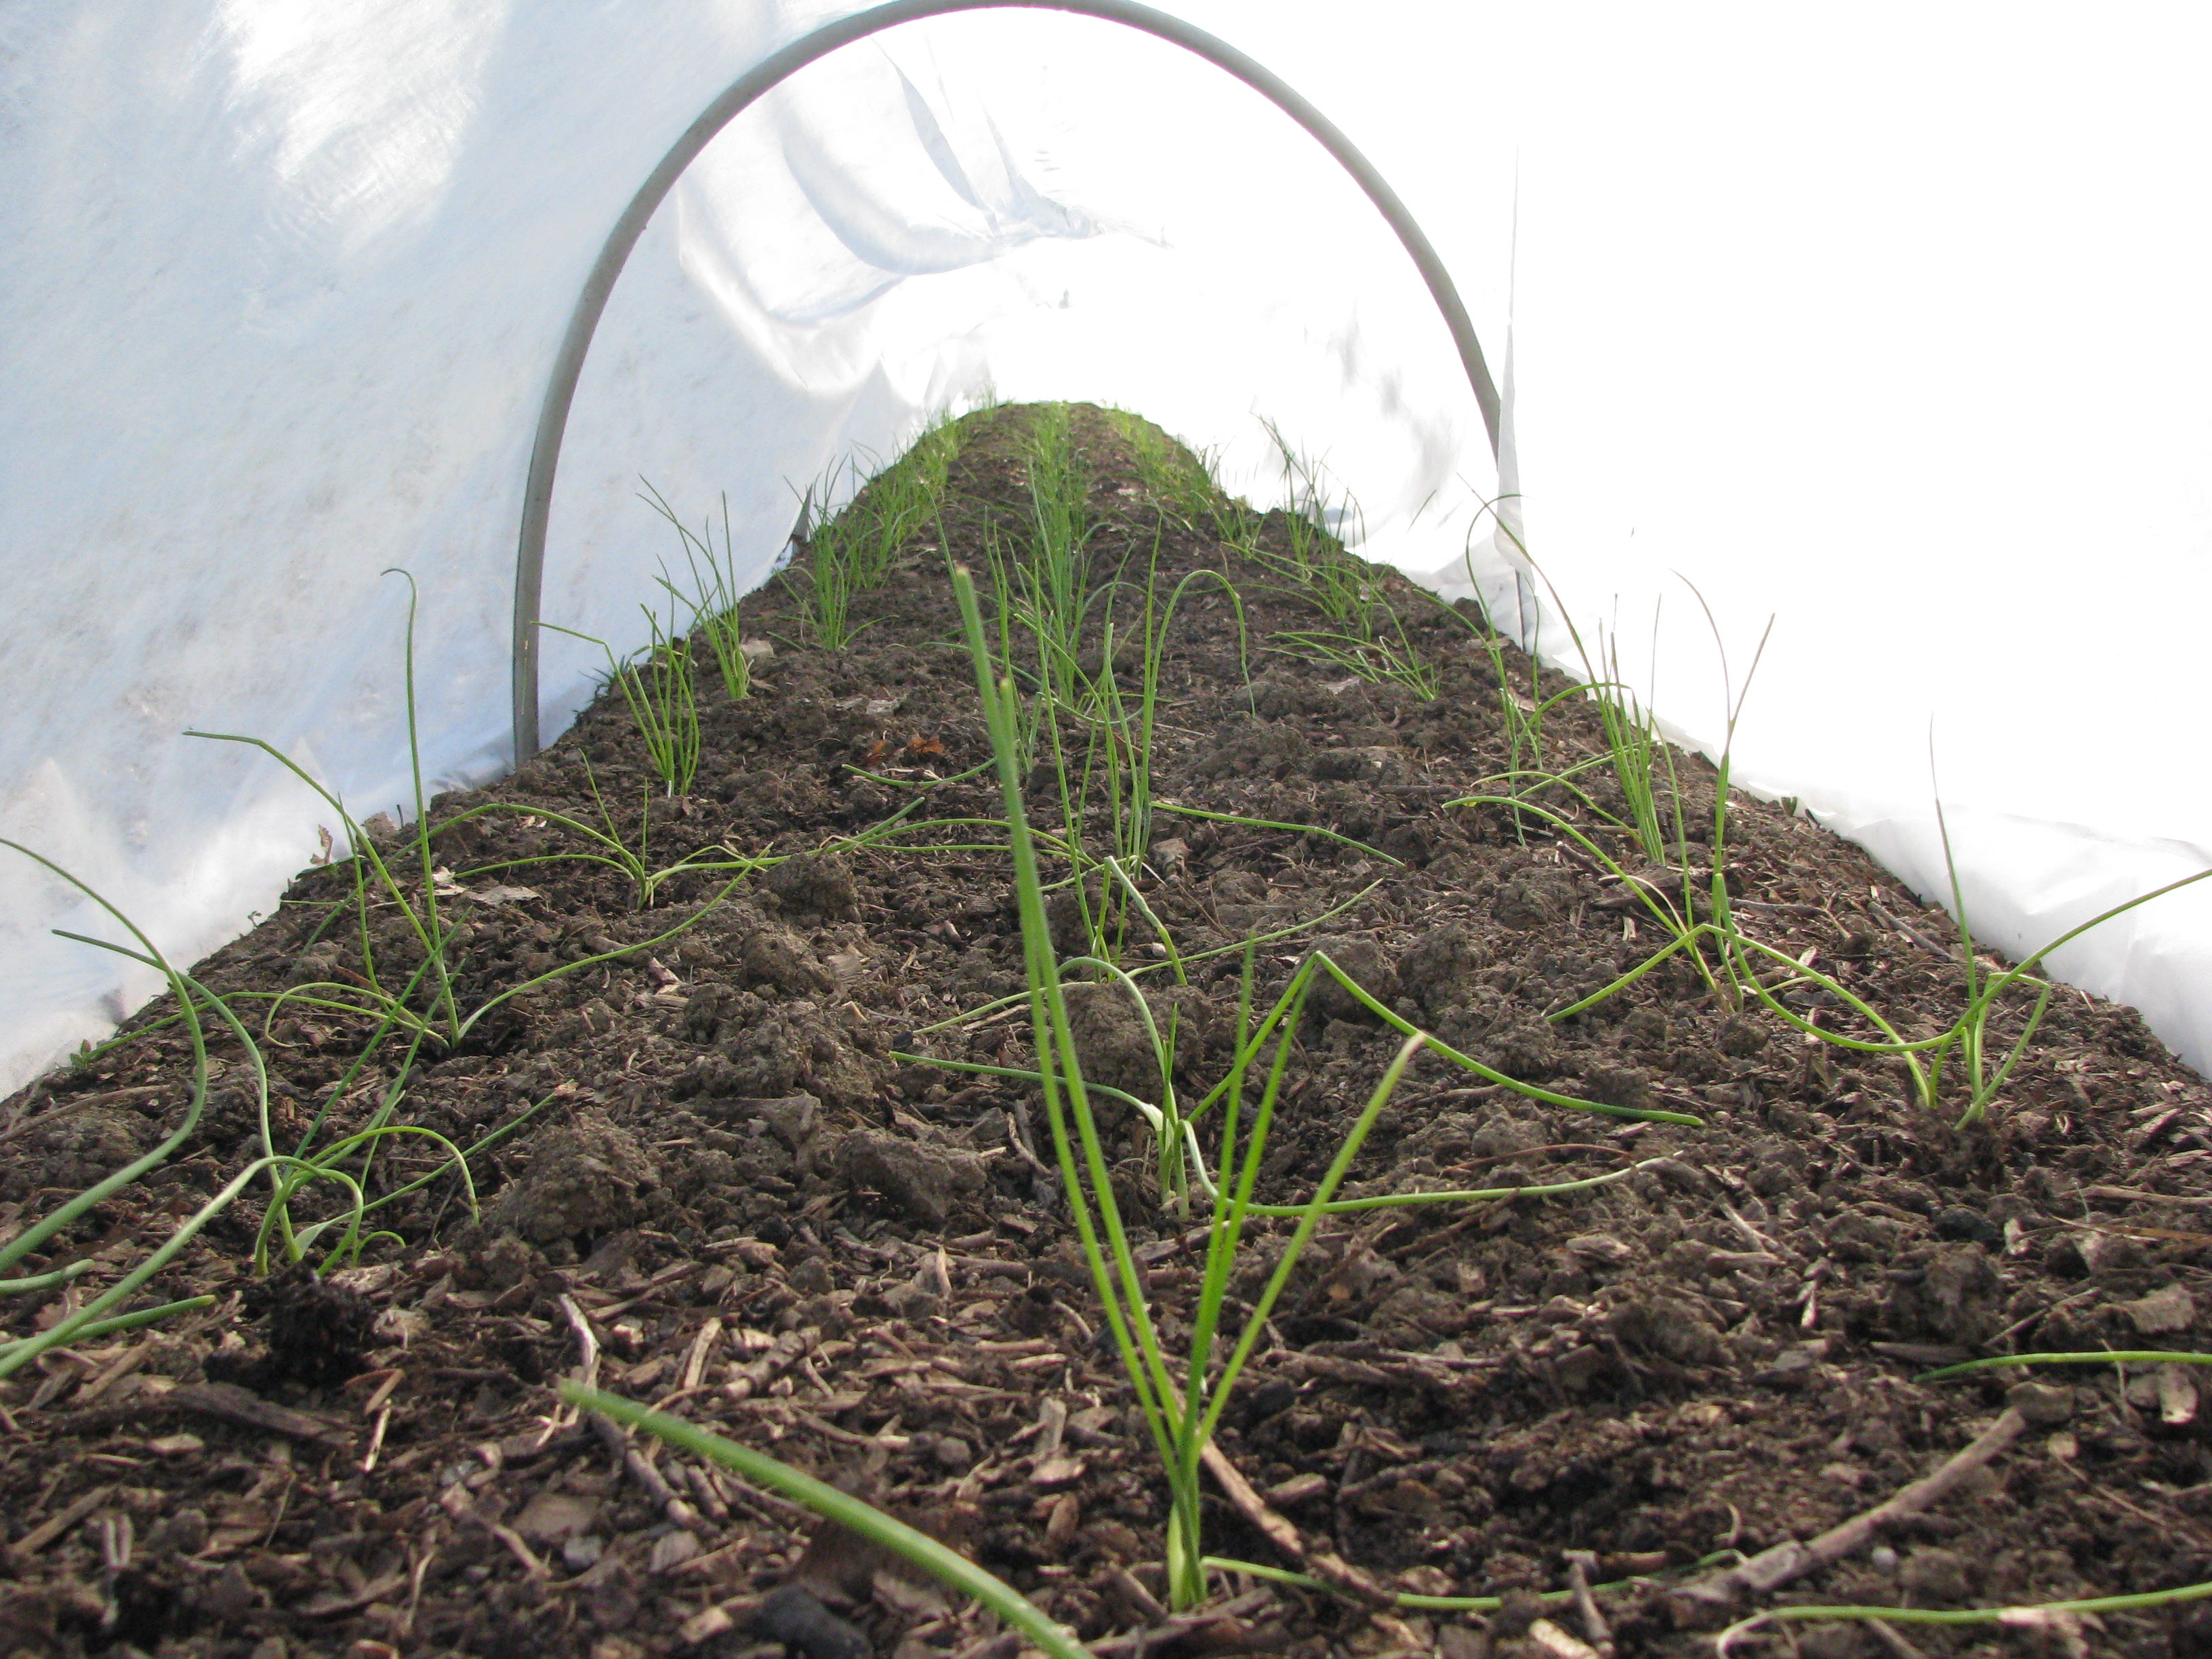
So this year I switched to using row covers and will never look back.  These are spun polyester “sheets” sold under the brands Agri-Bond and Remay.  We hang this ‘cloth’ over the bed with wire hoops. 

young-plants-under-row-cover

They hold in just enough extra heat that all plants seem to love, but as opposed to plastic sheeting, they rarely need to be vented.  They also let rain through, but keep existing soil moisture in.

About a week before I plan to plant our squash seeds, I will pull back any mulch from the soil surface to let the sun warm and dry it out a bit.  I will also go ahead and put the row cover over the bed to get it warming even faster.  After the seeds go into the ground, I will leave the row cover over the bed for a few weeks until the vines begin flowering.  This is very important!  Squash are pollinated by insects so you have to remove the row covers if you want any fruit.  By that time they have leaped out of the gate and will be growing out of the bed space.     

Growing:

It is easy to forget about squash as it is growing because it requires so little attention.  So don’t forget to provide consistent water throughout the growing year.  I keep an eye on the forecast and try to water before any real scorching hot summer days.  This seems to help with heat stress for those days over 92 degrees.  You will also need to train the vines in the direction you want them go grow.  Do this early as it is easy to damage larger vines when trying to move them.  Since squash are such heavy feeders I try to give them a foliar feeding every week if I can – with special attention to when they are in flower or are setting fruit.  I typically use a combination of fish hydrolysate and liquid seaweed sprayed onto the leaves at the recommended application rate.

Harvest:

For the best storage you want to wait to harvest squash until they pass the “fingernail test”.  When it’s difficult to press your fingernail into the rind of the squash, it’s ready for storage. You should have difficulty even making a mark.  However, in practice I just let all the squash stay in the field until the weather calls for the first frost.  A light frost will not ruin your crop but it will shorten its shelf life.  So to keep things simple I go ahead and harvest the whole crop the day before the weather calls for a frost. 

Cut the squash from the vine, but leave a few inches of the stem attached to the fruit.  Do not pick up squash by the stem or it may break off.  Squash without a stem will not store for long.  Be gentle when handling them, as well.  Bruises or gashes in the rind will also shorten their shelf life.  Brush off any dirt, but do not wash the fruit to a squeaky clean.  The microbes that are naturally on the fruit help to protect it from spoilage.      

I put the fruit on racks in a single layer until I am ready to cure them.

Curing:

Before putting the squash away for storage, it is best to cure them in the sun for 7-10 days.  This hardens their rind and extends their shelf life.  Cover the squash at night or put them in a protected area if it is going to frost. 

Storage:

Before I store the squash I organize them.  Unblemished fruit with hard rinds I put in one pile that will serve as the long keepers.  Any squash with blemishes or young fruit that might not have had time to fully mature on the vine I put in another pile (use the fingernail test).  These we will eat first.

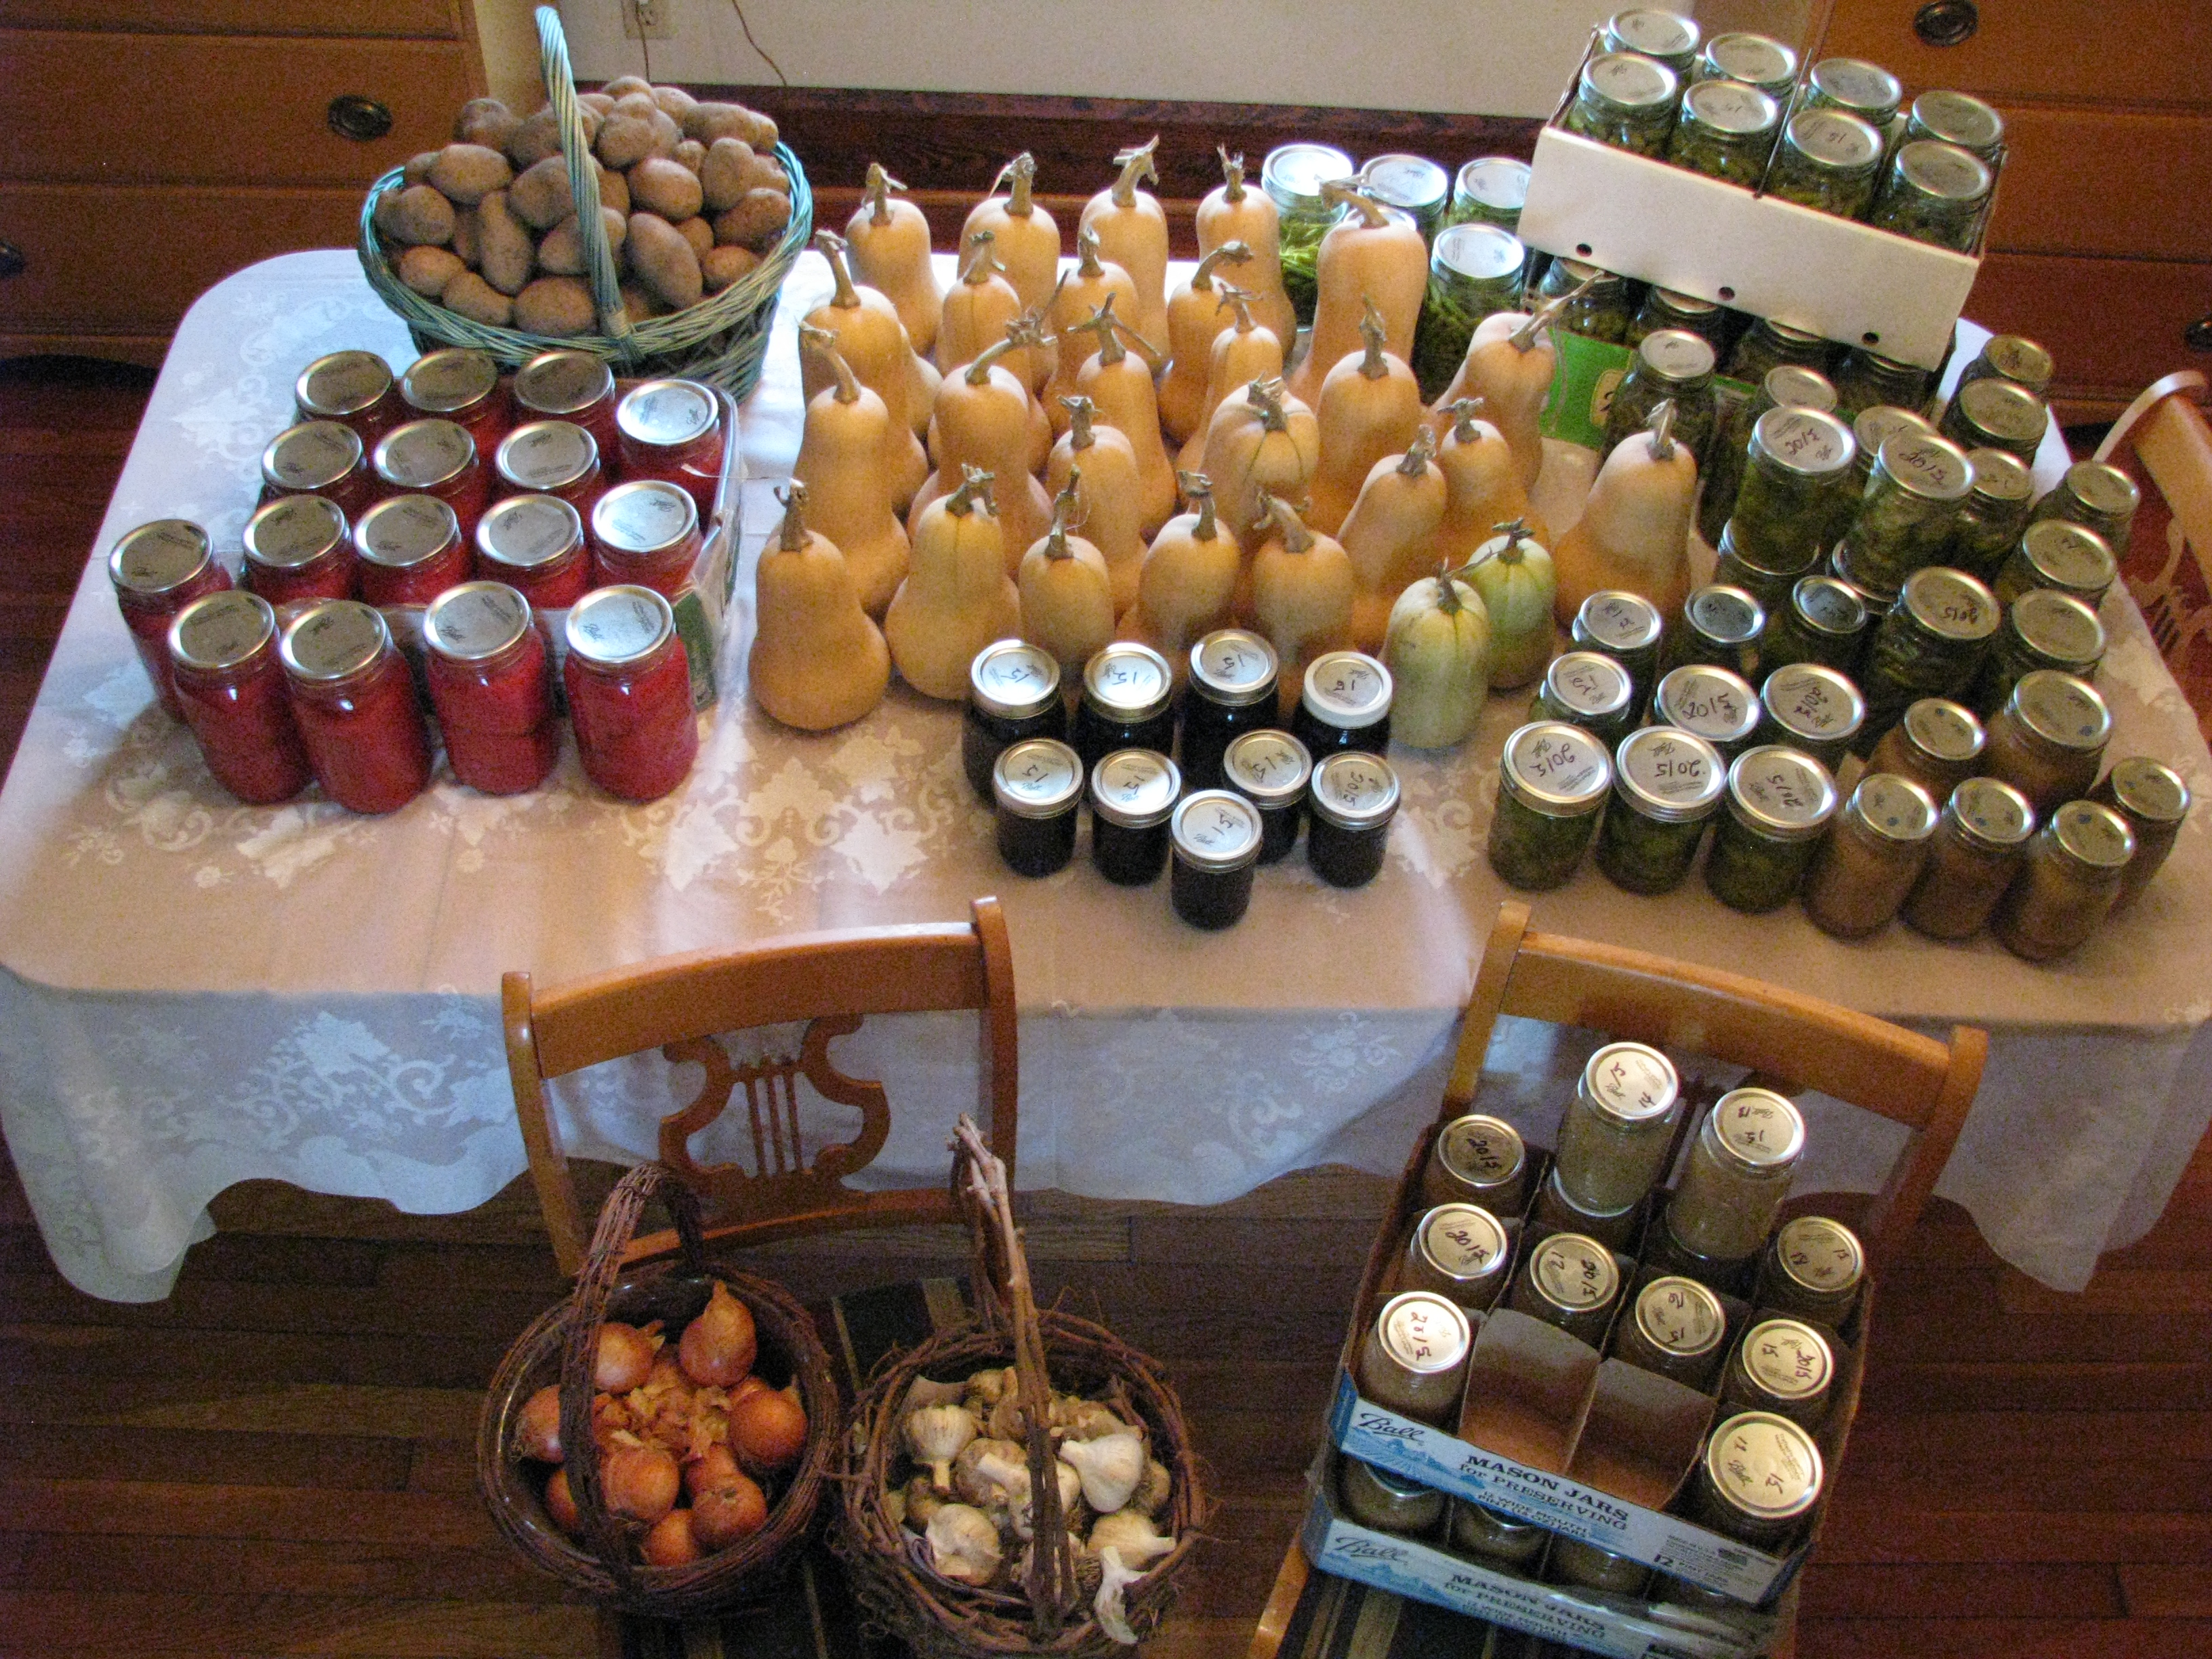
I put the squash in a single layer on bread racks and try to keep them from touching each other.  Allowing air to flow all around the squash is key to long-term storage.  Ideal conditions are temperatures at 50° F and 60% humidity.  In practice any unheated space that doesn’t freeze in the winter and is moderately dry will do.  We stack our racks on a shelf in an unheated basement. 

Once you get the practice down it doesn’t take much to have squash on hand all year.  Periodically check your entire store and pick out and eat any squash that are starting to mold.  If storage conditions are not ideal and your stock begins to turn by the following summer you can always cut out the bad parts and cook the rest up a big batch.  Freeze it and you can cook with it again later.

harvest-table

Cooking:   

The taste of many squash varieties, including butternut, actually improves with storage.  We keep a handful of squash from the previous year to cook with in November when all things pumpkin are called for.  Butternut squash makes amazing pumpkin pie!

Here are a few recipes we love.  Some are easy to make and are great “go-to” side dishes.  It might seem dreary to eat a lot of the same food throughout the year, but we’ve found that food grown in your own garden in nutrient rich soil tastes so good it’s a pleasure to eat it at any time.   Feel free to explore on your own: there are endless uses for butternut squash.  You can use it in place of pumpkin or any other winter squash for that matter.        

Curried Squash Soup:

curried-squash-soup

Nothing warms you more on a cold fall night than a bowl of this soup!

Prep time: 5 minutes

Cook time: 25 minutes

Serves 4

2 tablespoons butter

1 medium onion, chopped

1 large carrot peeled and chopped

2 cloves garlic, minced

2 teaspoons fresh ginger, minced

1.5 teaspoons curry powder

1 can (14 oz) chicken or vegetable broth

2 pounds butternut squash

1 can (14 oz) coconut milk

1 teaspoon salt

roasted sunflower seeds (garnish)

Butternut squash seem to average about two pounds per fruit, which is perfect for this recipe.  Cut the squash in half lengthwise and remove the seeds.  Preheat oven to 325 degrees.  Place the squash face down on a baking pan, then put them in the oven.  Add a thin layer of water to the bottom of baking pan to steam cook the squash.  Cook for an hour or until the flesh is very soft.  Let the squash cool and then scoop the flesh out of the skin with a spoon.

In a large saucepan, melt butter over medium heat.  Add onion, carrot, garlic, ginger and curry powder.  Cook until carrots are almost soft, 5-8 minutes, stirring occasionally.

Add broth and bring to boil over high heat.  Reduce heat to medium-low; cover and simmer until carrots are very soft, 10 minutes.


Transfer to blender or food processor and puree until very smooth.  Return to pan and stir in squash, coconut milk and salt.  Cook over medium-low heat until heated through, 2-3 minutes.

Garnish with pumpkin seeds, roasted sunflower seeds or cashew nuts if desired. 

Butternut, Potato and Apple Mash

butternut-and-apple-mash

This is our go-to side dish for many a meal.  The combination of flavors makes for something you can eat all the time.  A side bonus is that we also grow a lot of potatoes for storage.  It goes great with cider glazed chicken sausages.

Prep time: 10 minutes

Cook time: 40 minutes

Serves 4

1 small butternut squash (1 pound) peeled and cut into 1-inch pieces

1 large potato (10 oz) peeled and cut into 1-inch pieces

1 Granny Smith apple, peeled and cut into 1-inch pieces

1/3 cup of 2% Greek Yogurt

In a medium saucepan combine squash, potato, and apple.  Cover by 2 inches water and bring to a rapid simmer over medium-high heat.  Cook until squash and potato are tender when pierced with a knife, 15 minutes. 

Drain vegetables and apple and transfer to a food processor.  Process until smooth.  Add yogurt, season with salt and pepper, and pulse to combine. 

Squash Custard

butternut-squash-custard

This is also serves as a filling for an awesome pumpkin pie.  But is also great on its own.  We don’t like a real spicy custard or pie, so we backed off on the spices called for in this recipe just a bit, especially the allspice.

½ teaspoon nutmeg

½ teaspoon allspice

½ teaspoon cinnamon

1 tablespoon flour or cornstarch

1 ½ cups mashed cooked squash

½ cup honey

3 eggs, slightly beaten

1 ½ cups milk

Cut the squash in half lengthwise and remove the seeds.  Preheat oven to 325 degrees.  Place the squash face down on a baking pan in put them in the oven.  Add a thin layer of water to the bottom of baking pan to steam cook the squash.  Cook for an hour or until the flesh is very soft.  Let the squash cool and then scoop the flesh out of the skin with a spoon.

Stir spices into flour and mix with squash.  Then add honey, beating till smooth.  Combine eggs and milk, and slowly stir into squash mixture.  Ladle into custard cups.  Set cups in pans of water and bake at 350 degrees F for about one hour.

Makes about three cups.

Jonathan Hull is a permaculture educator, designer, and consultant. After receiving his Permaculture Design Certificate (PDC) in 2006, he co-founded Green Triangle, a Cleveland area network of permaculture educators and designers. Jonathan is a Certified Permaculture Teacher and has been an instructor in several PDC courses and has taught a diverse range of workshops on topics such as soil restoration, bio-char stove construction, site mapping and home weatherization. He currently lives in Salem, OH where for the past ten years he has been implementing a permaculture design for an urban homestead.

Mum’s NOT the Word!

Ann McCulloh, contributing editor

Ahhh autumn! The Equinox is past. Days shorten, nights cool. I imagine most of us infatuated with gardens, ours and others, experience this season with the same poignant mix of celebration, regret and  relief.  Although we are feeling the signals to relinquish, retreat, slow down, there’s such renewed energy in the air too! So many cool-loving annuals like nasturtiums, alyssum,

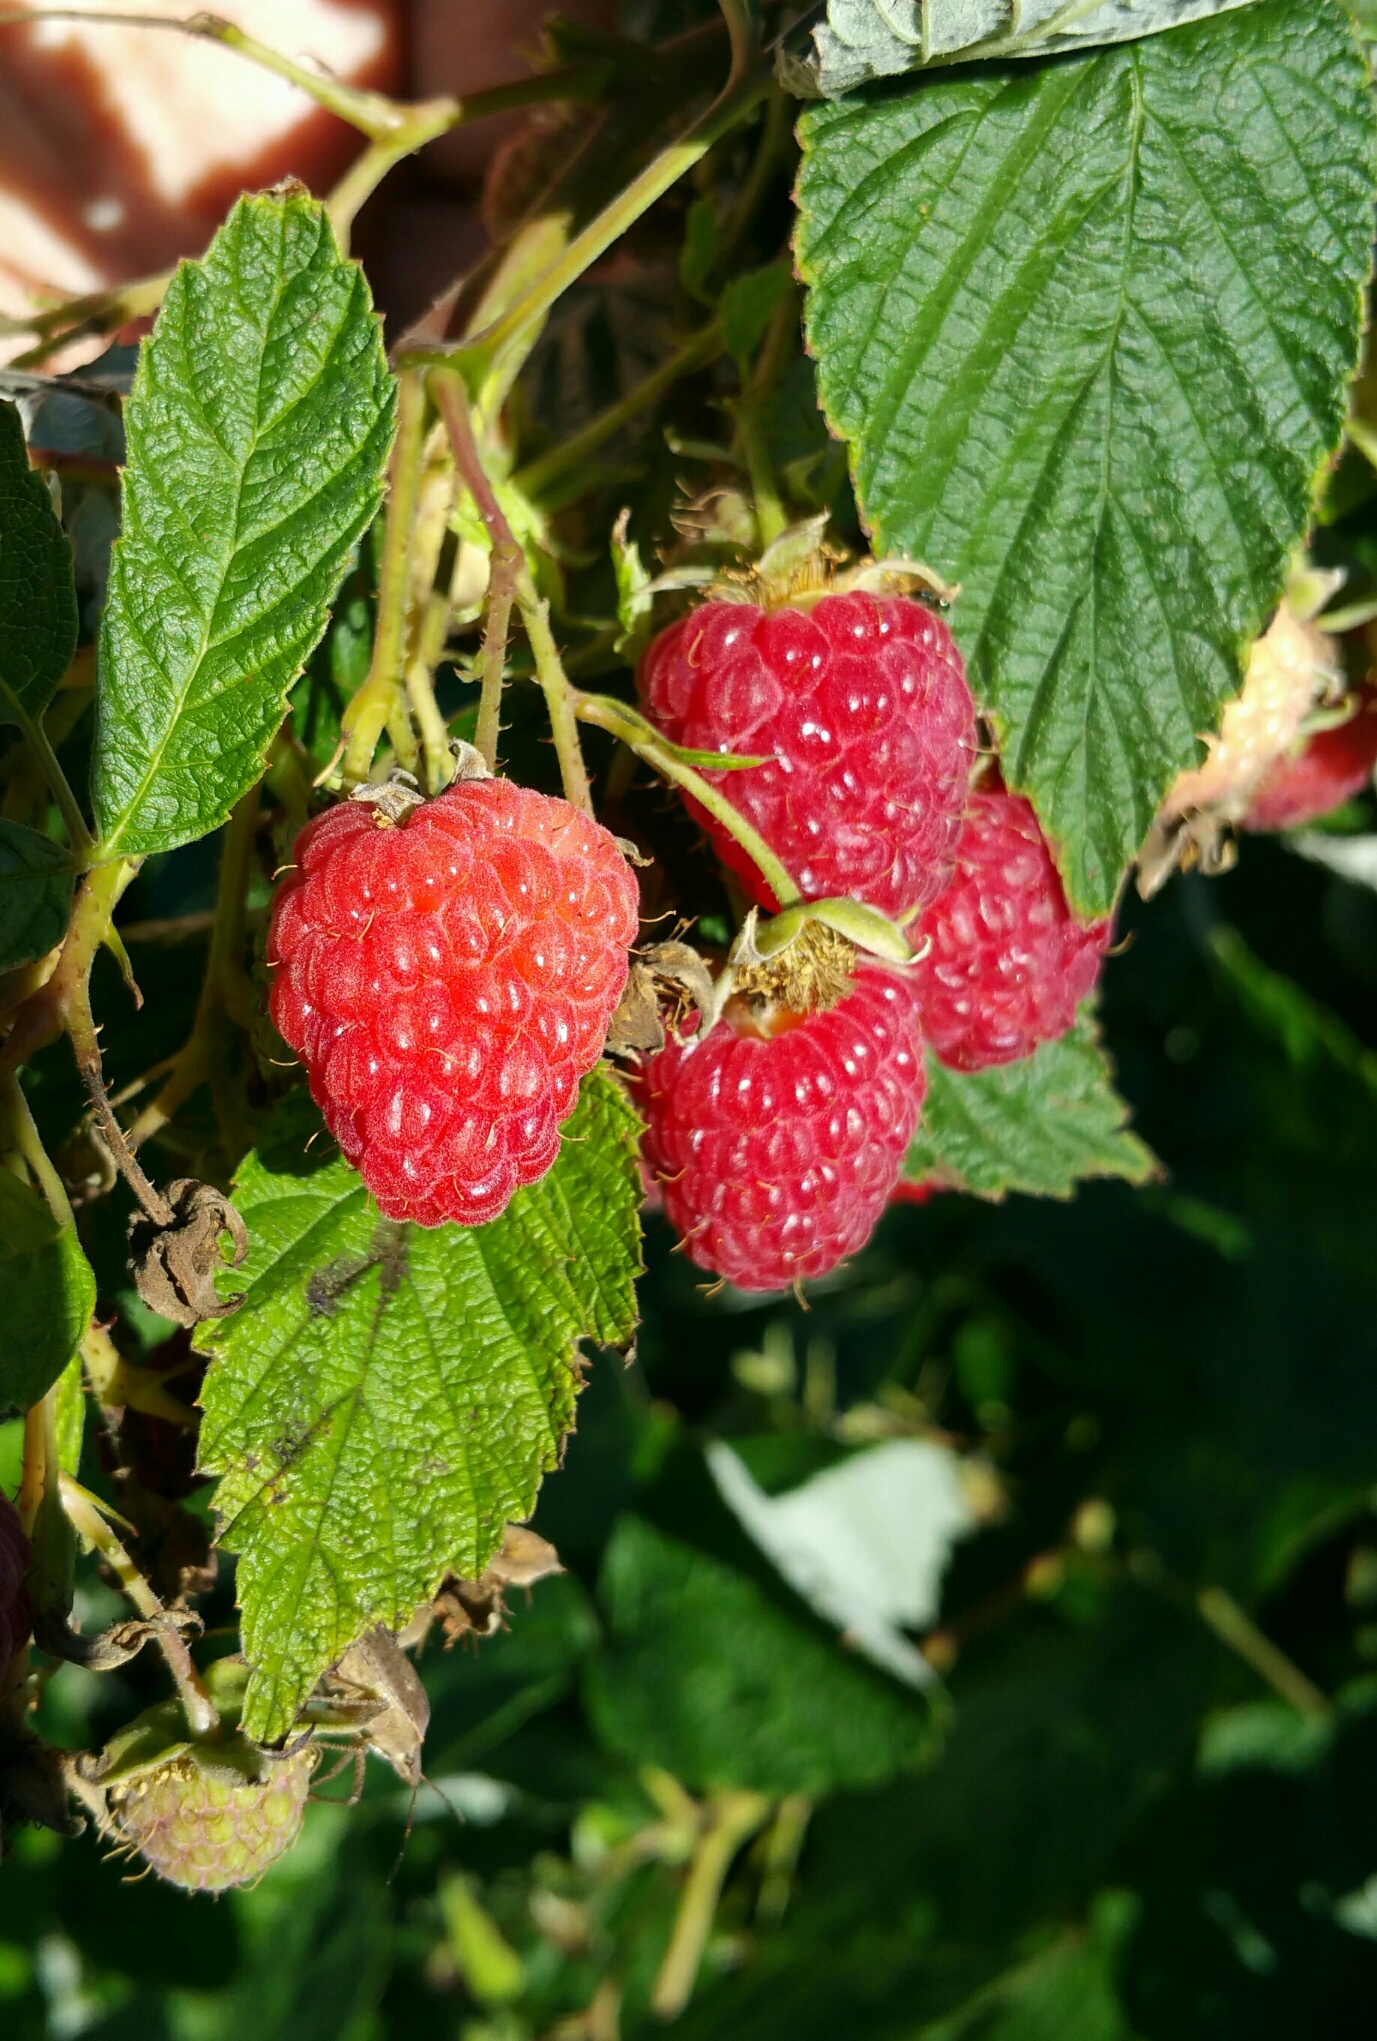
photo-1-alyssumlettuce, broccoli all leap up, refreshed and re-sprouting after the baking heat of summer. Fall-bearing raspberries

photo-2-red-raspberry are bending under the weight of their fruit. Grapes, nuts, apples swell to ripeness. Tomatoes, squash, eggplants are producing on and on, holding out hopes for the Thanksgiving table.

I’ve never been good at letting go of summer, but the humming bees collecting nectar from winter savory and borage blossoms inspire me to fill my own cupboard for the long cold season.  I’m cutting tarragon, basil, Oregano and thyme to dry. Freezing some tomatoes, and putting winter squash on top of the fridge to cure in the warm air up there. I’m making cuttings of my favorite coleus to winter over, and getting my houseplants ready for their indoor sojourn.

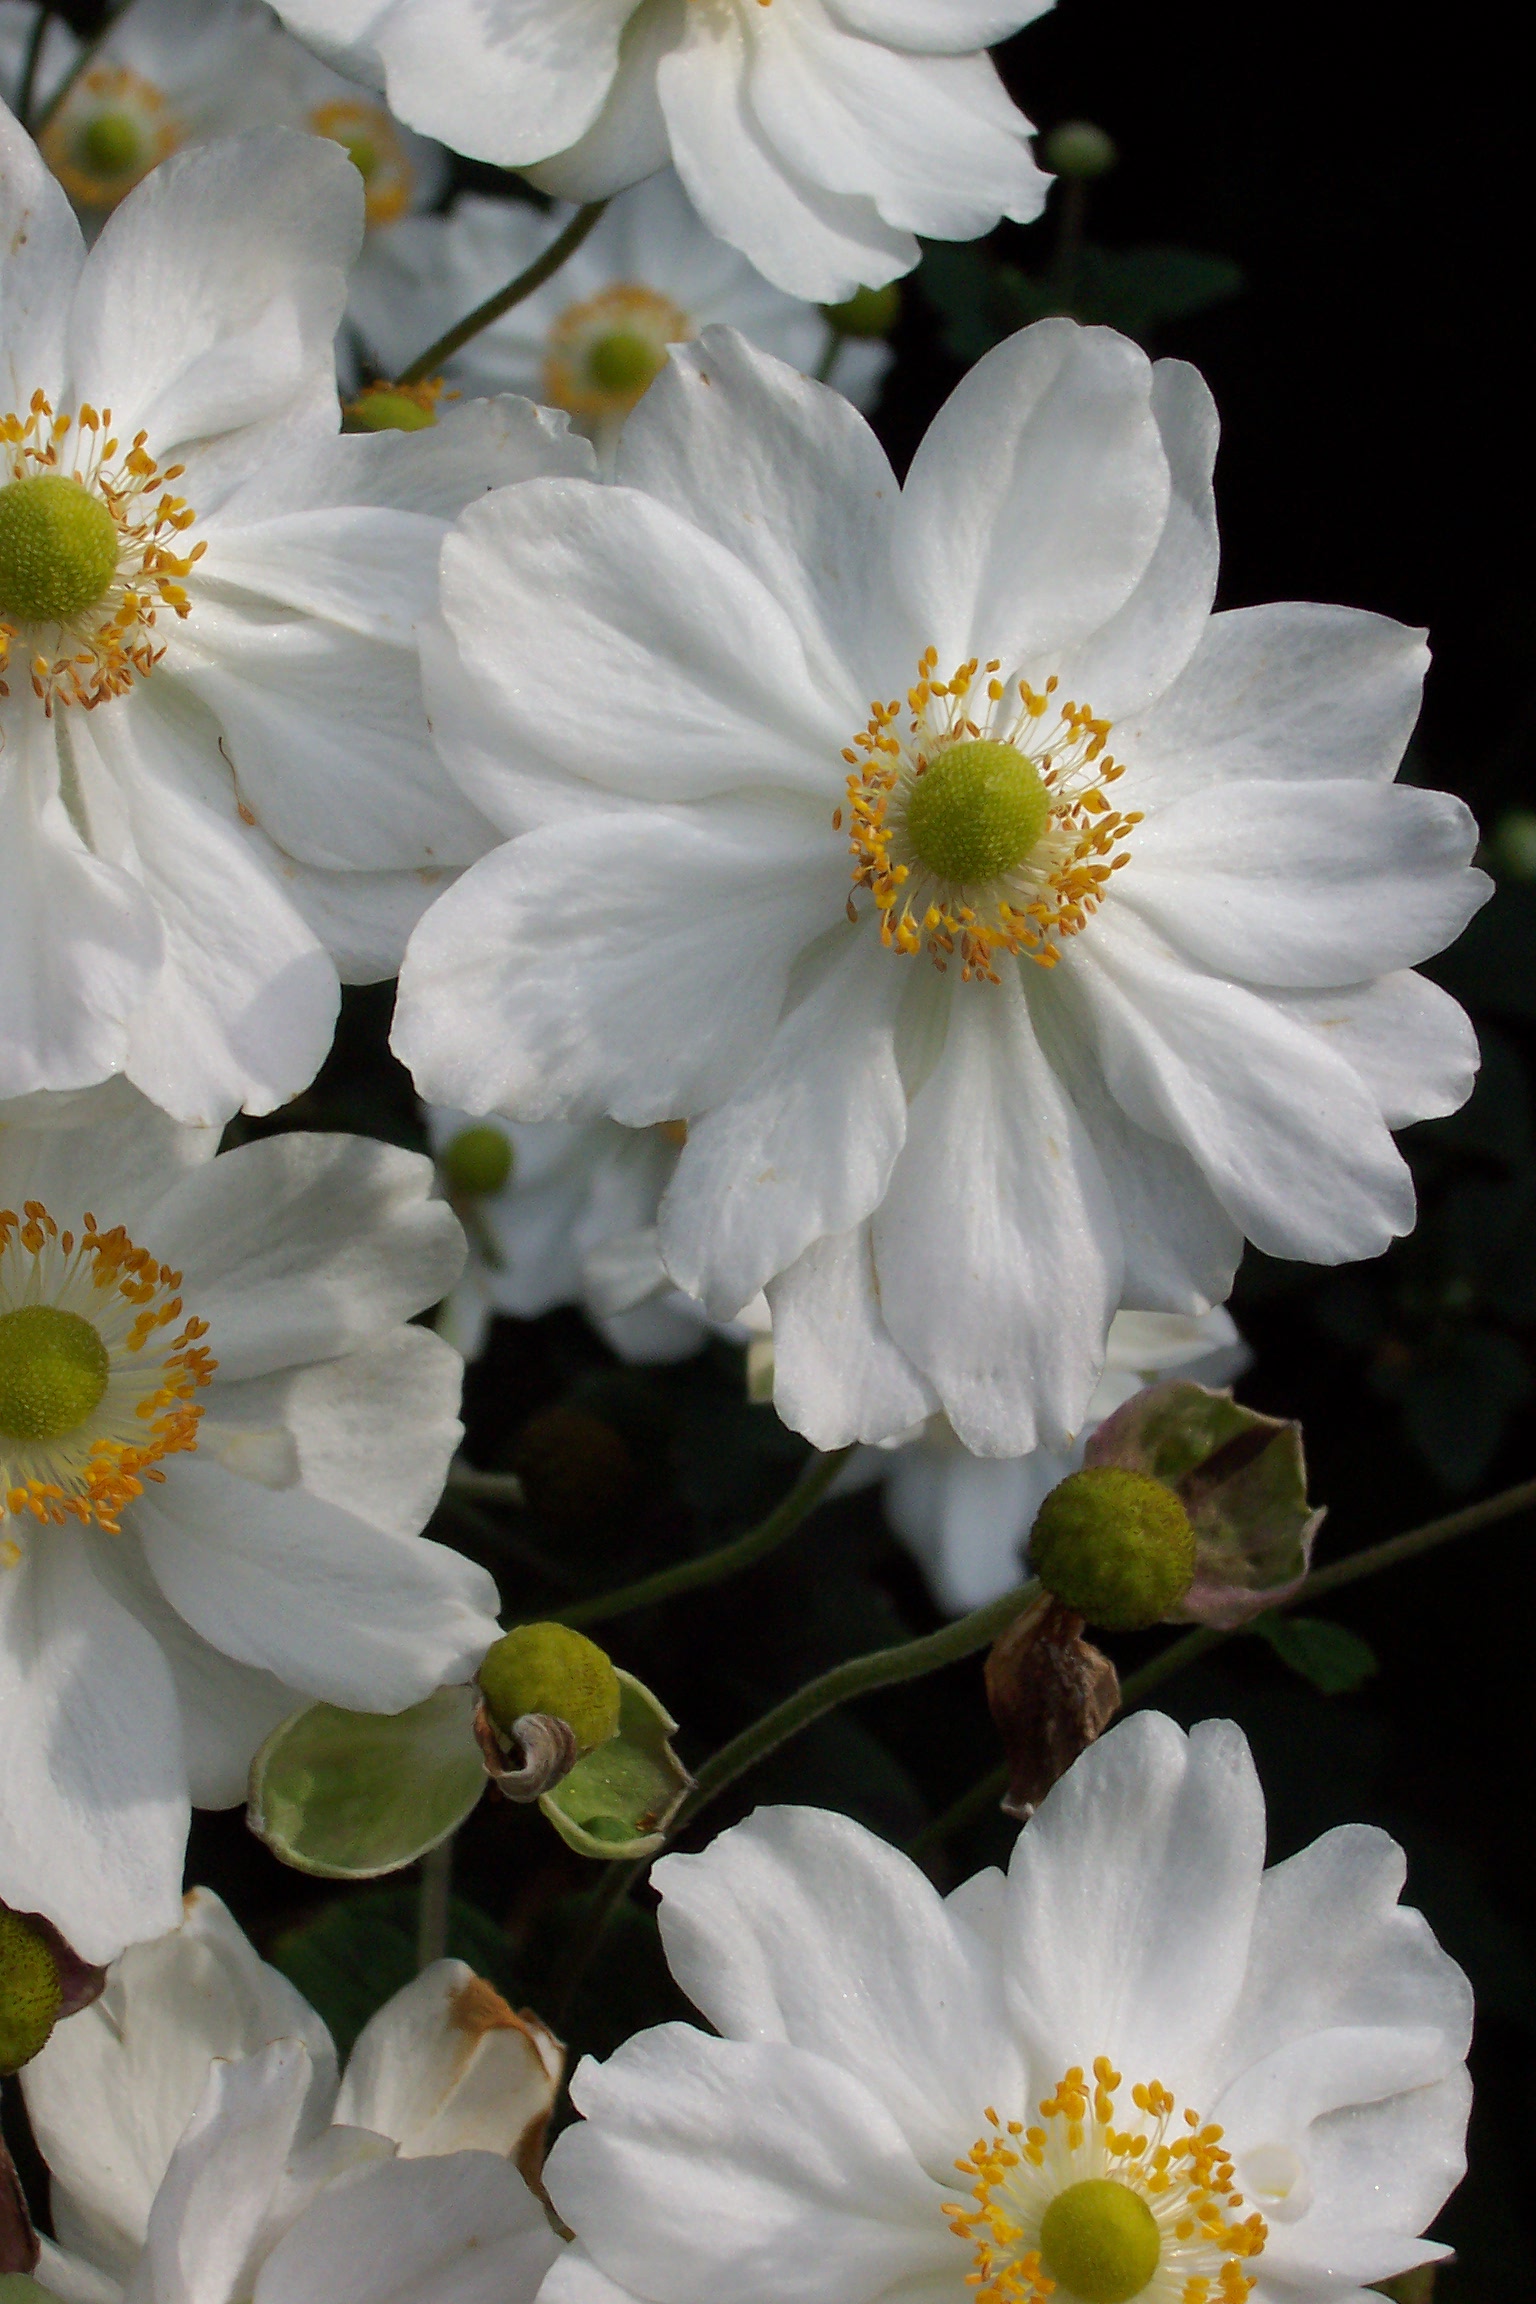
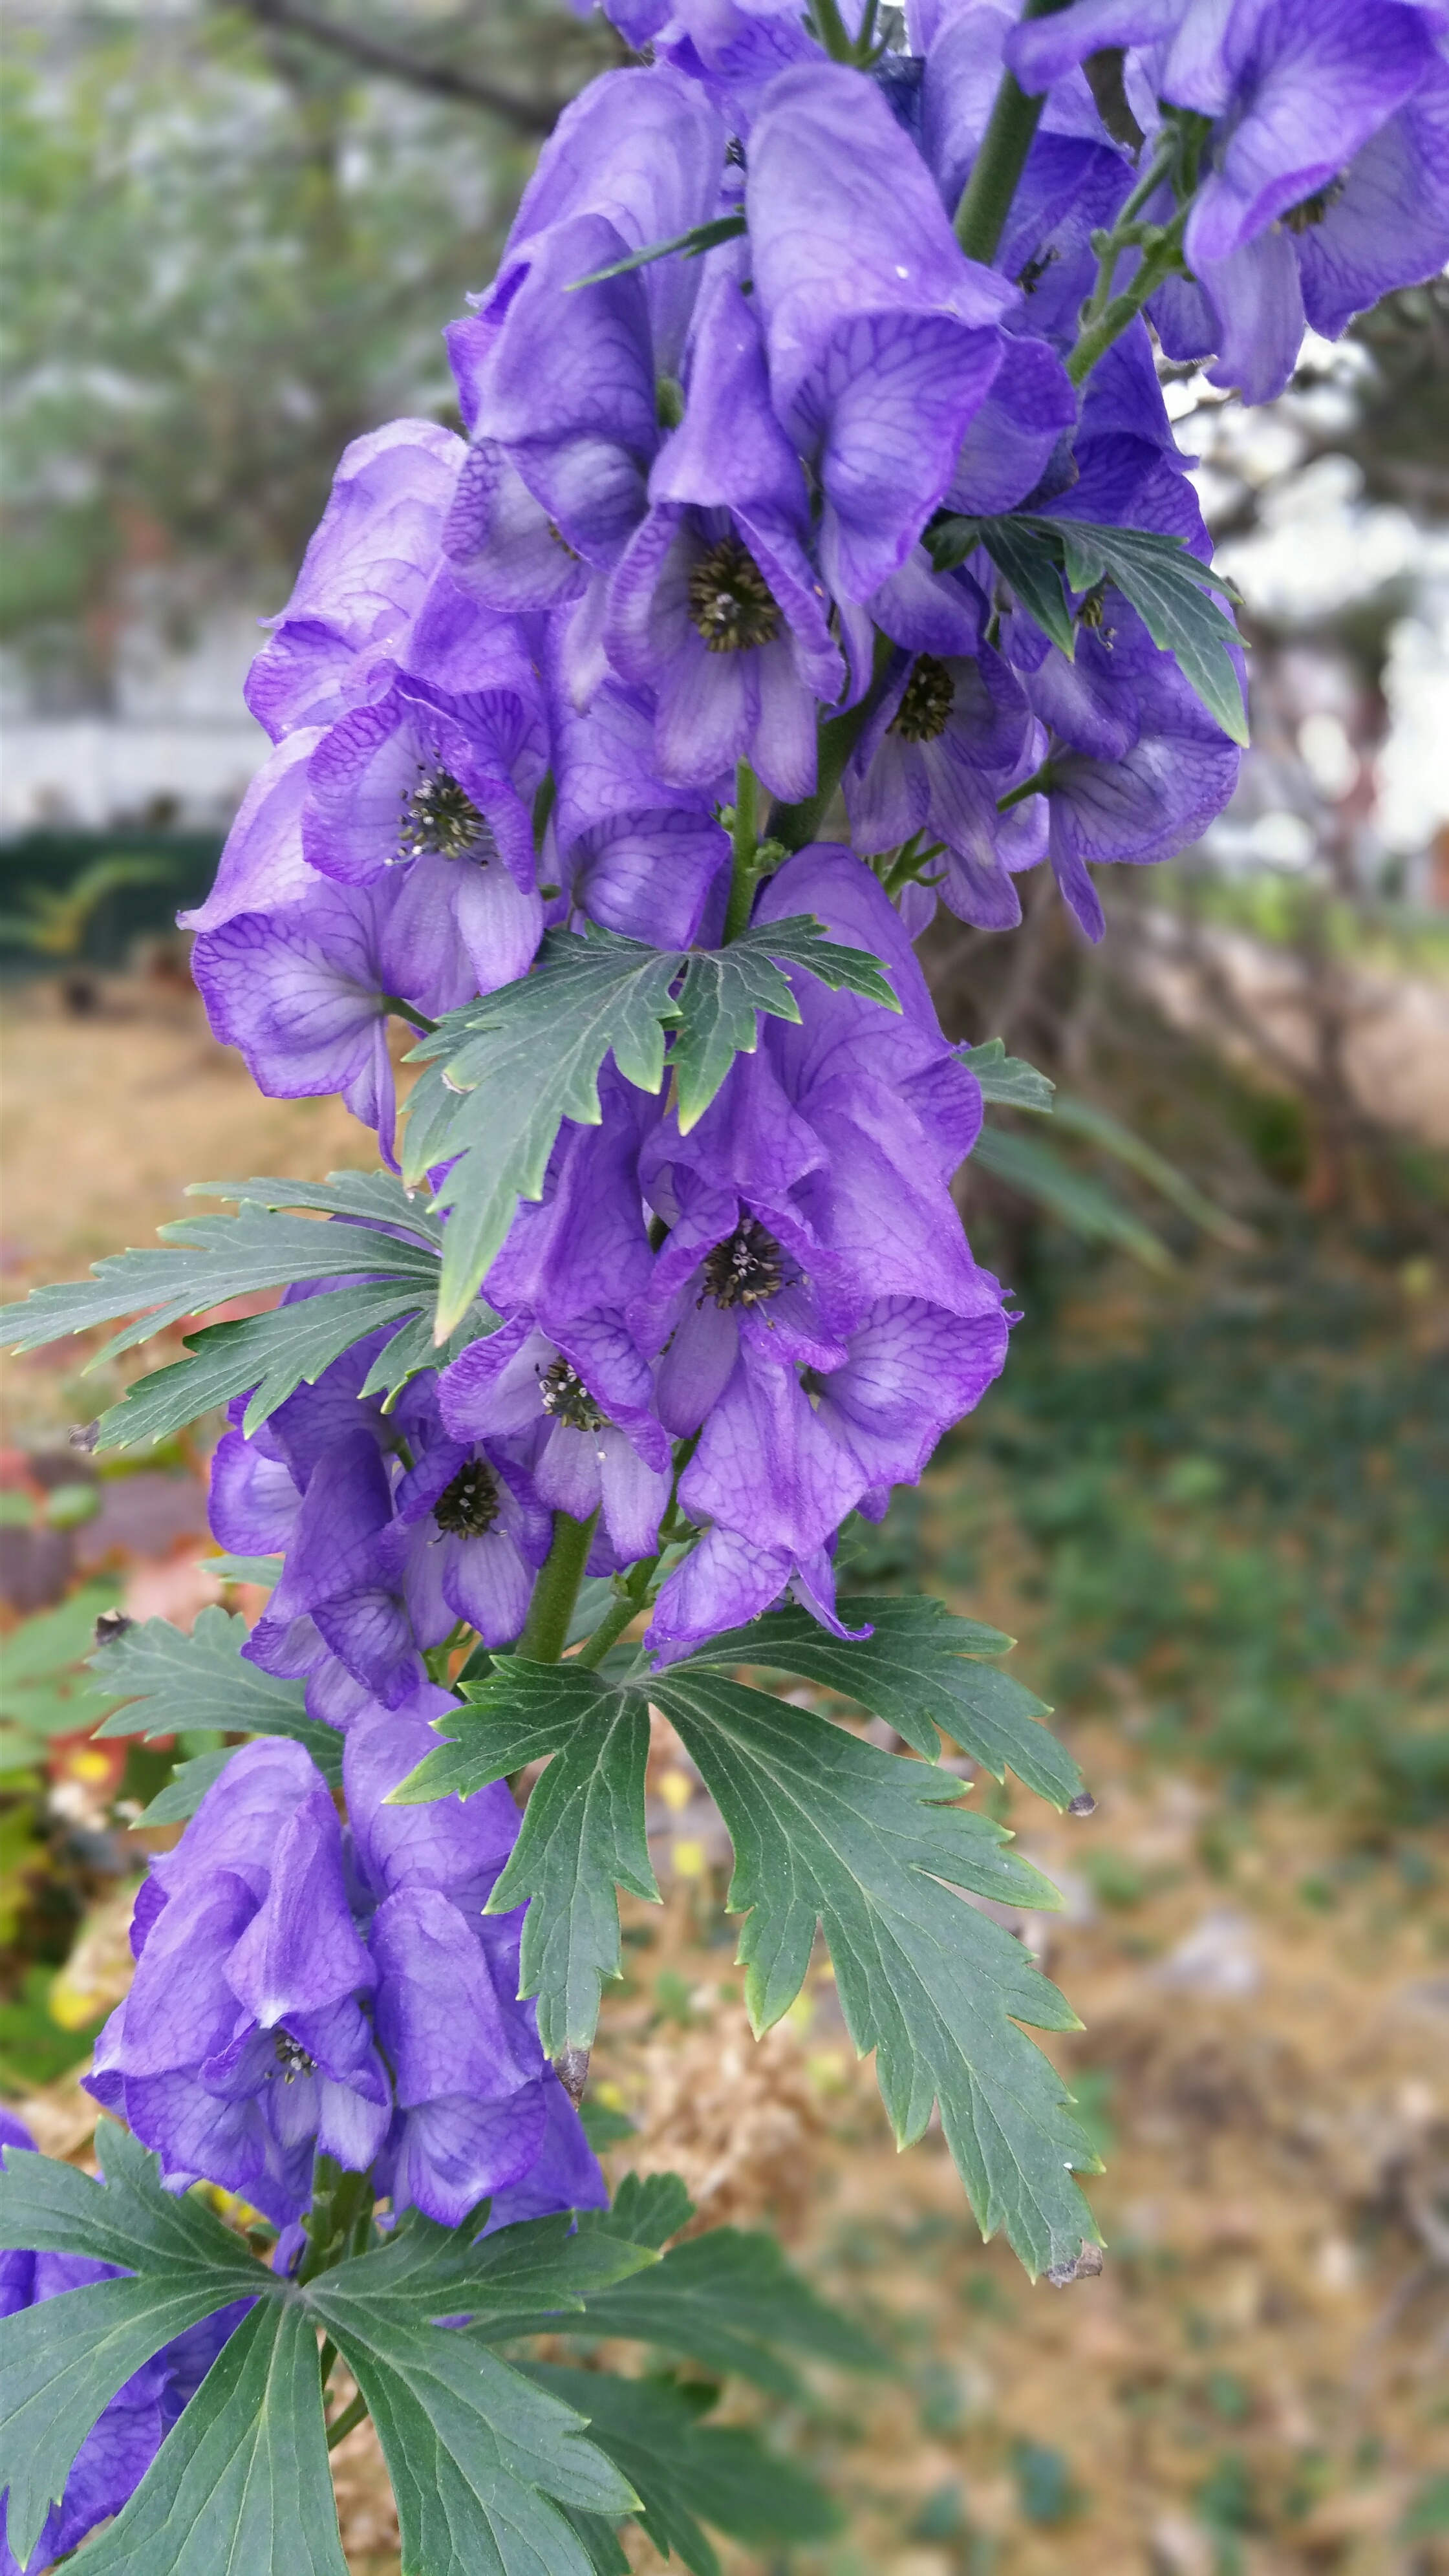
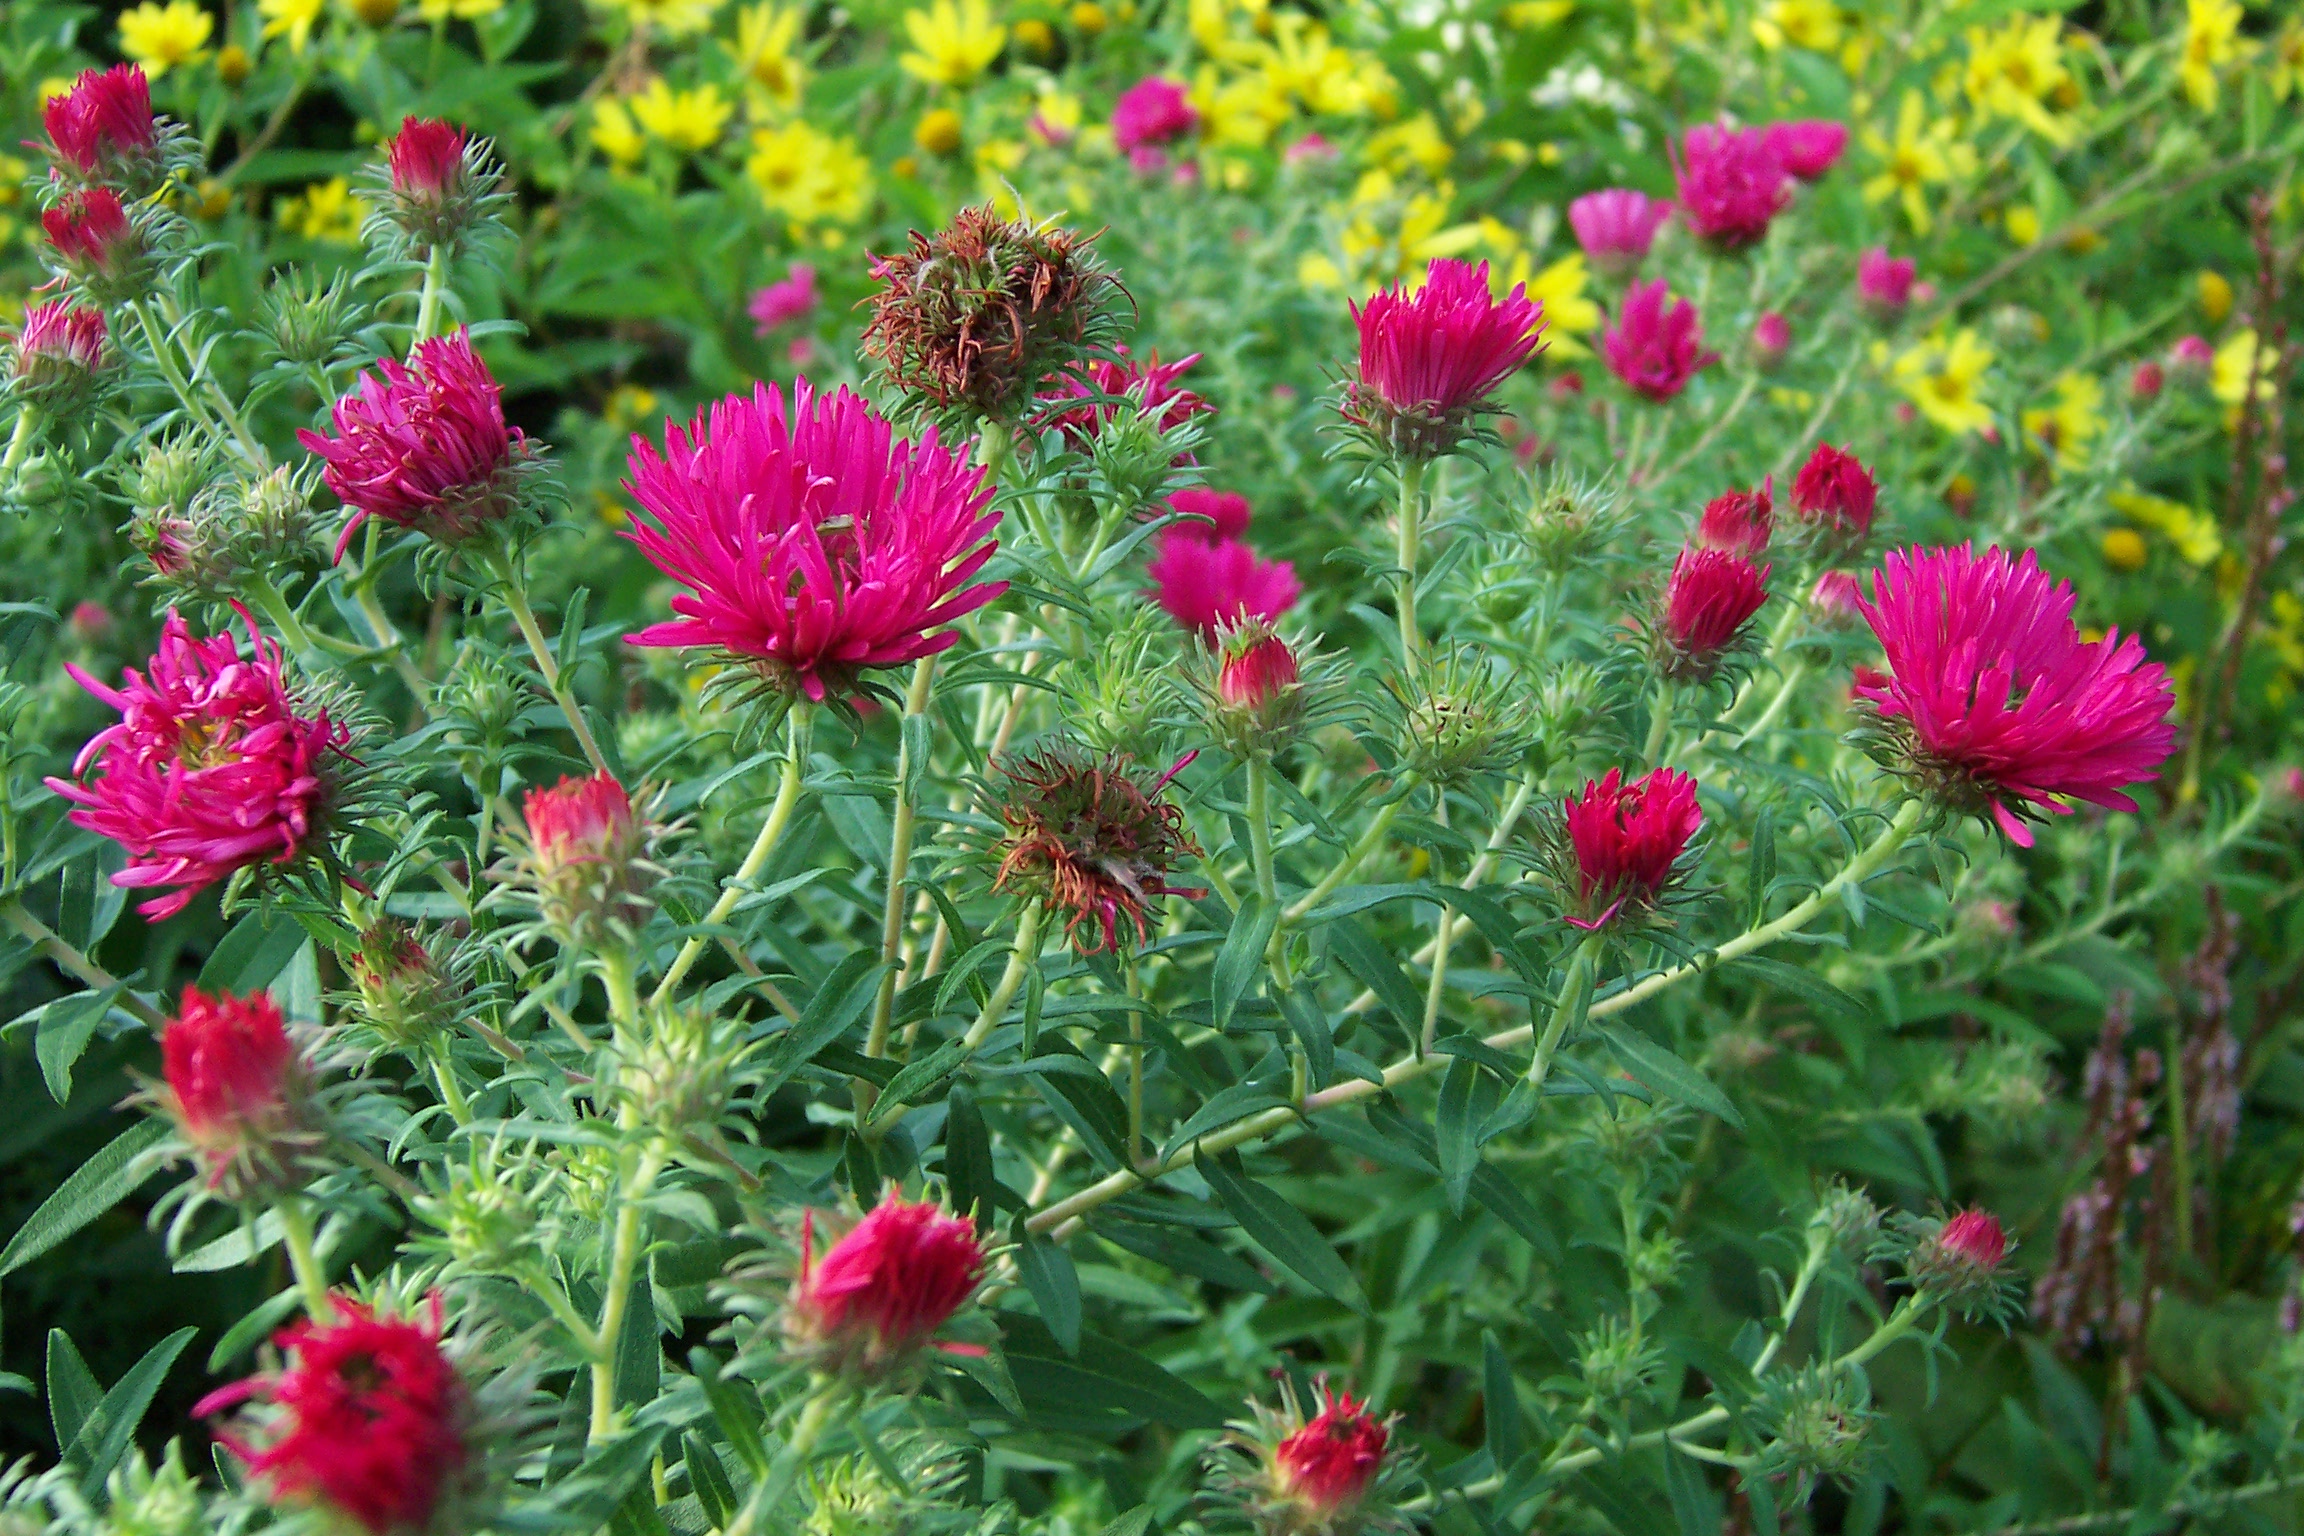
I have to admit that I’m just not very fond of the traditional fall garden décor of pumpkins, gourds, kale and ubiquitous chrysanthemums. Instead, my affection strengthens year after year for the hardy flowers that, just like me, are perennially late to the party.  Just a sampling of what’s coming into bloom now, to cheer the cusp of the season: Japanese anemone (Anemone x hybrida),

photo-3-anemone-whirlwind

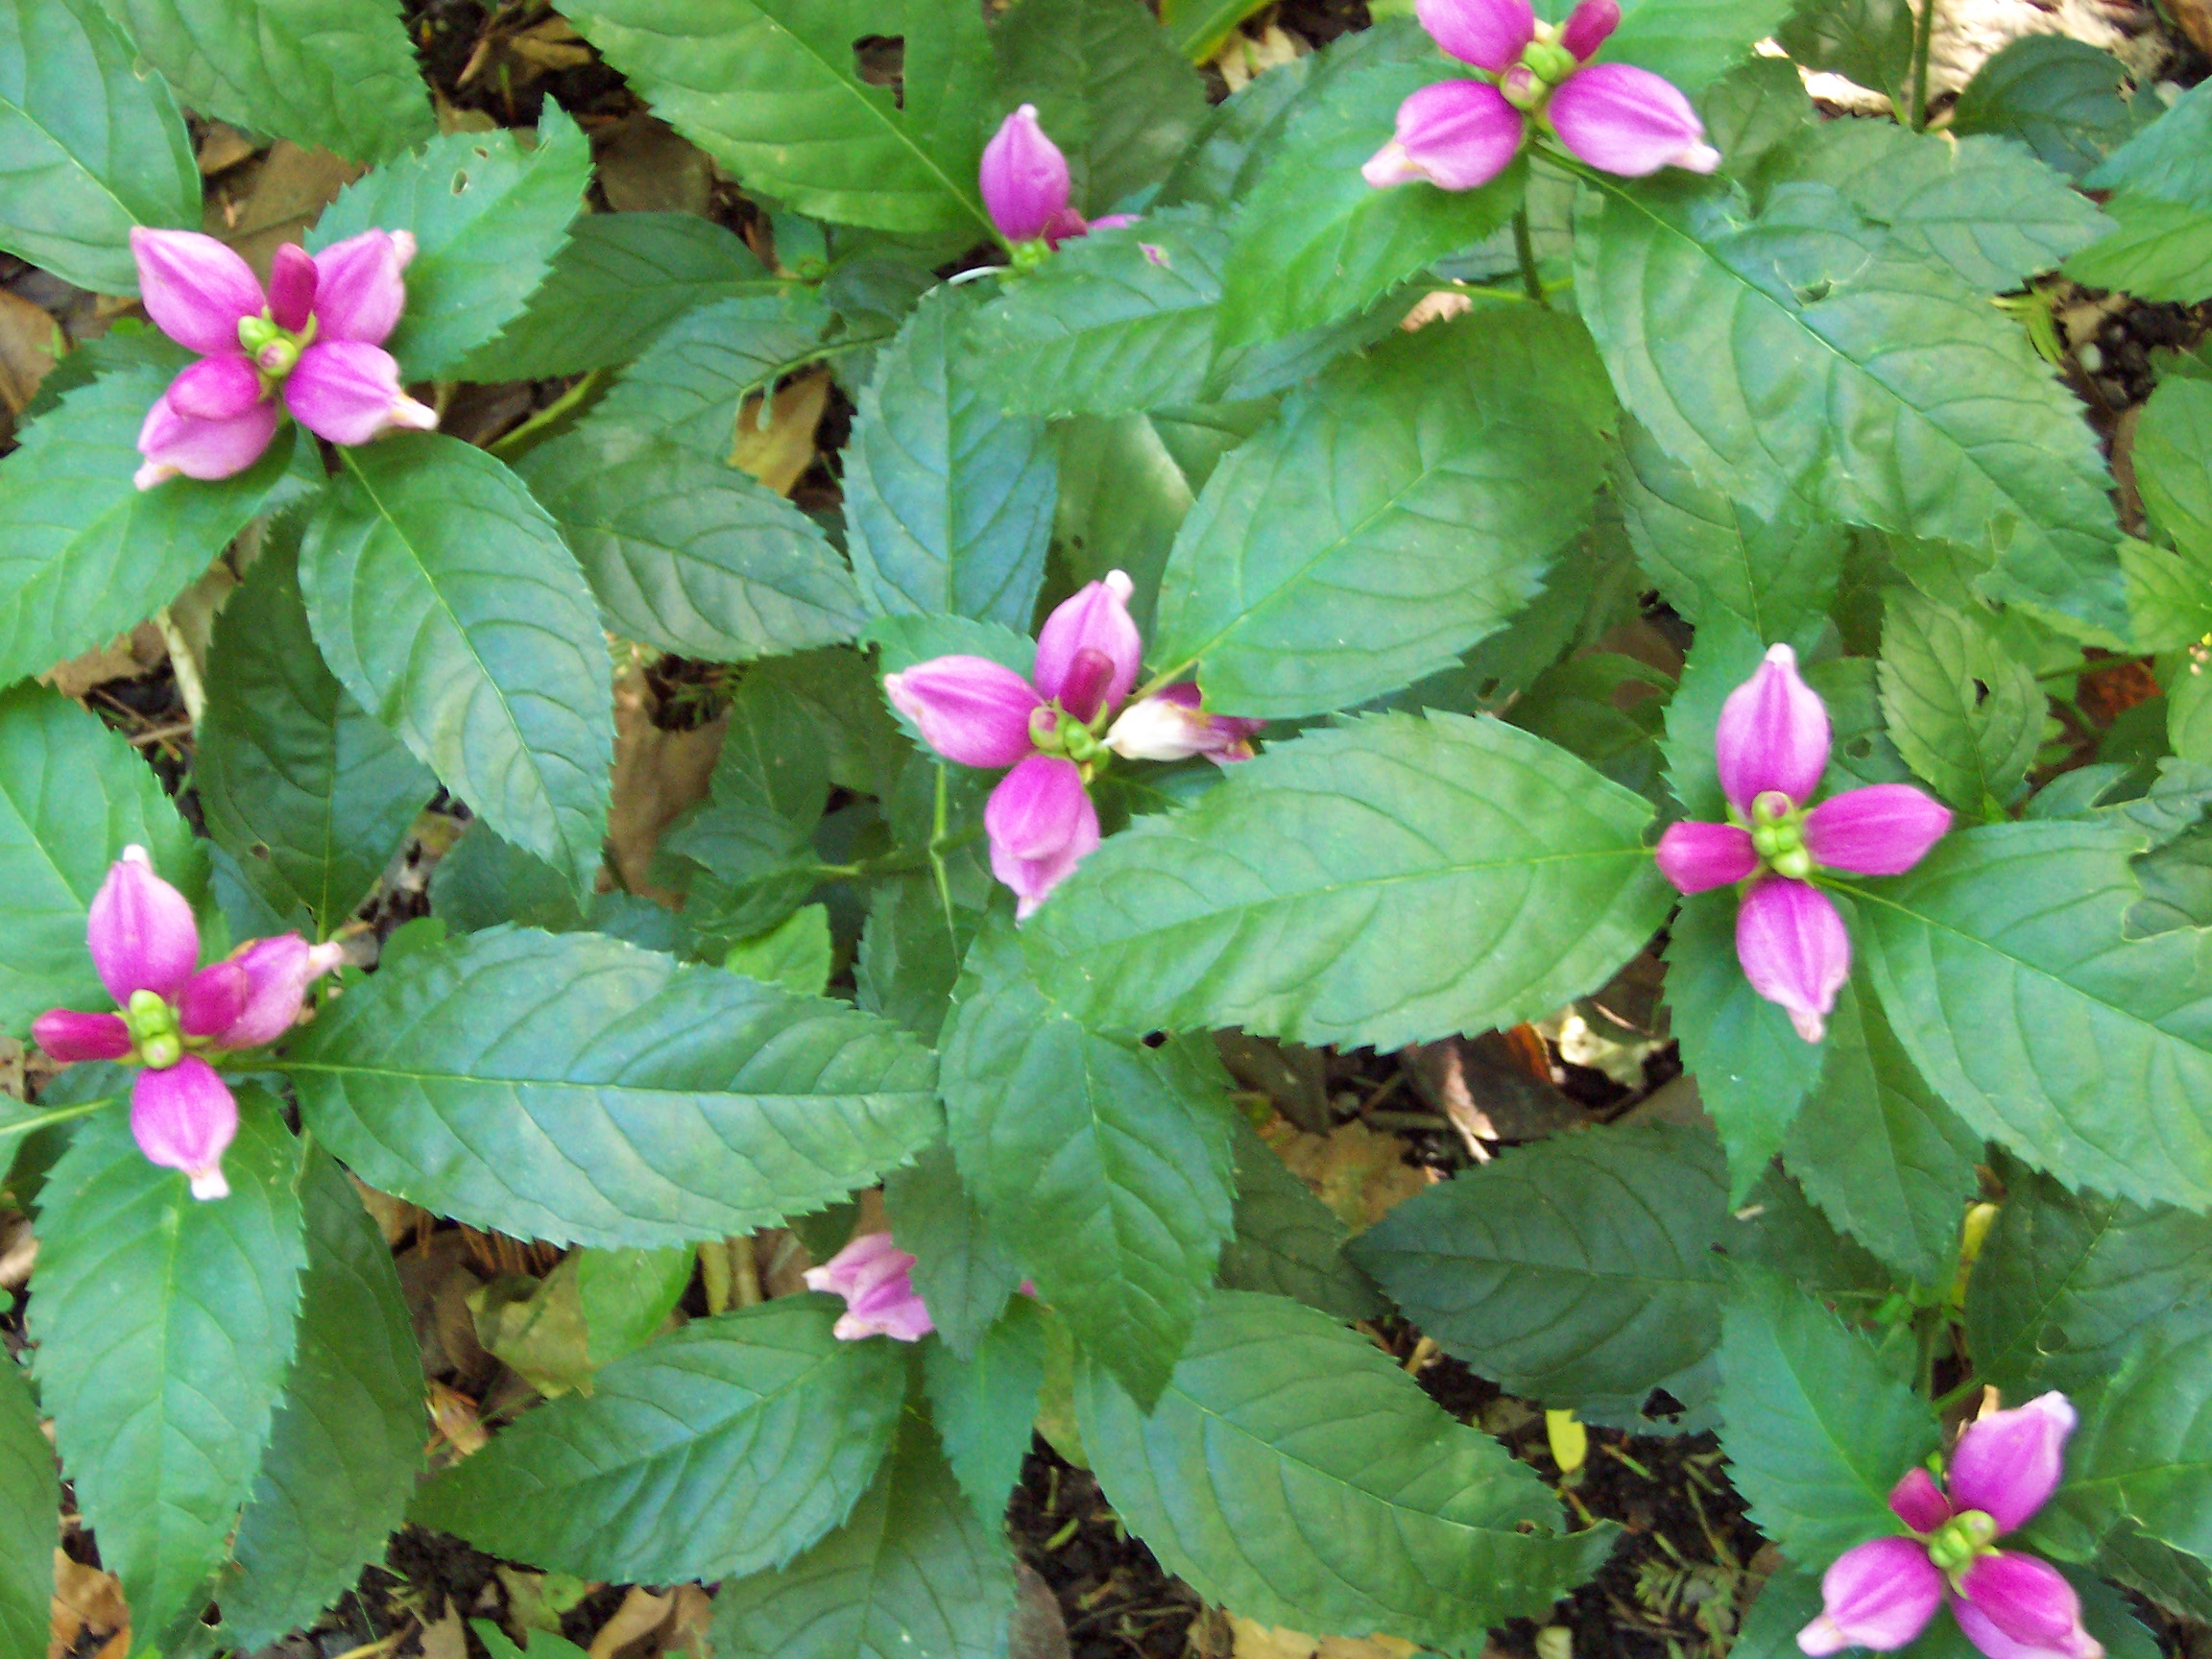
hardy Cyclamen (Cyclamen hederifolium), Turtlehead (Chelone glabra),

photo-4-pink-turtle-head

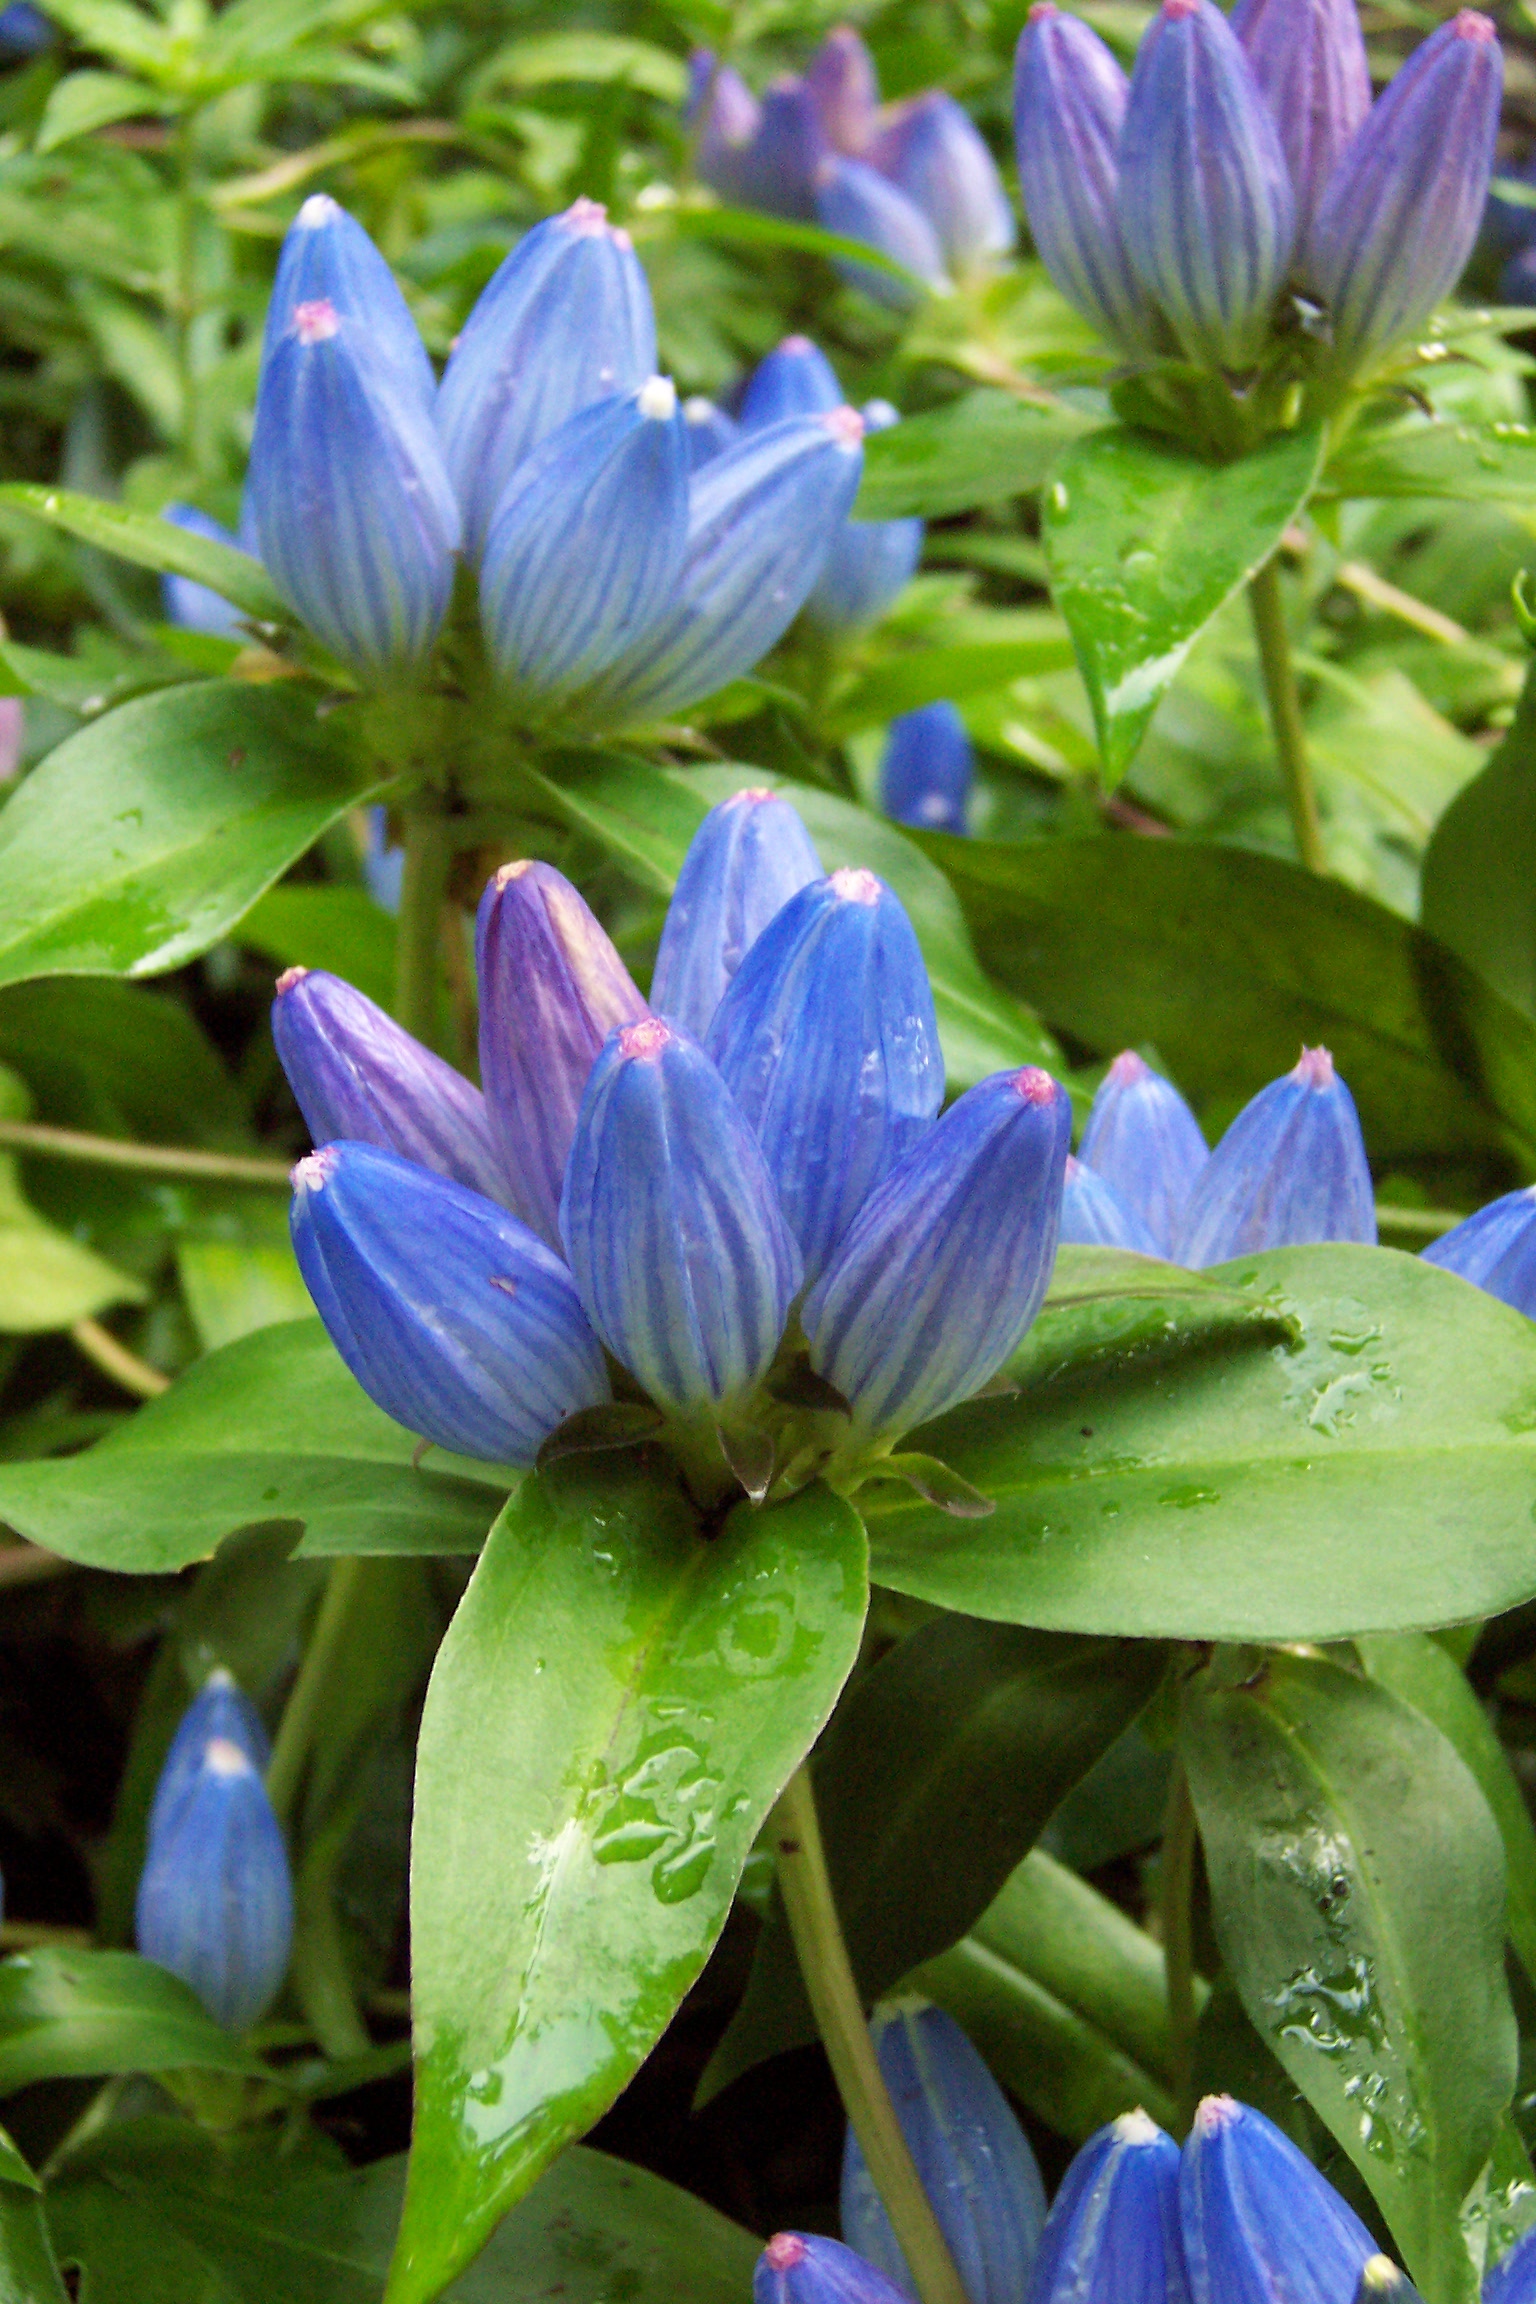
Toadlily (Trycyrtis hirta), Closed Gentian (Gentiana andrewsii),

photo-5-gentianMonkshood (Aconitum carmichaelii),

photo-6-monkshoodGoldenrod (Solidago spp.),  October Daphne (Sedum sieboldii), Pineapple Sage (Salvia elegans), Yellow waxbells (Kirengeshoma palmata), New England asters (Aster noviae-angliae),

photo-7-aster-alma-potschke

and even some long-blooming roses, like Rosa ‘Iceberg’. These are the guests at my fall fete. It’s a full house! I’m very much in a festival mood, even though thoughts of the after-party cleanup are looming. Not in the mood for stiff, funereal mums!

Reforesting the Forest City – Planning for Climate Change

 By Elsa Johnson

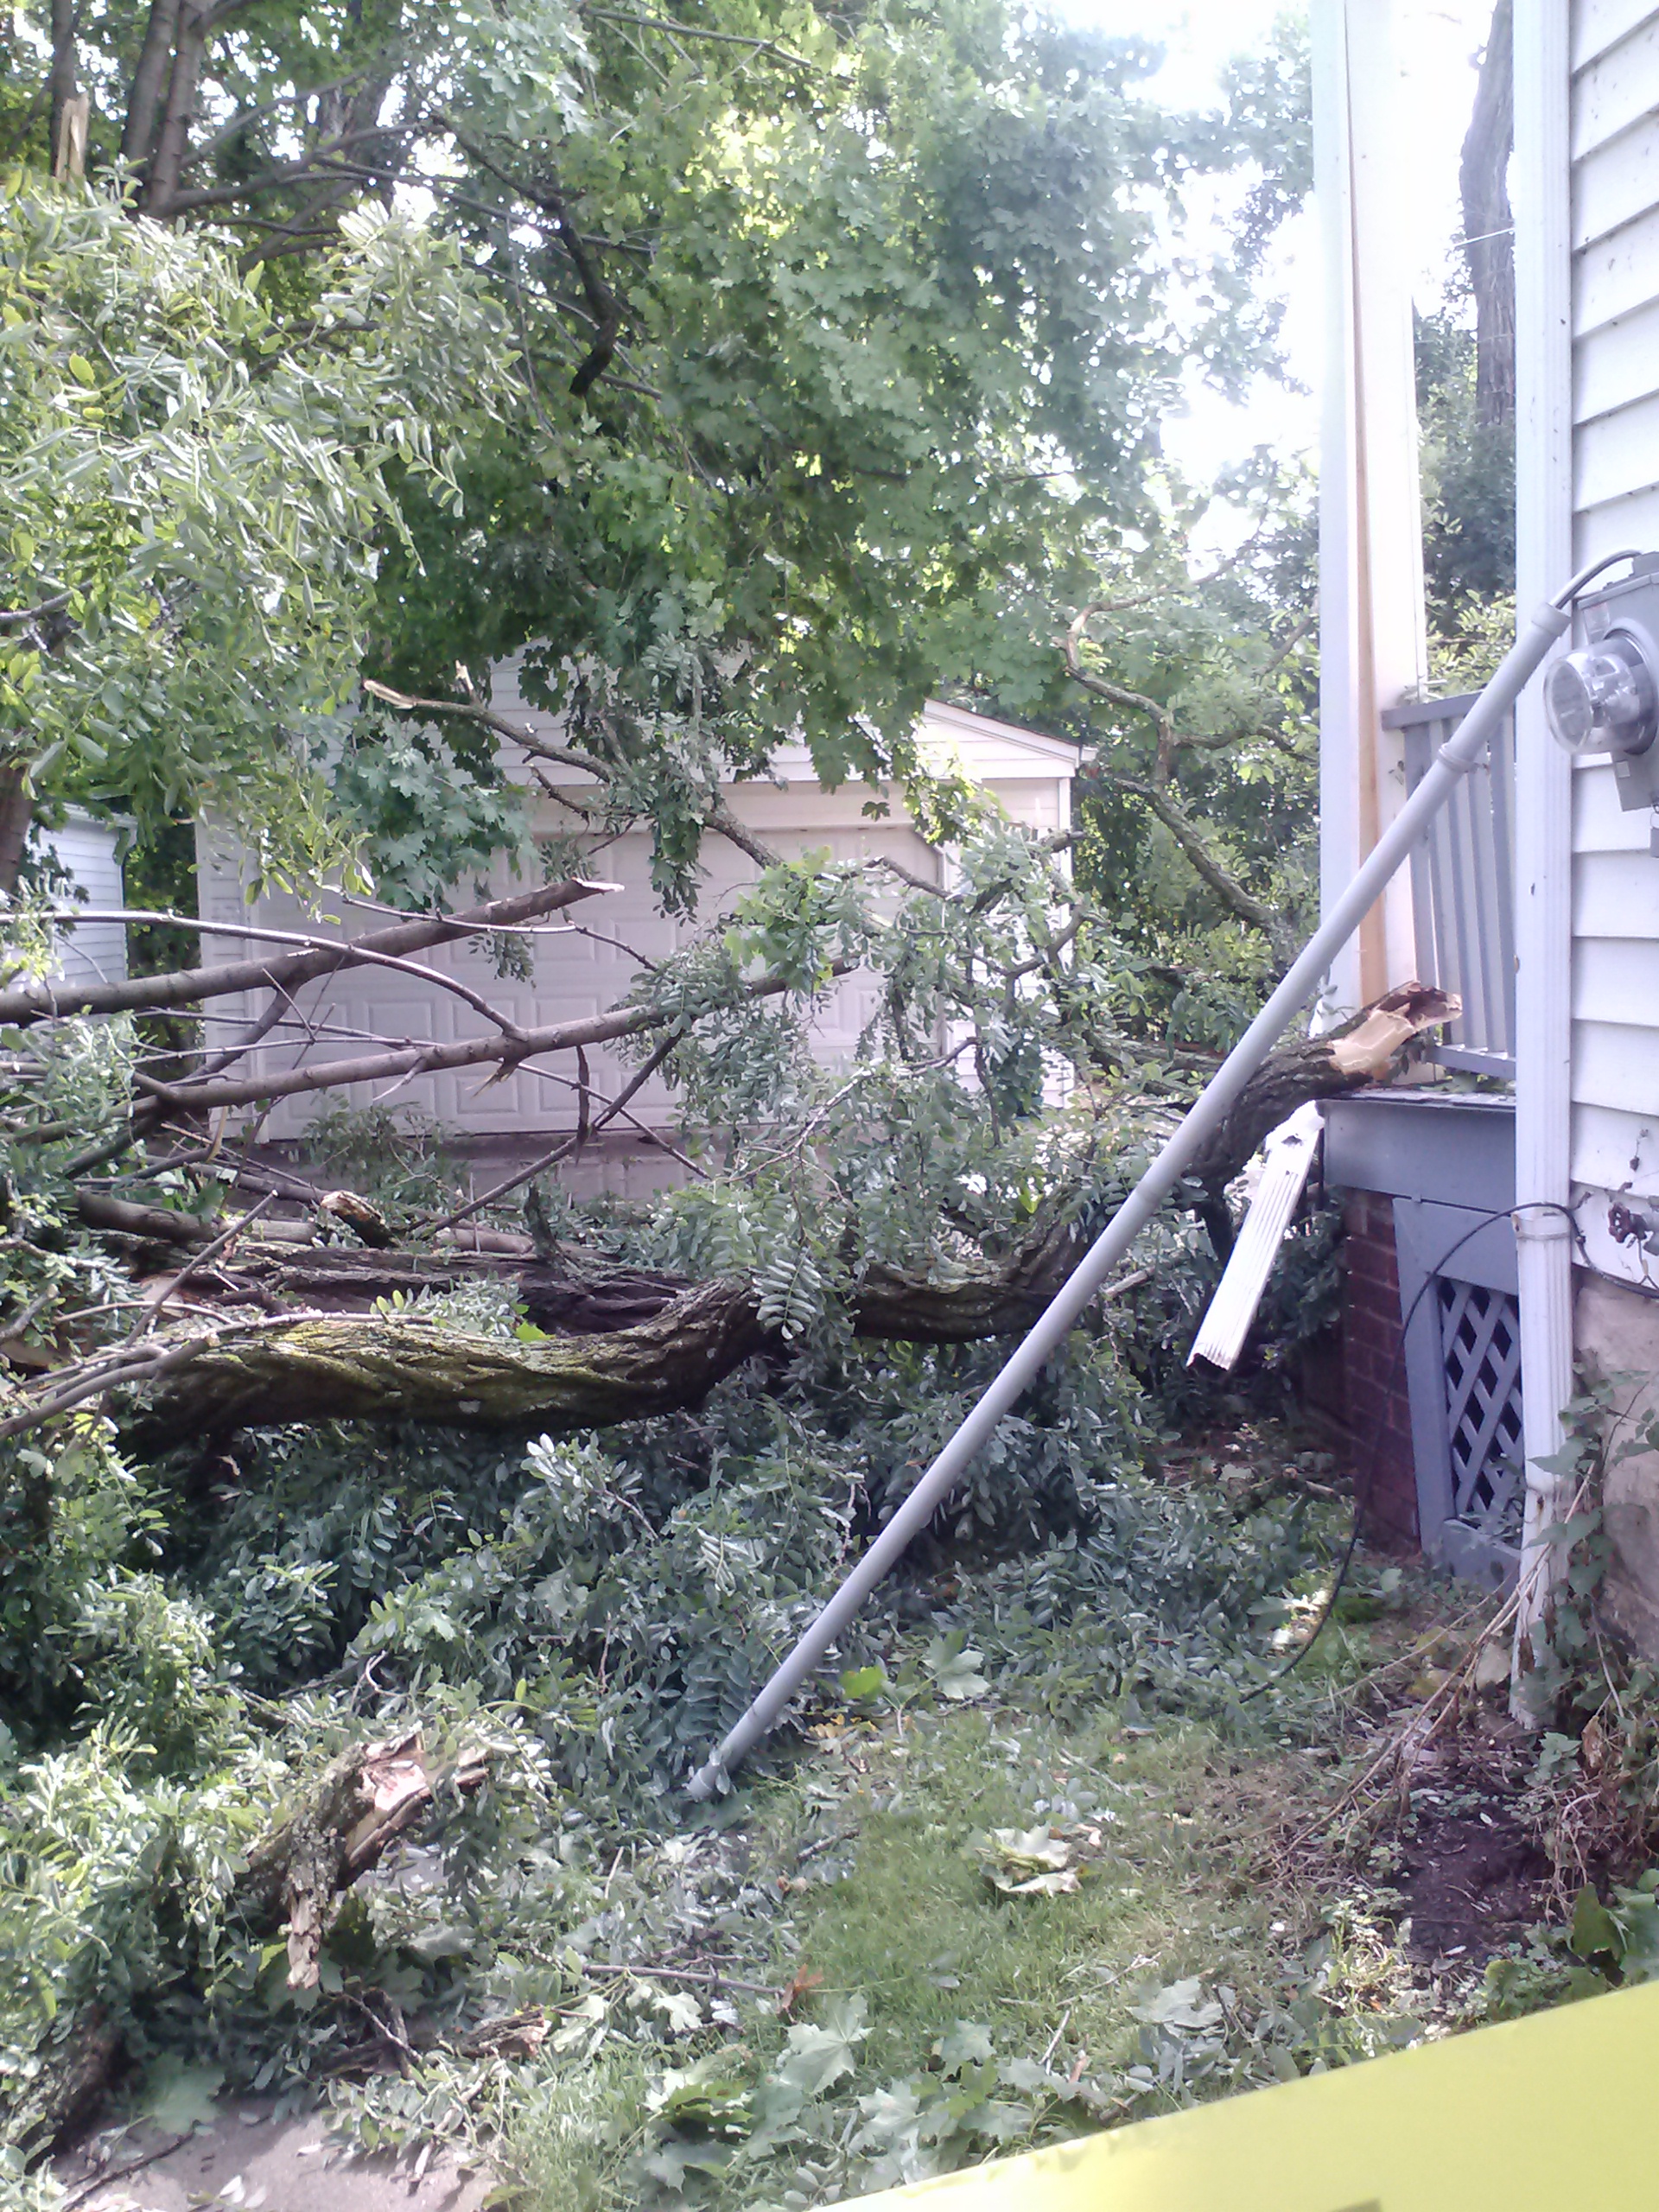
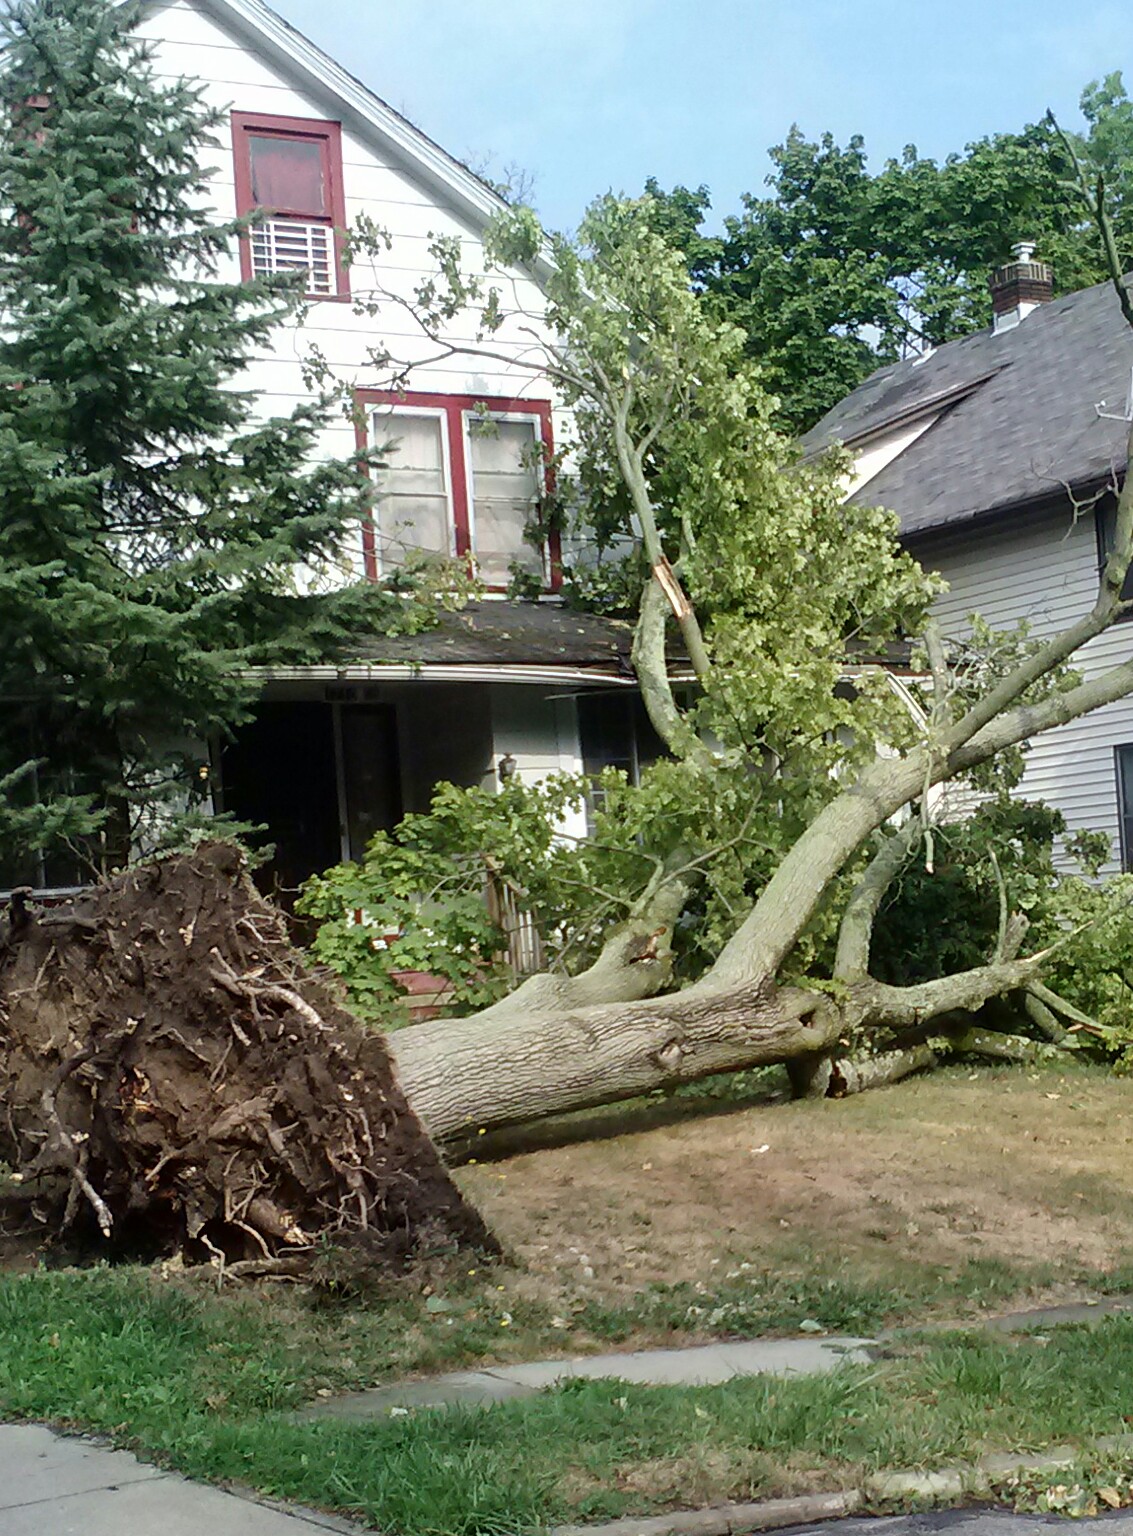
Here I am, sitting on my front porch on a sunny mid-September day, watching the Monarchs drift from buddleia blossom to blossom while listening to a Davey Tree Company crew two doors down the street cutting down and removing 3 huge old black locust trees that all lost their heads in that microburst/possible small tornado mid-summer. This is an older neighborhood, with most houses almost one hundred years old, which means there are an unusual number of unusually old and unusually tall black locusts which that storm unusually affected (one wonders, why did the black locusts, in particular, suffer so much breakage?).

black-locust-after-storm


But it must be observed that, of the trees in my neighborhood, which borders a small park, the black locusts (those that didn’t get damaged) are looking good – fresh green, and healthy – despite a difficult summer of heat and drought. The same cannot be said of many of the other trees on this street, which are mostly ash and maple, with a couple horse chestnut trees at either end. The ash, of course, are succumbing to Emerald Ash Borer – and the horse chestnuts always tend to look a bit sorry by summer’s end, but to what are the maples succumbing? On my very short street (7 houses on one side of the street, 7 on the other, for a total of 14 houses) one maple was uprooted by the storm, but half of it was dead already, and of the three maples directly across the street from my house, two of them have many dead or dying branches in their upper canopy – with a bit more dying each year, for the past several years.

  maple-following-storm                                                                      

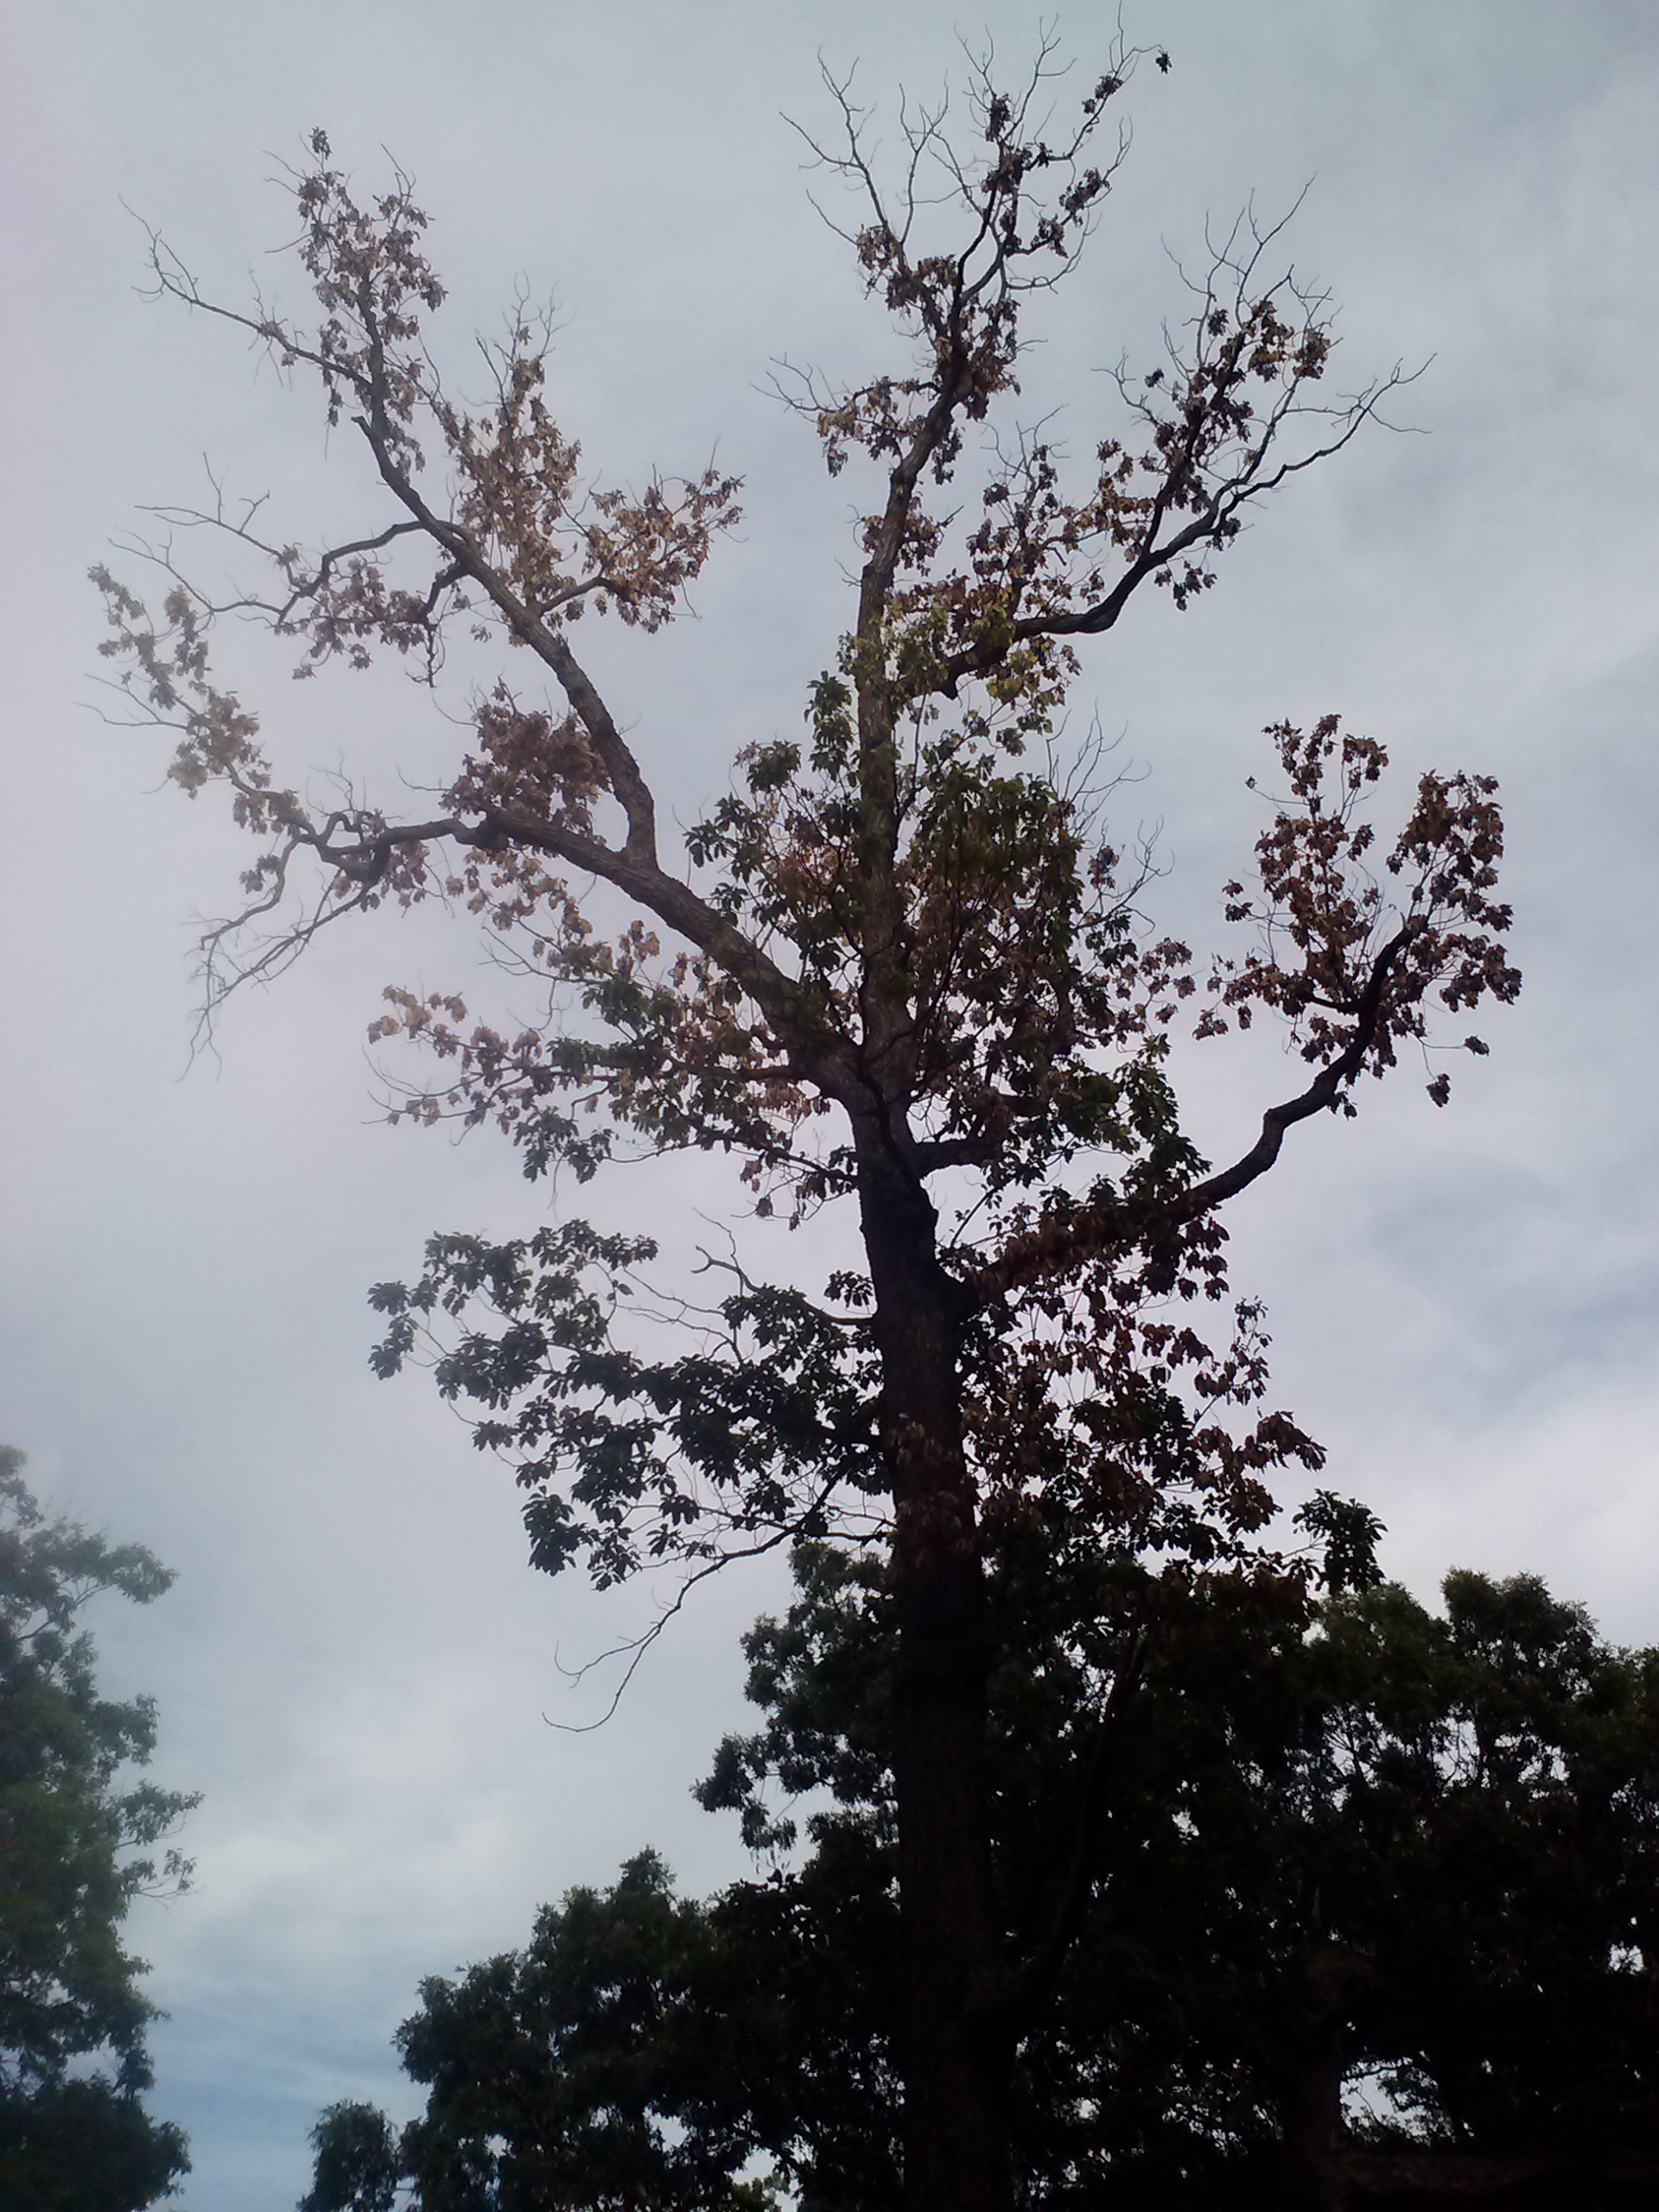
In another Cleveland Heights Neighborhood a friend has pointed out an area where many large, old oaks have recently died and been removed, and where others are looking not so good. Then there are the dead and dying large old oaks in certain areas of Forest Hill Park (and now a specimen beech, too).

      sick-oak-tree                                                          

What’s going on?

So I was particularly interested in Louis Iverson’s presentation on the U.S. Forest Service’s Climate Change Tree Atlas, when he spoke recently at the Cleveland Museum of Natural History’s 2016 symposium Nature on the Edge. And what a useful tool this is! Using computer modeling, projections have been made for individual tree species’ survival and ability to cope or thrive in best cast and worse case scenarios under climate change by 2100.

This tool is useful in two ways. The first, by helping us to diagnose and understand what is going on around us now – and the second, by helping us make wise decisions in both the public and private spheres concerning tree choices that will survive and adapt to a changed and ever changing climate here in northeast Ohio.

Climate change will not be leisurely, as measured by a tree’s life, with lots of time for tree species to adapt, so maybe what we are seeing now, already, are the first signs of lack of adaptability of certain tree species. And while it may be heresy to some, perhaps instead of seeking to restore species traditional to northeastern Ohio’s forested ecosystems, we should be introducing trees that currently thrive in climatological habitats several climate zones further south. For what the worst case climate change scenario forecasts for us in 2100 is a summer much like the one we just went through, with fierce storms, extreme downpours, and prolonged periods of heat and drought – only all of it, in the worst case scenario, even more so.   

It would be nice if we had time to explore, via research, the possible negative ramifications of such introductions, including the possibility of hitchhiking pests; a tree’s invasiveness potential; and possible disruption to synecological relationships (yeah – I had to look that one up, too), from fungi, to pollinators, to dispersal agents, but in the life of an ecosystem, or most northeast Ohio hardwood trees, 100 years is a short time, where, for us, it is more than a lifetime. Once those old tree are gone and there is no one left to remember them, it will be as if they never existed – things we would try to imagine, like passenger pigeons darkening the sky in vast numbers. There is no turning the clock back.

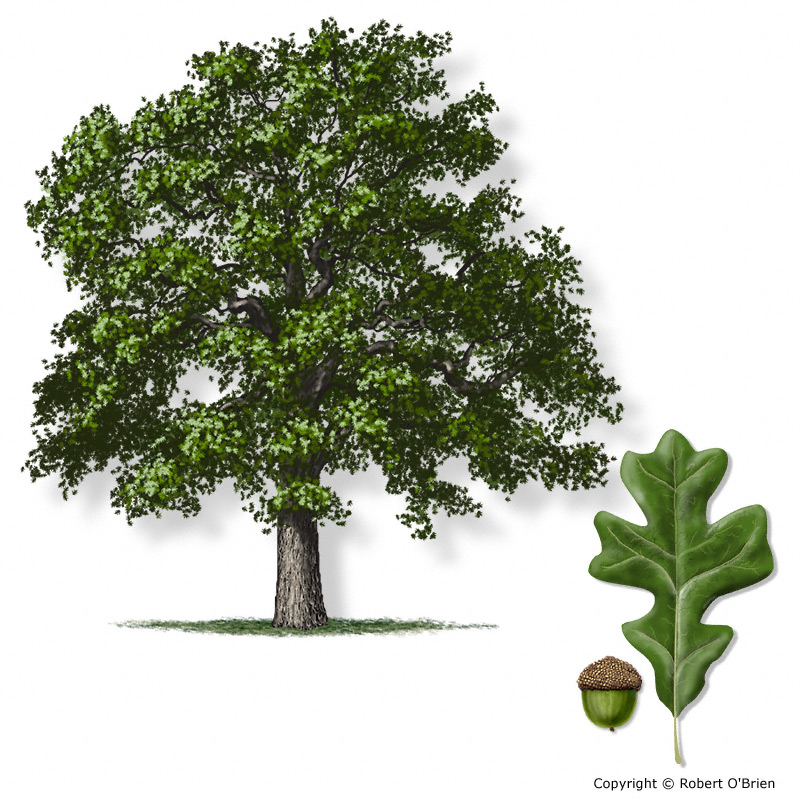
So what can we learn from the Climate Change Tree Atlas for NE Ohio? The chart lists 70 trees that currently grow in NE Ohio and examines each species for vulnerability and/or adaptability to change, then predicts which trees should show increase, decrease or no change, according to the model. Thus, by 2100, the chart says we can expect to see a decrease in black cherry, white ash, American basswood, swamp white oak, eastern hemlock, eastern white pine, and black ash (there are a few more – I selected those with which we are most familiar). These tree all are rated as having VERY POOR POTENTIAL  to survive and thrive under worse scenario climate change.  Listed as having POOR POTENTIAL are sugar maple, American elm, pin oak, and black maple.  Gee – that’s a lot of the trees we commonly find around here.

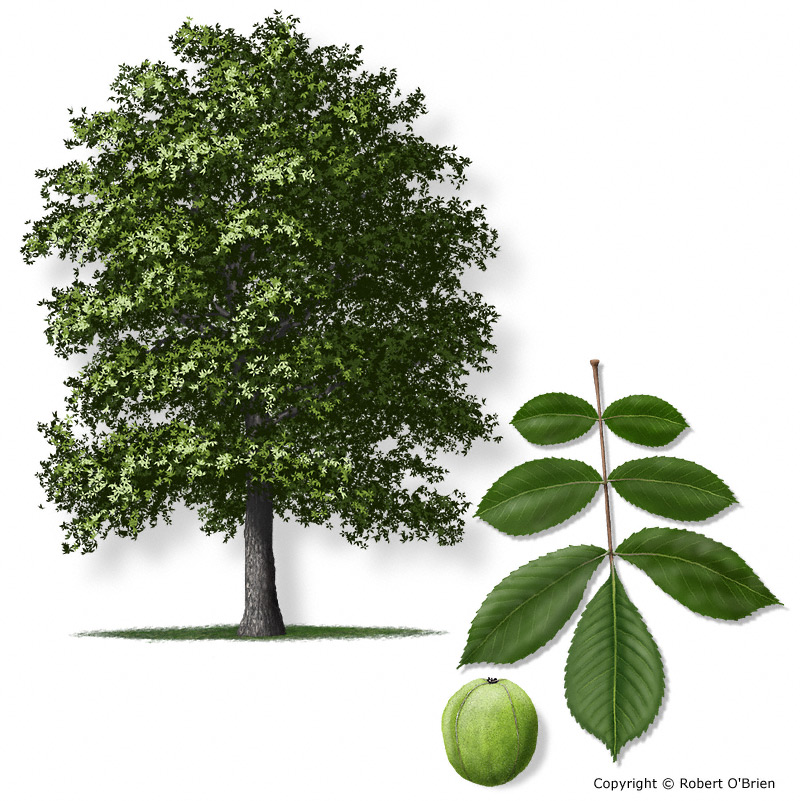
And what present tree species can we expect to have good potential? Osage orange, black oak, honeylocust, burr oak, butternut hickory, scarlet oak, and hackberry all have VERY GOOD POTENTIAL to survive and thrive. Also with GOOD POTENTIAL are black walnut, sassafras, eastern cottonwood, shagbark hickory, sycamore, cucumber tree, and shingle oak. These trees are already present here, and would be expected to cope with climate change and increase their numbers/habitat.

Some other existing species numbers in 2100 are predicted to REMAIN ABOUT THE SAME, according to the chart. This group includes red maple, northern red oak, slippery elm, eastern hop hornbeam, pignut hickory, black locust, black willow, Ohio buckeye, and serviceberry.

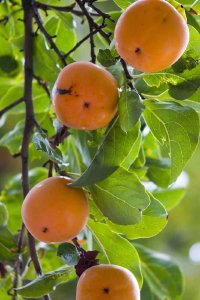
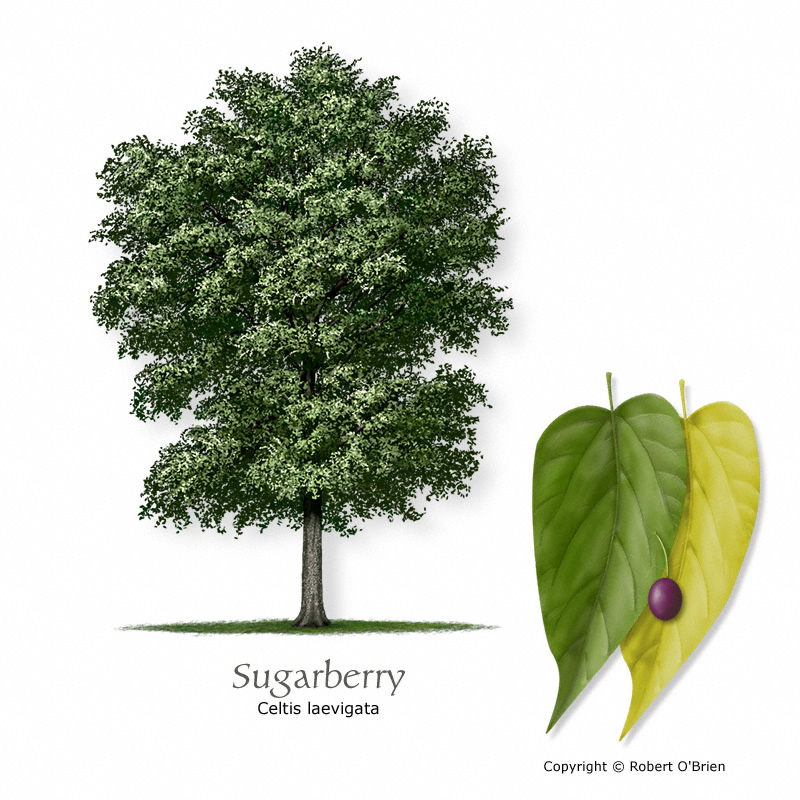
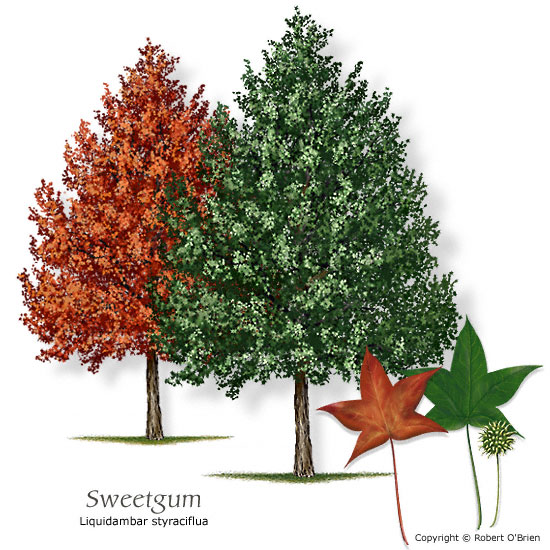
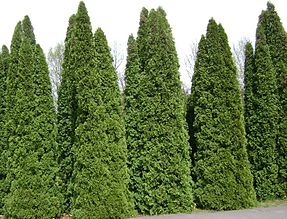
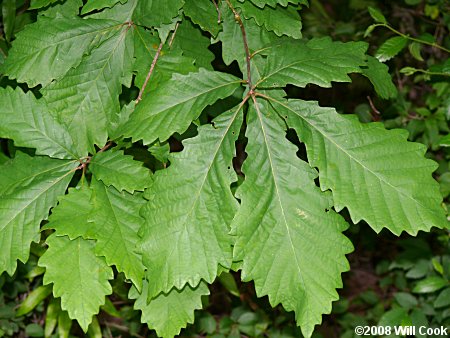
The chart also includes a list of trees that do not presently grow here but which are adaptable to what this climate will likely be in 2100, and these are on a list on the chart labeled NEW HABITAT.  These are the trees that one might consider introducing: chestnut oak, Eastern redbud, Eastern red cedar, Northern white cedar, chinkapin oak, black hickory, blackjack oak, common persimmon, post oak, shortleaf pine, shumard oak, southern red oak, sugarberry, sweetgum, and winged elm. 

  common-persimmon-tree-1

Common Persimmon  

sugarberry-hackberry150                                                         sweetgum

6434_p.tif
Short leaf pine

thuga

Thuga

oak_post150

Post Oak

swamp-chestnut-oak

Swamp Chestnut Oak

hickory_black150

Black Hickory

oak_blackjack150

Blackjack Oak

Interestingly, most of the pictures I found for these trees came from a data base from Texas. Most of these tree are common to Texas, which tells you what worst case climate change may look like here in northeast Ohio in 100 years. And here I leave you – with a lot to think about.

The Brand New Ralph Perkins Wildlife Center and Woods Garden at the Cleveland Museum of Natural History

by Elsa Johnson

Photos by Laura Dempsey and Elsa Johnson

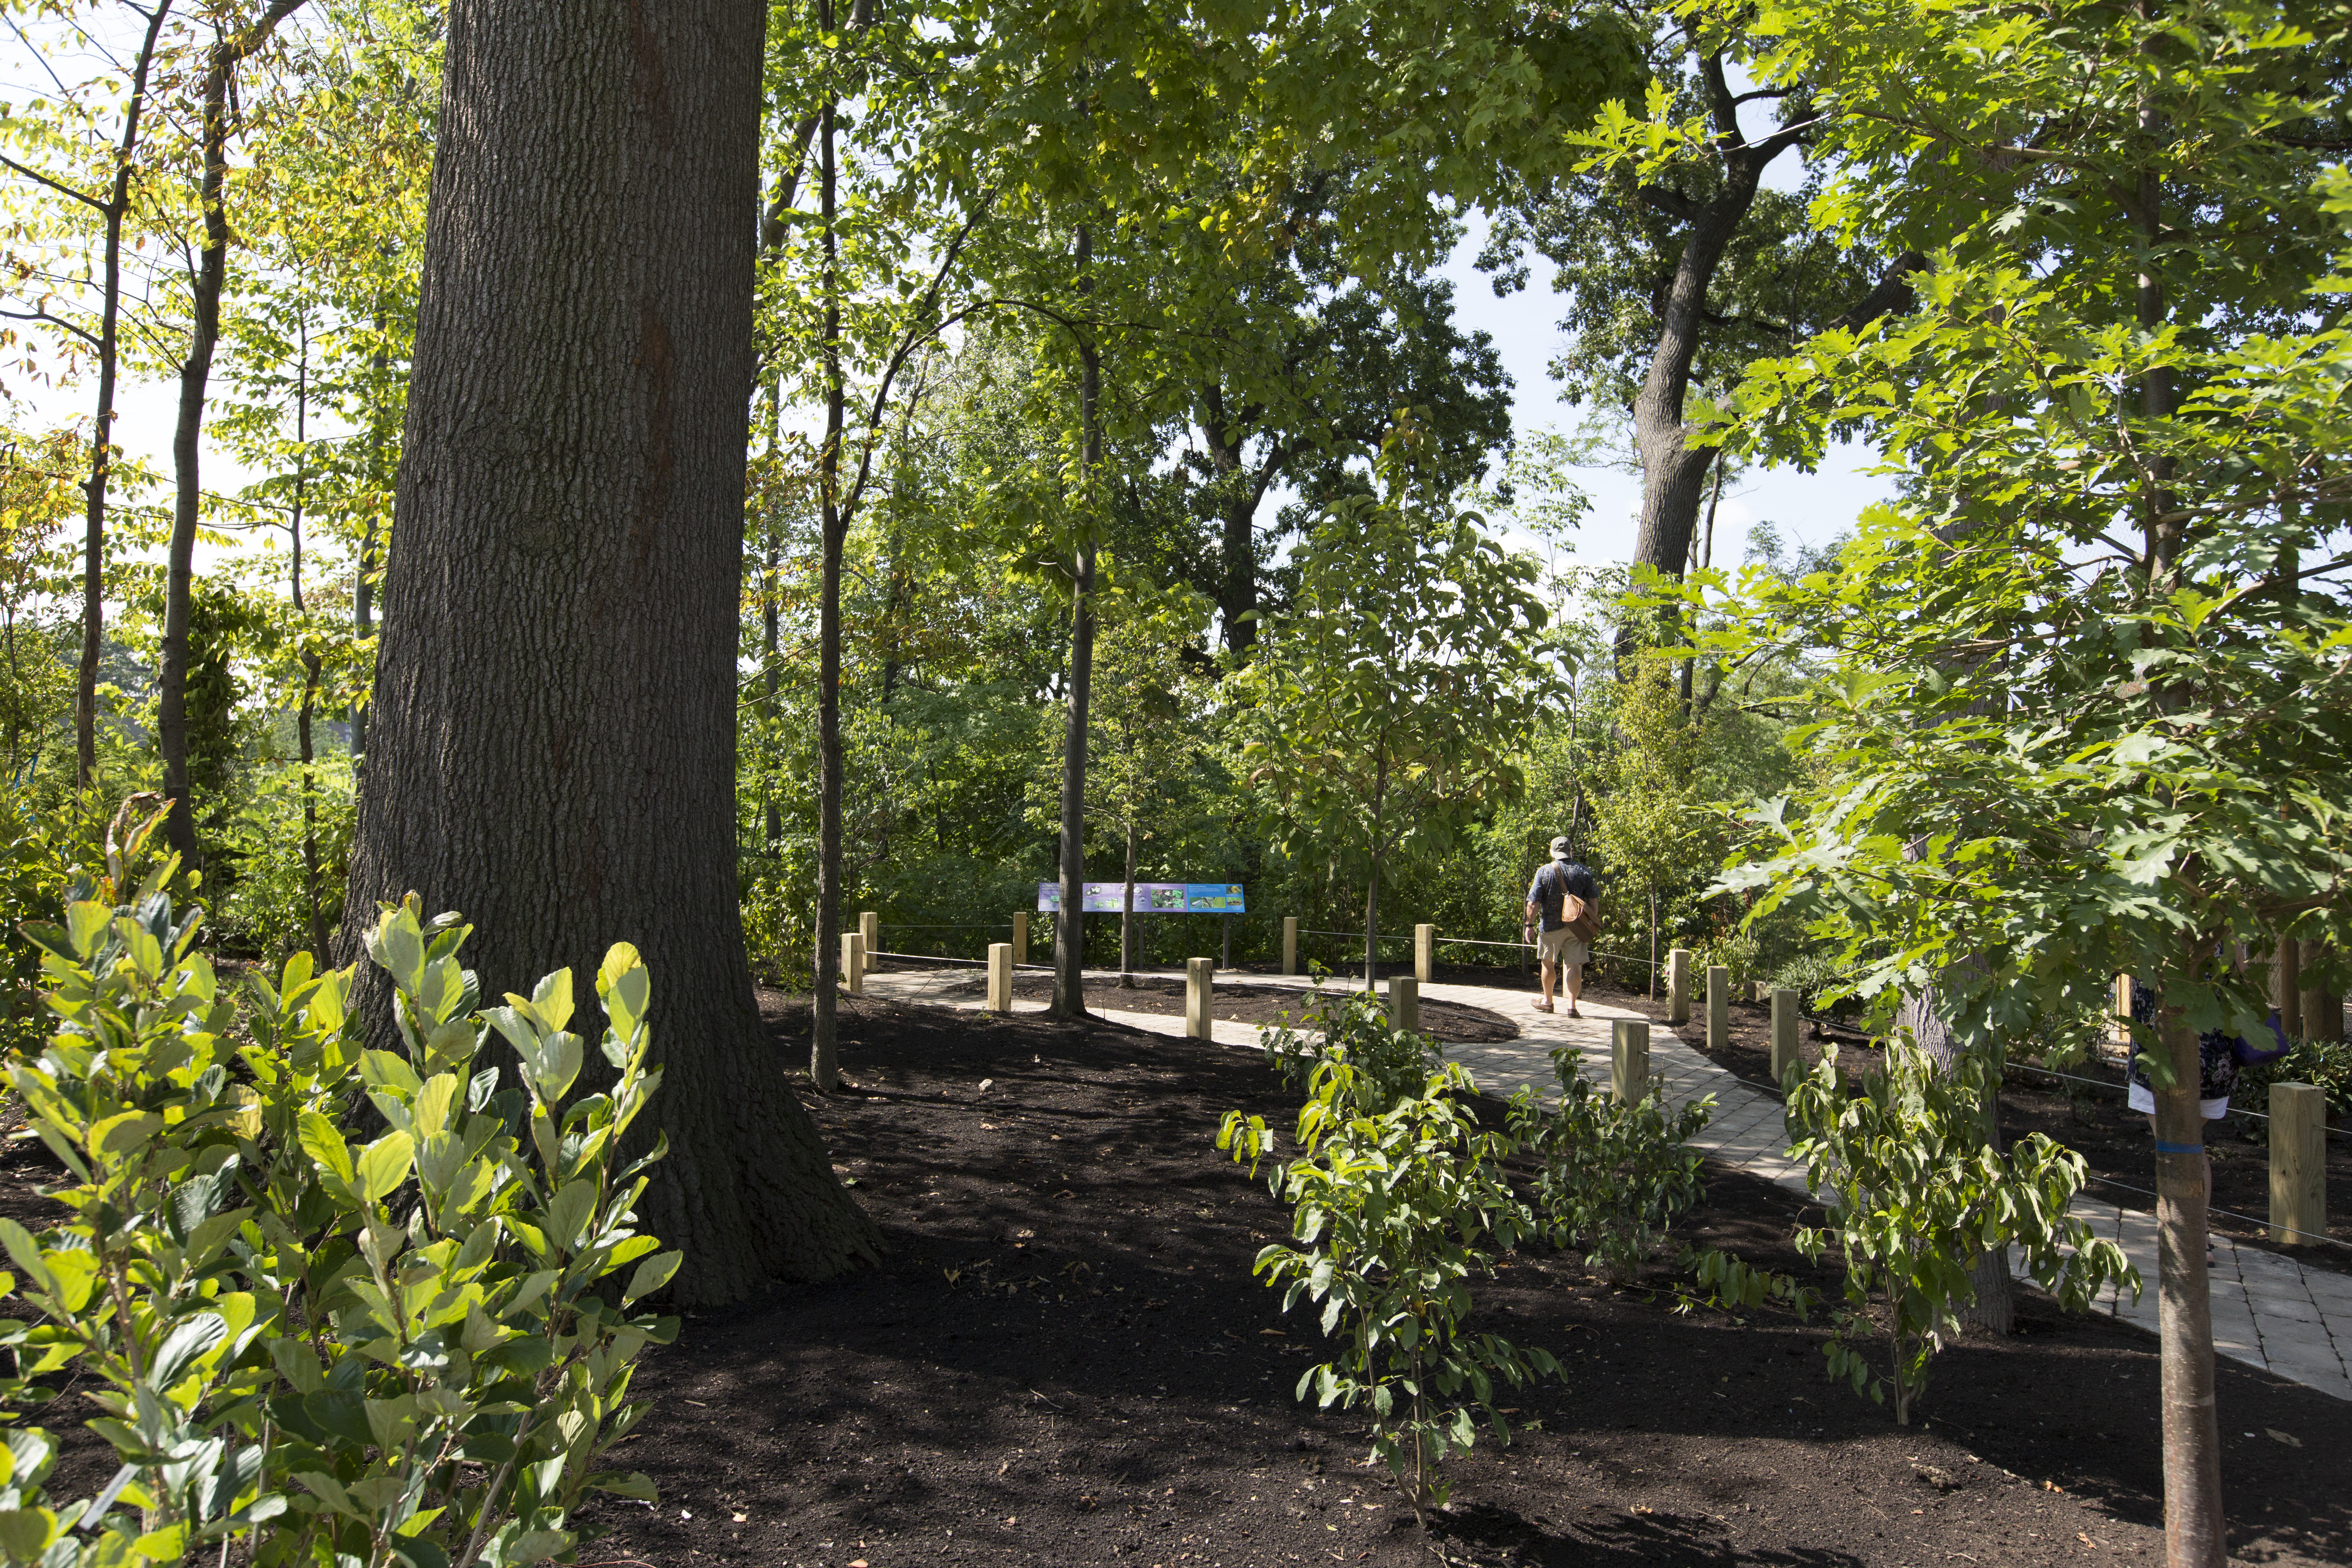
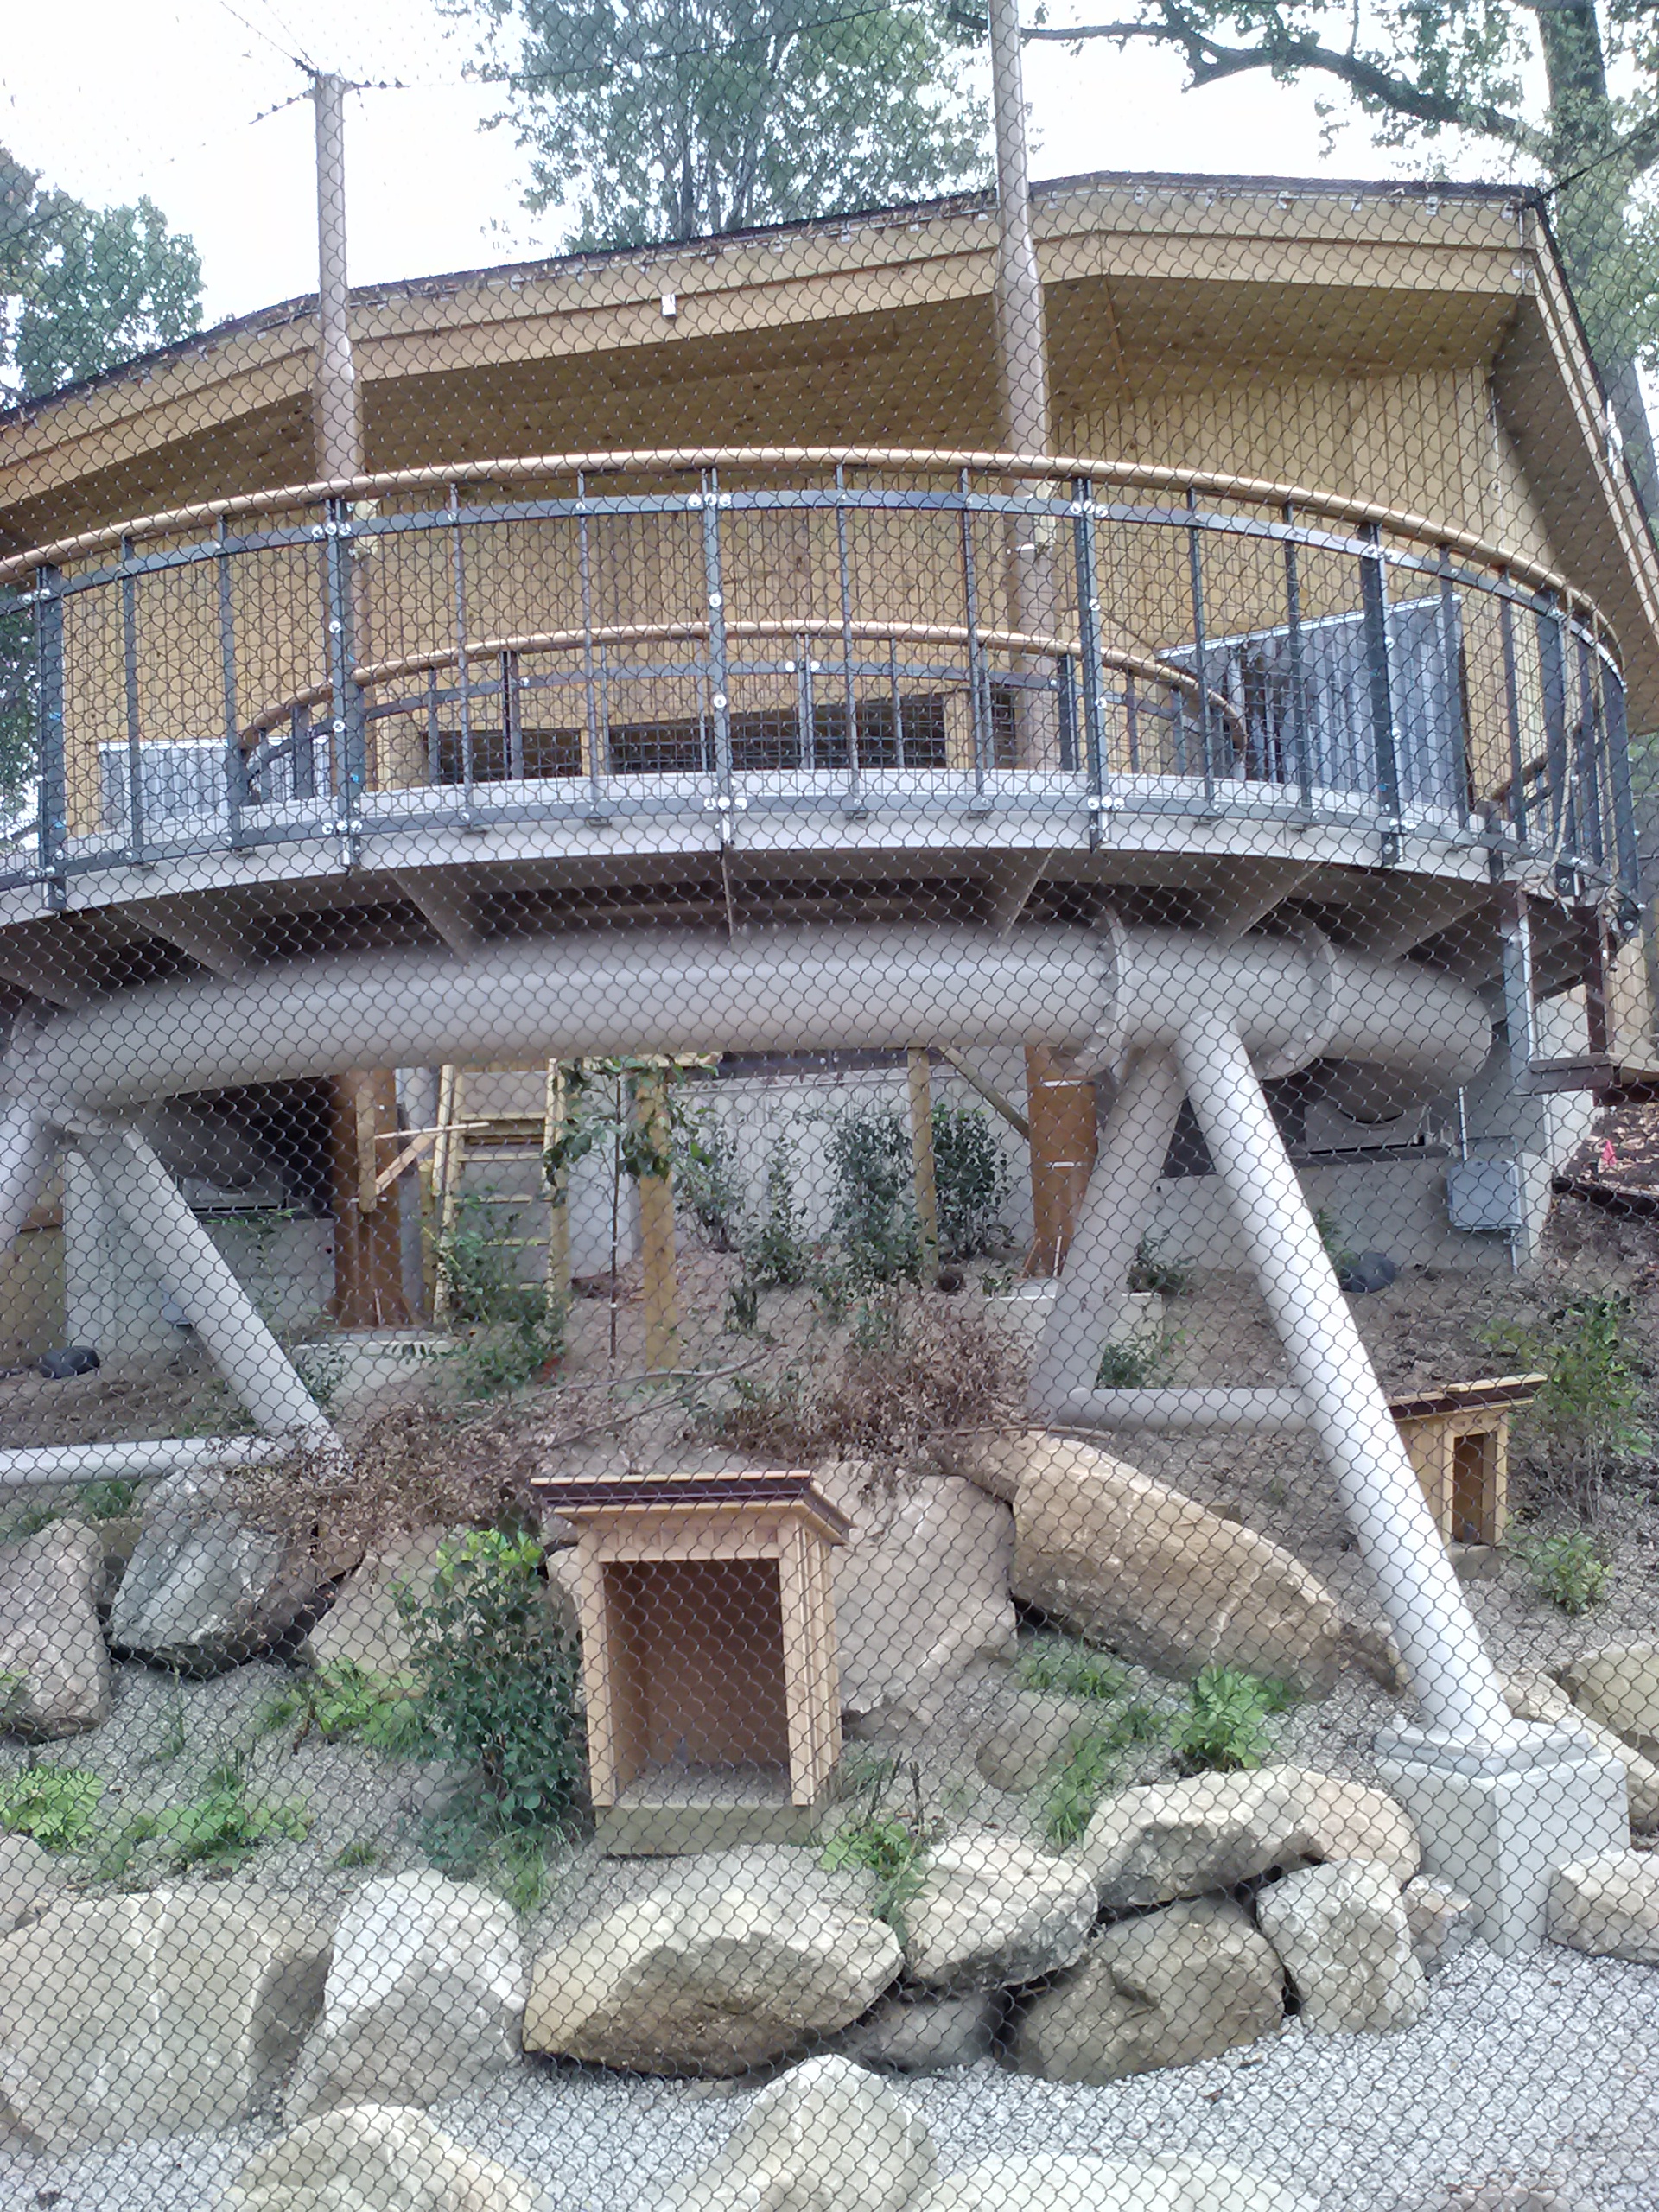
Congratulations to CMNH for daring to build this project on this extremely challenging site. I believe it’s going to grow up to be tall dark, and handsome (though at the moment it’s still a bit on the adolescent raw side). perkins_woodsgarden_adultFrom my perspective as a landscape architect/designer, this is a great moment to go, goggle at, and begin to appreciate how difficult and challenging this site is, and how hugely complex and interesting the design response has been. It’s quite exciting.

perkins_bobcat_family

The site chosen was a previously unused hillside lying just to the southwest of the existing CMNH main building. It had a mature mixed hardwood climax forest growing on it, including several large stately American Beech trees; these were saved (though one looks just a bit iffy). Of the trees that were, of necessity, cut down during this project and in the building of the new parking garage, as many as possible were recycled and used in the building of new nature center structures.

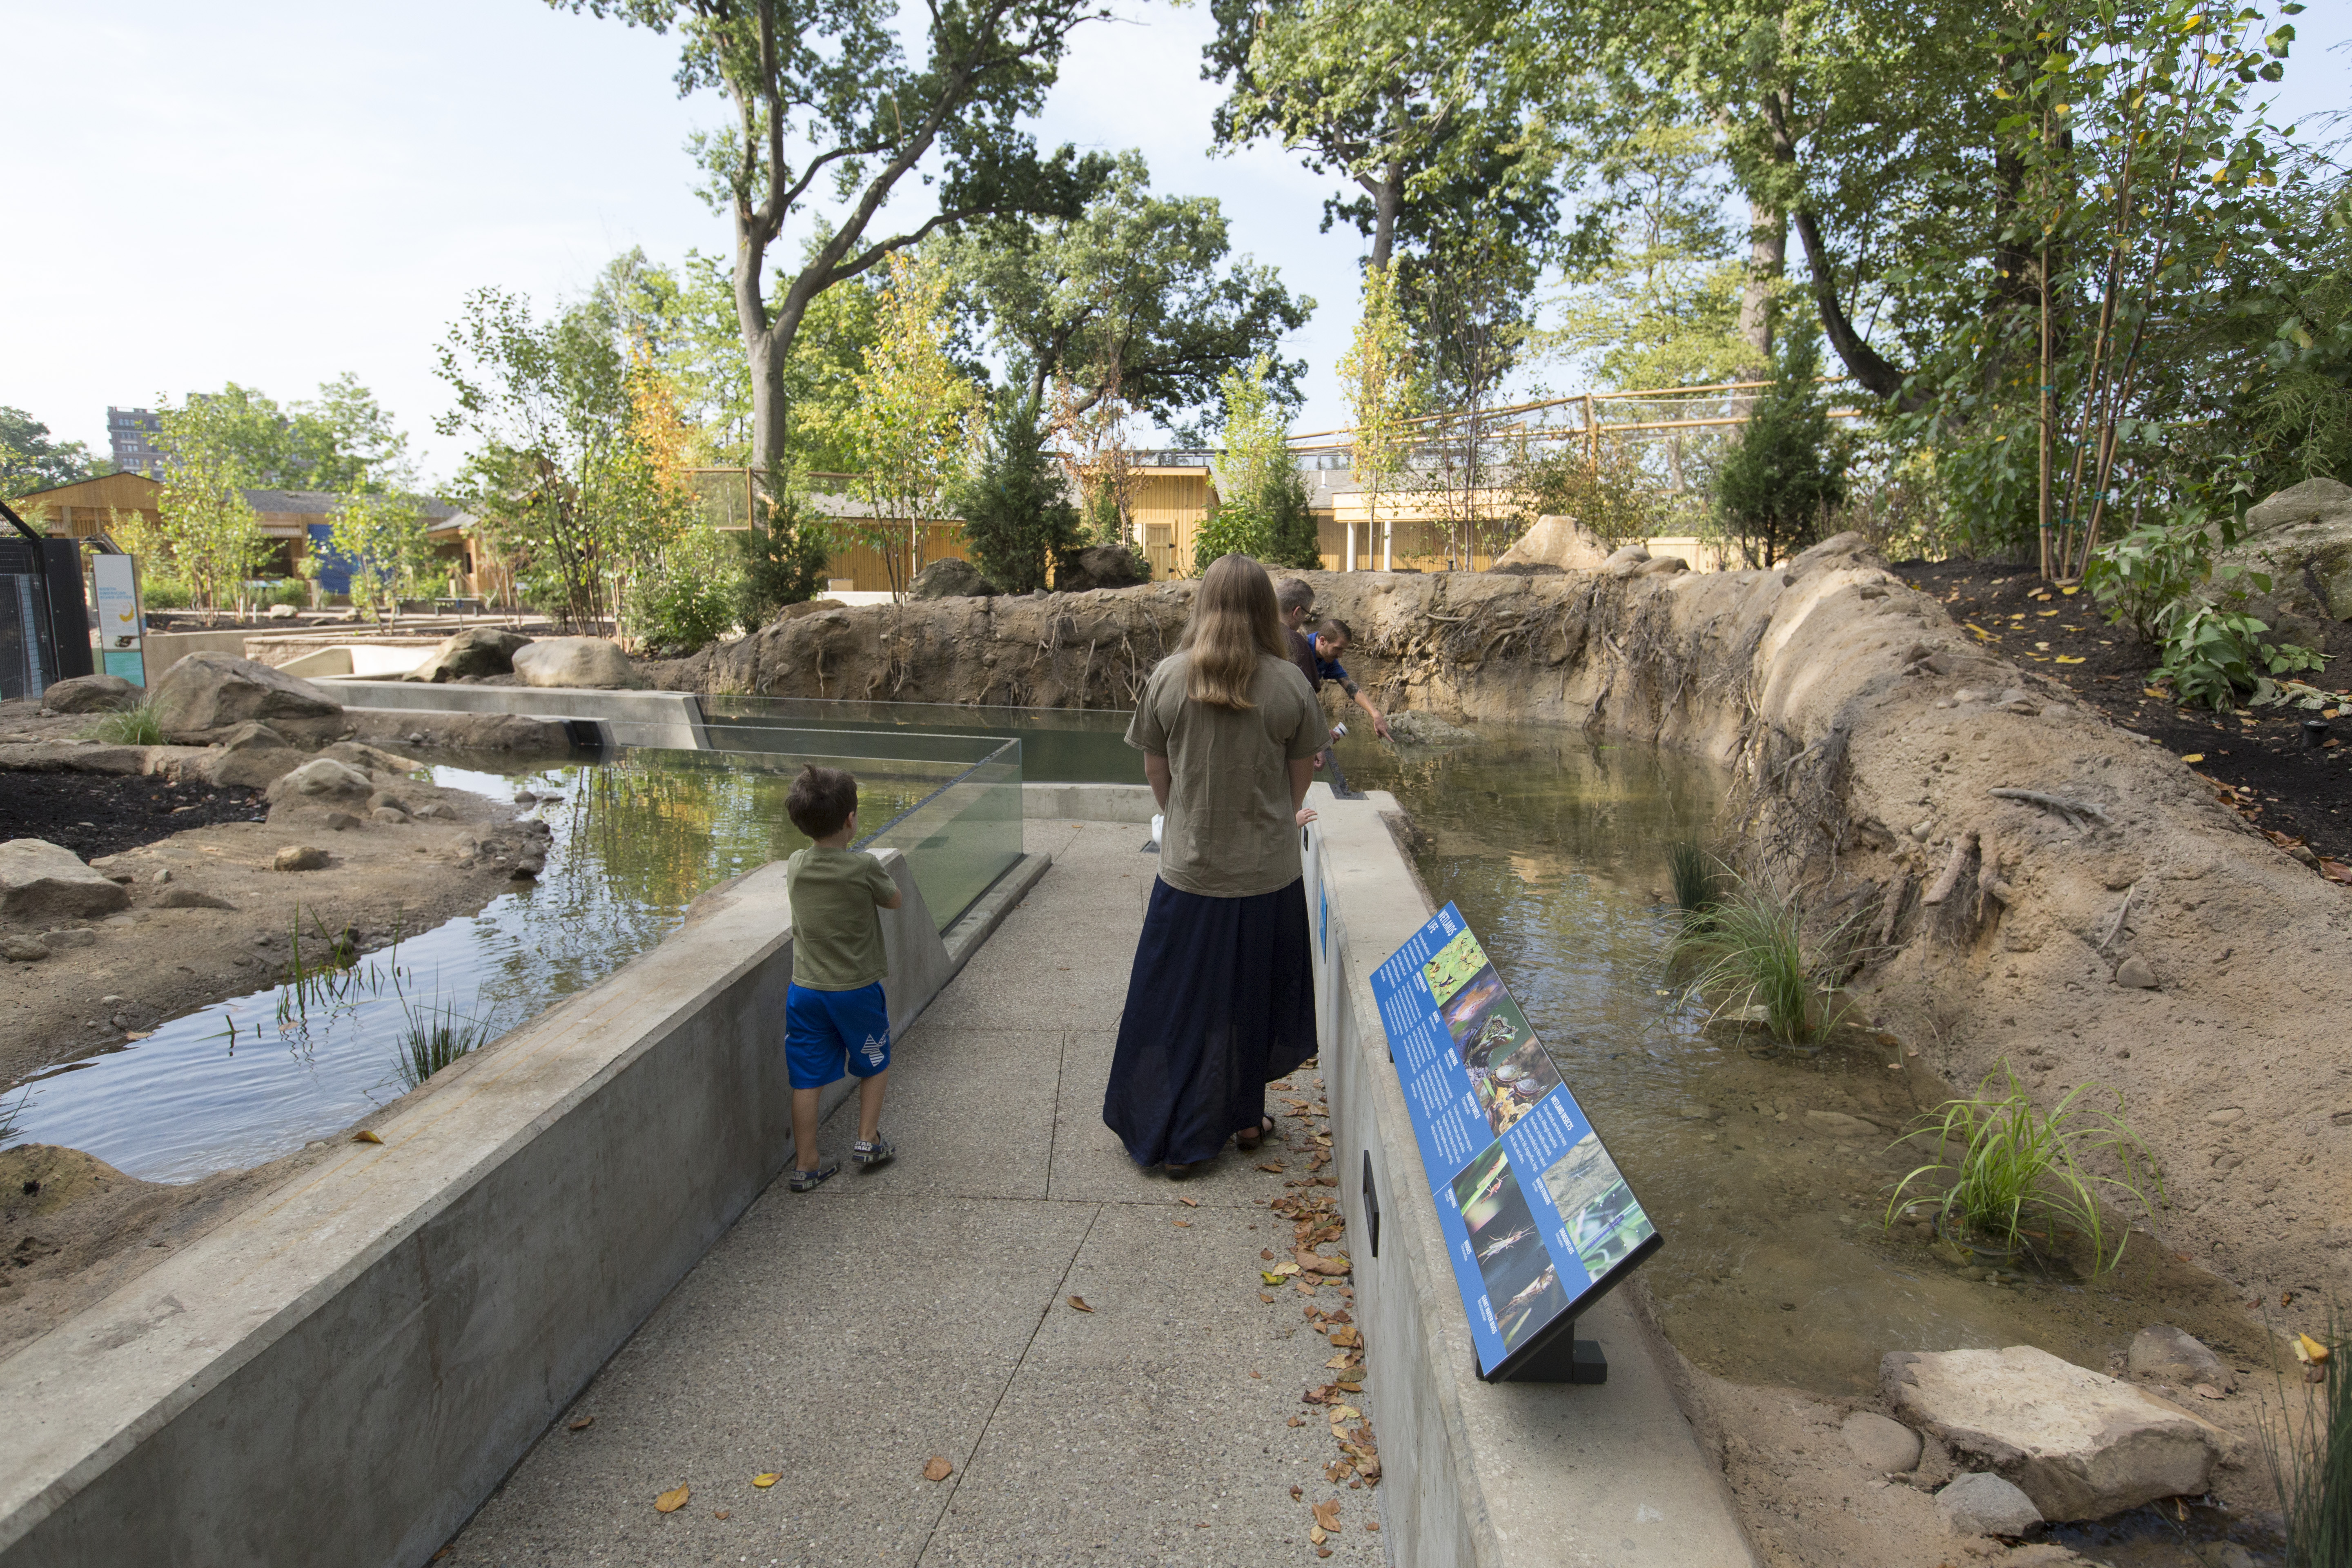
The trees that remain are the botanic backbone of the site and of the ecosystem of which they are representative: the Lake Erie Allegheny Plateau watershed. perkins_ribboncutting_12While other unique native-to-northern Ohio bioms are on exhibit here — such as the otter pond — they are crafted artificial insertions into the fabric of the site. perkins_otter_family_1The pre-existing landscape is the skeleton and the glue that holds the whole conceptually together.   Additional native plants, all appropriate to Lake Erie Allegheny Plateau bioms, were still being added on the day my friend and I visited…

perkins_flower_1

but it will take a while for the new plants to settle in, and it will take a while for the old plants to recover from the assault on their root systems and on their soil structures.  Which is a way of saying trees and plants are not presently at their best — but in time will get better — much better.

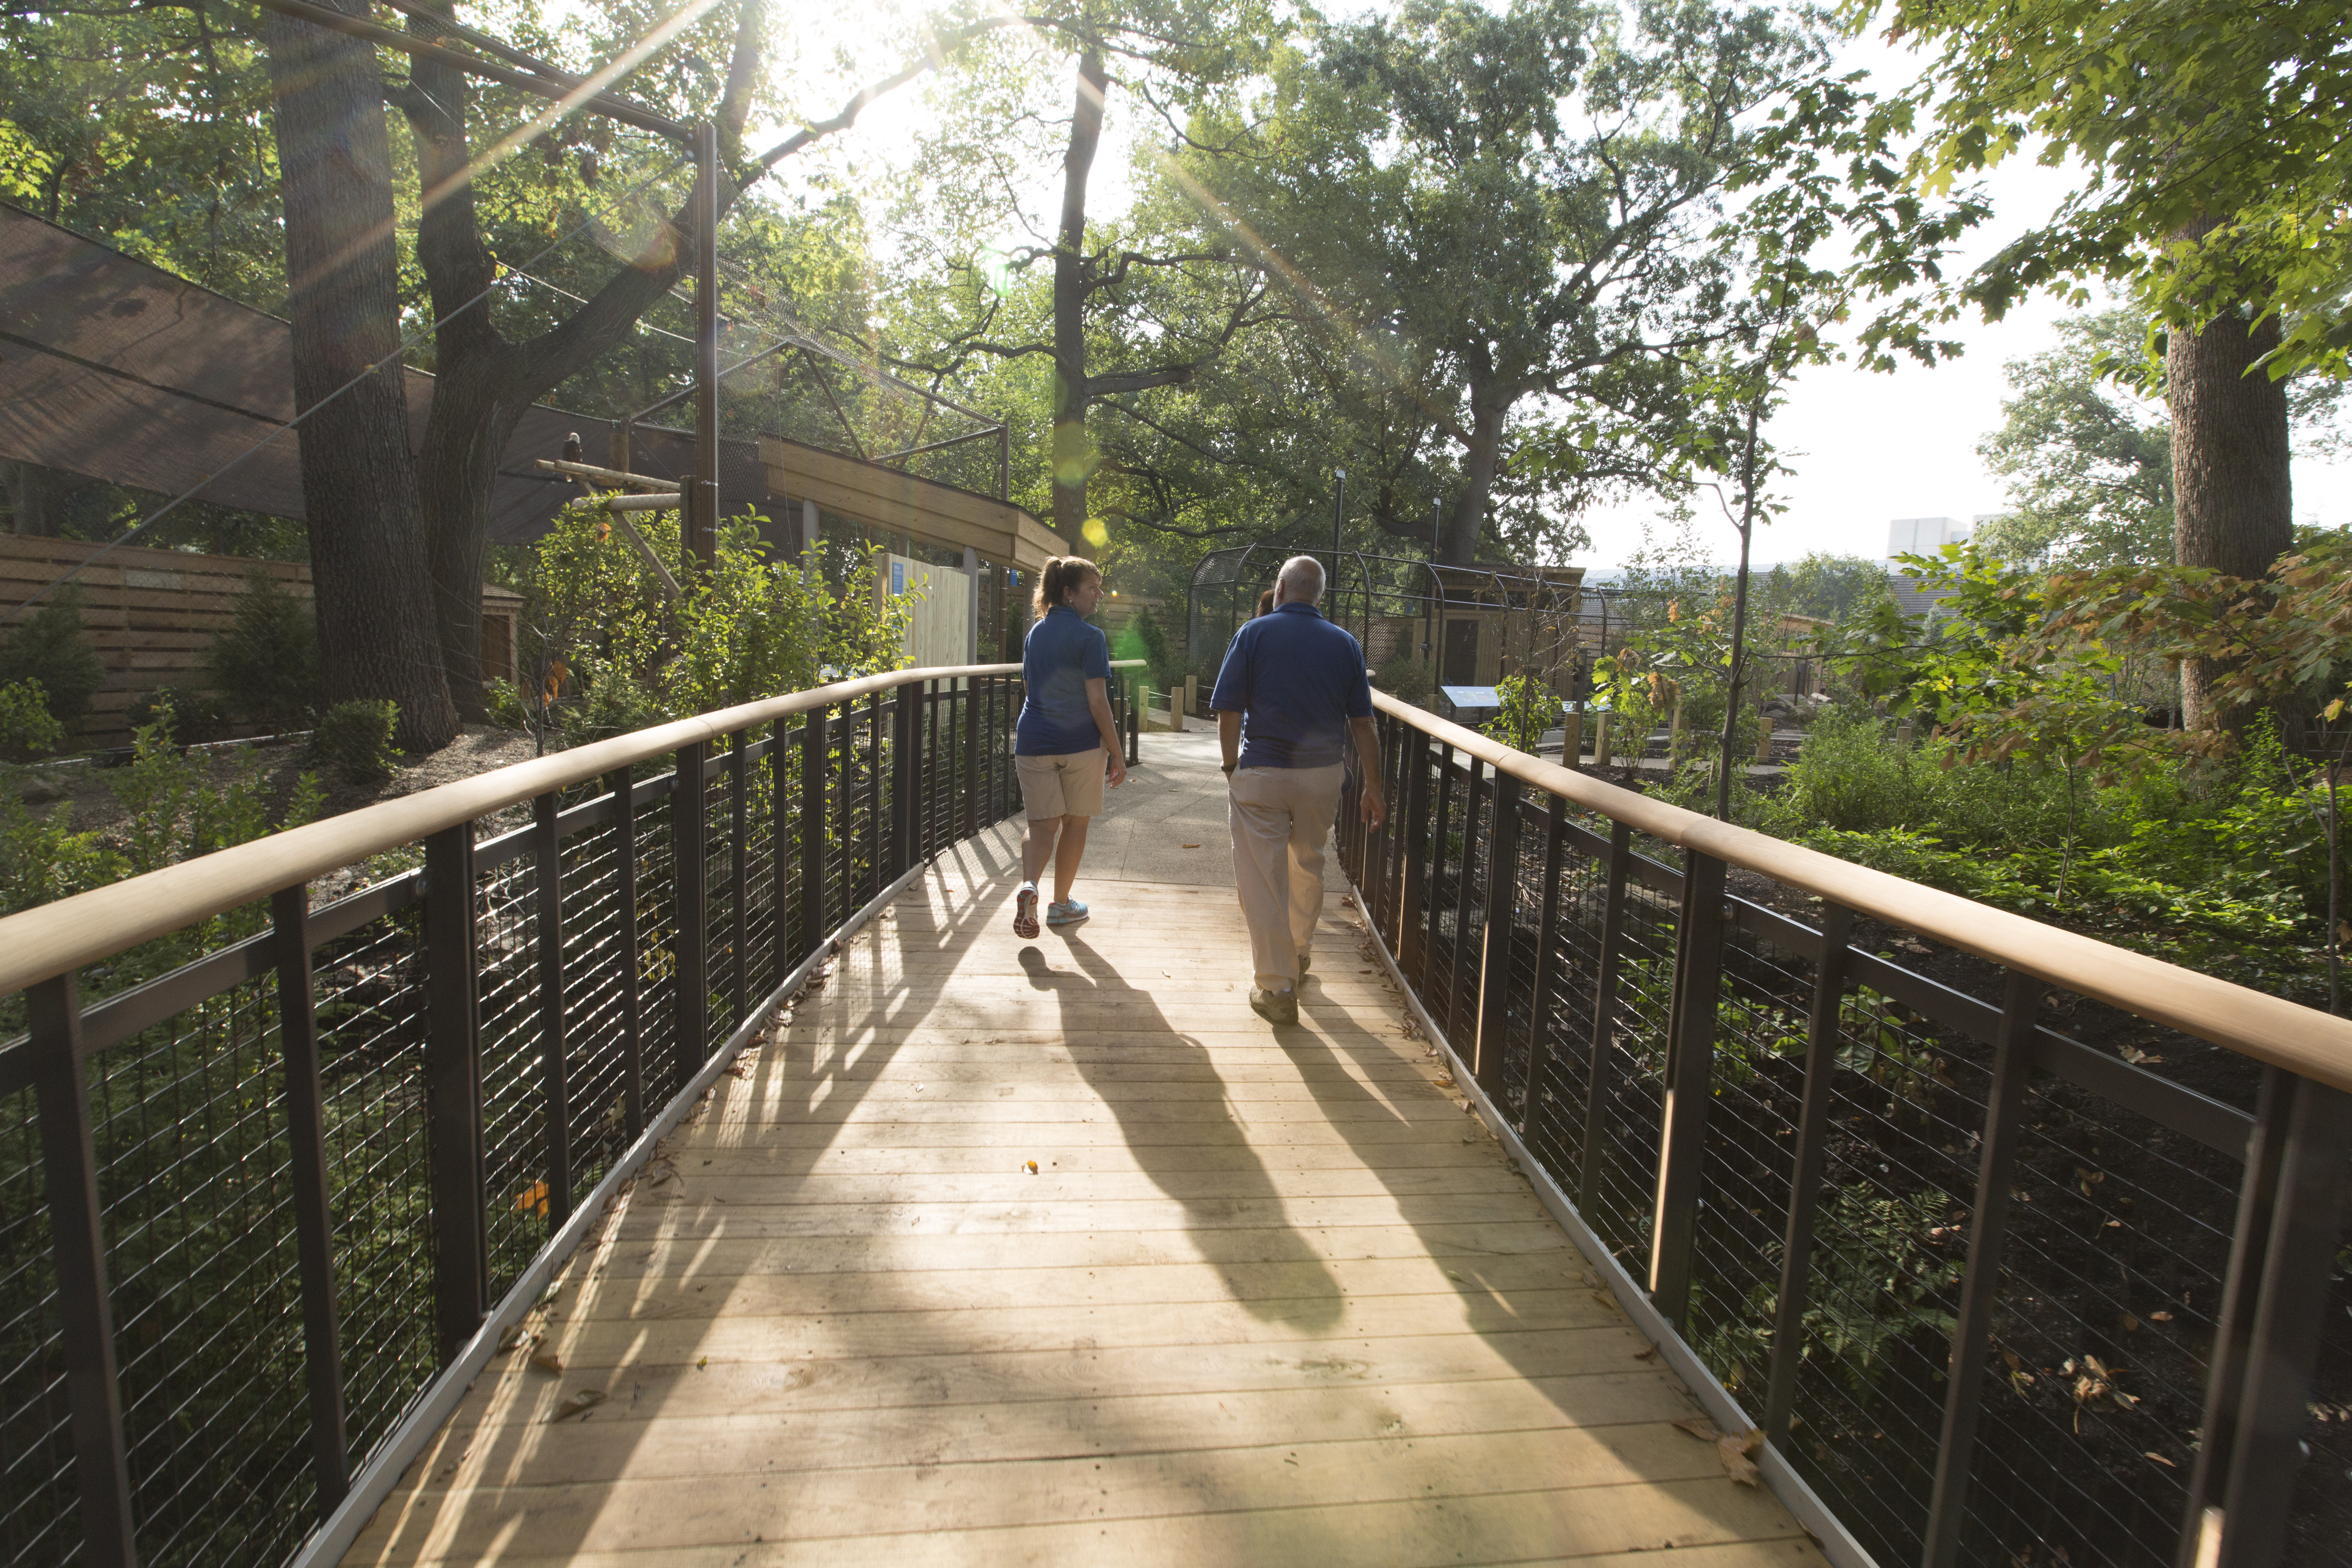
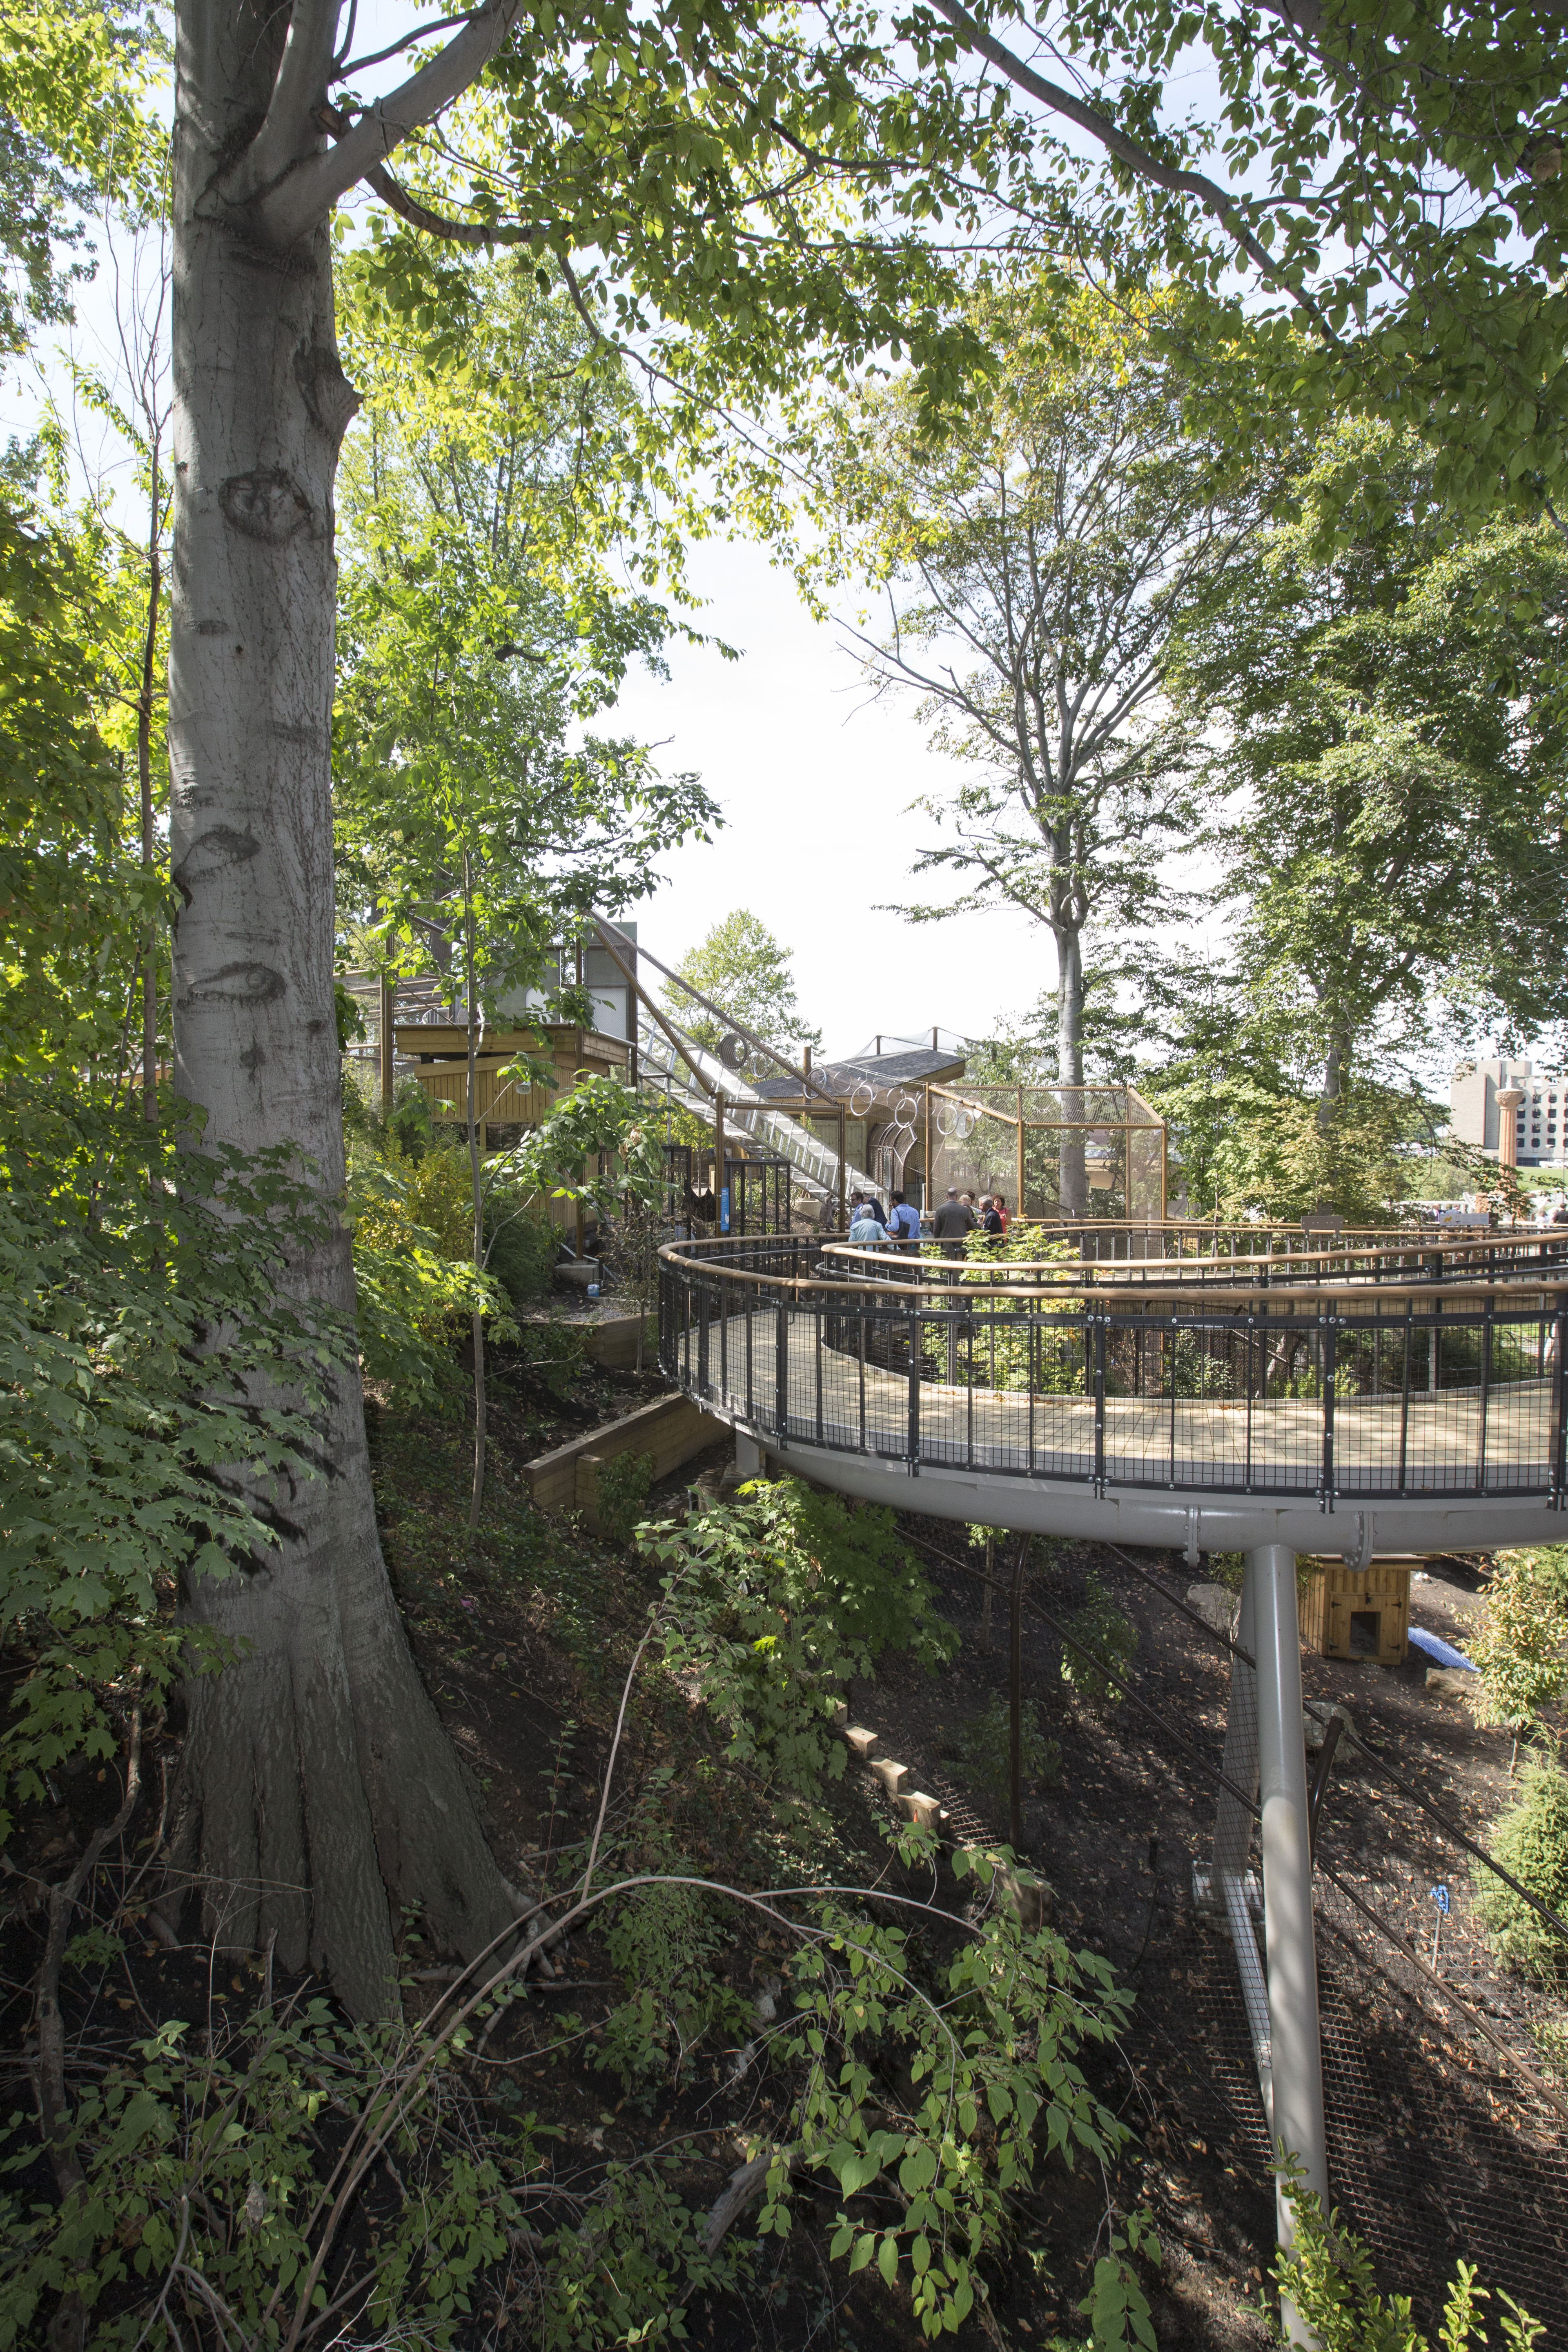
Did I mention the site was unused because it was steep? Note: The site is steep. perkins_walkway_3This created problems during construction and post-construction, the biggest one of which has got to be drainage: during a heavy storm there is going to be a whole hell of a lot of water coming down that hillside, much of which is presently pretty damn bare. There must be catch basins in strategic places (saw some), and underground pipes connecting the catch basins to a storm drain system, which must, in the end, send excess water out to the restructured and replanted Doan Brook rain garden/wetland (which one can see looping along Martin Luther King Boulevard just southwest of this exhibit). I have to trust that these systems will work adequately, otherwise that hillside is surely going to erode.  One truly good thing is that by cantilevering so much of the walkway through 3 dimensional space (rather than keeping them at ground level as impervious pathway), much more of the site remains permeable. This is a very good thing. When there are more established plants, much more of the hillside will absorb water.

The amount of infrastructure that had to be inserted into this difficult site and installed here!  Wow! — electricity, water, retaining walls, drainage, the exhibits, the cantilevered walkways and all the construction elements supporting the cantilevered walkways and the materials and building of the walkways themselves – it boggles the mind…

0901161332

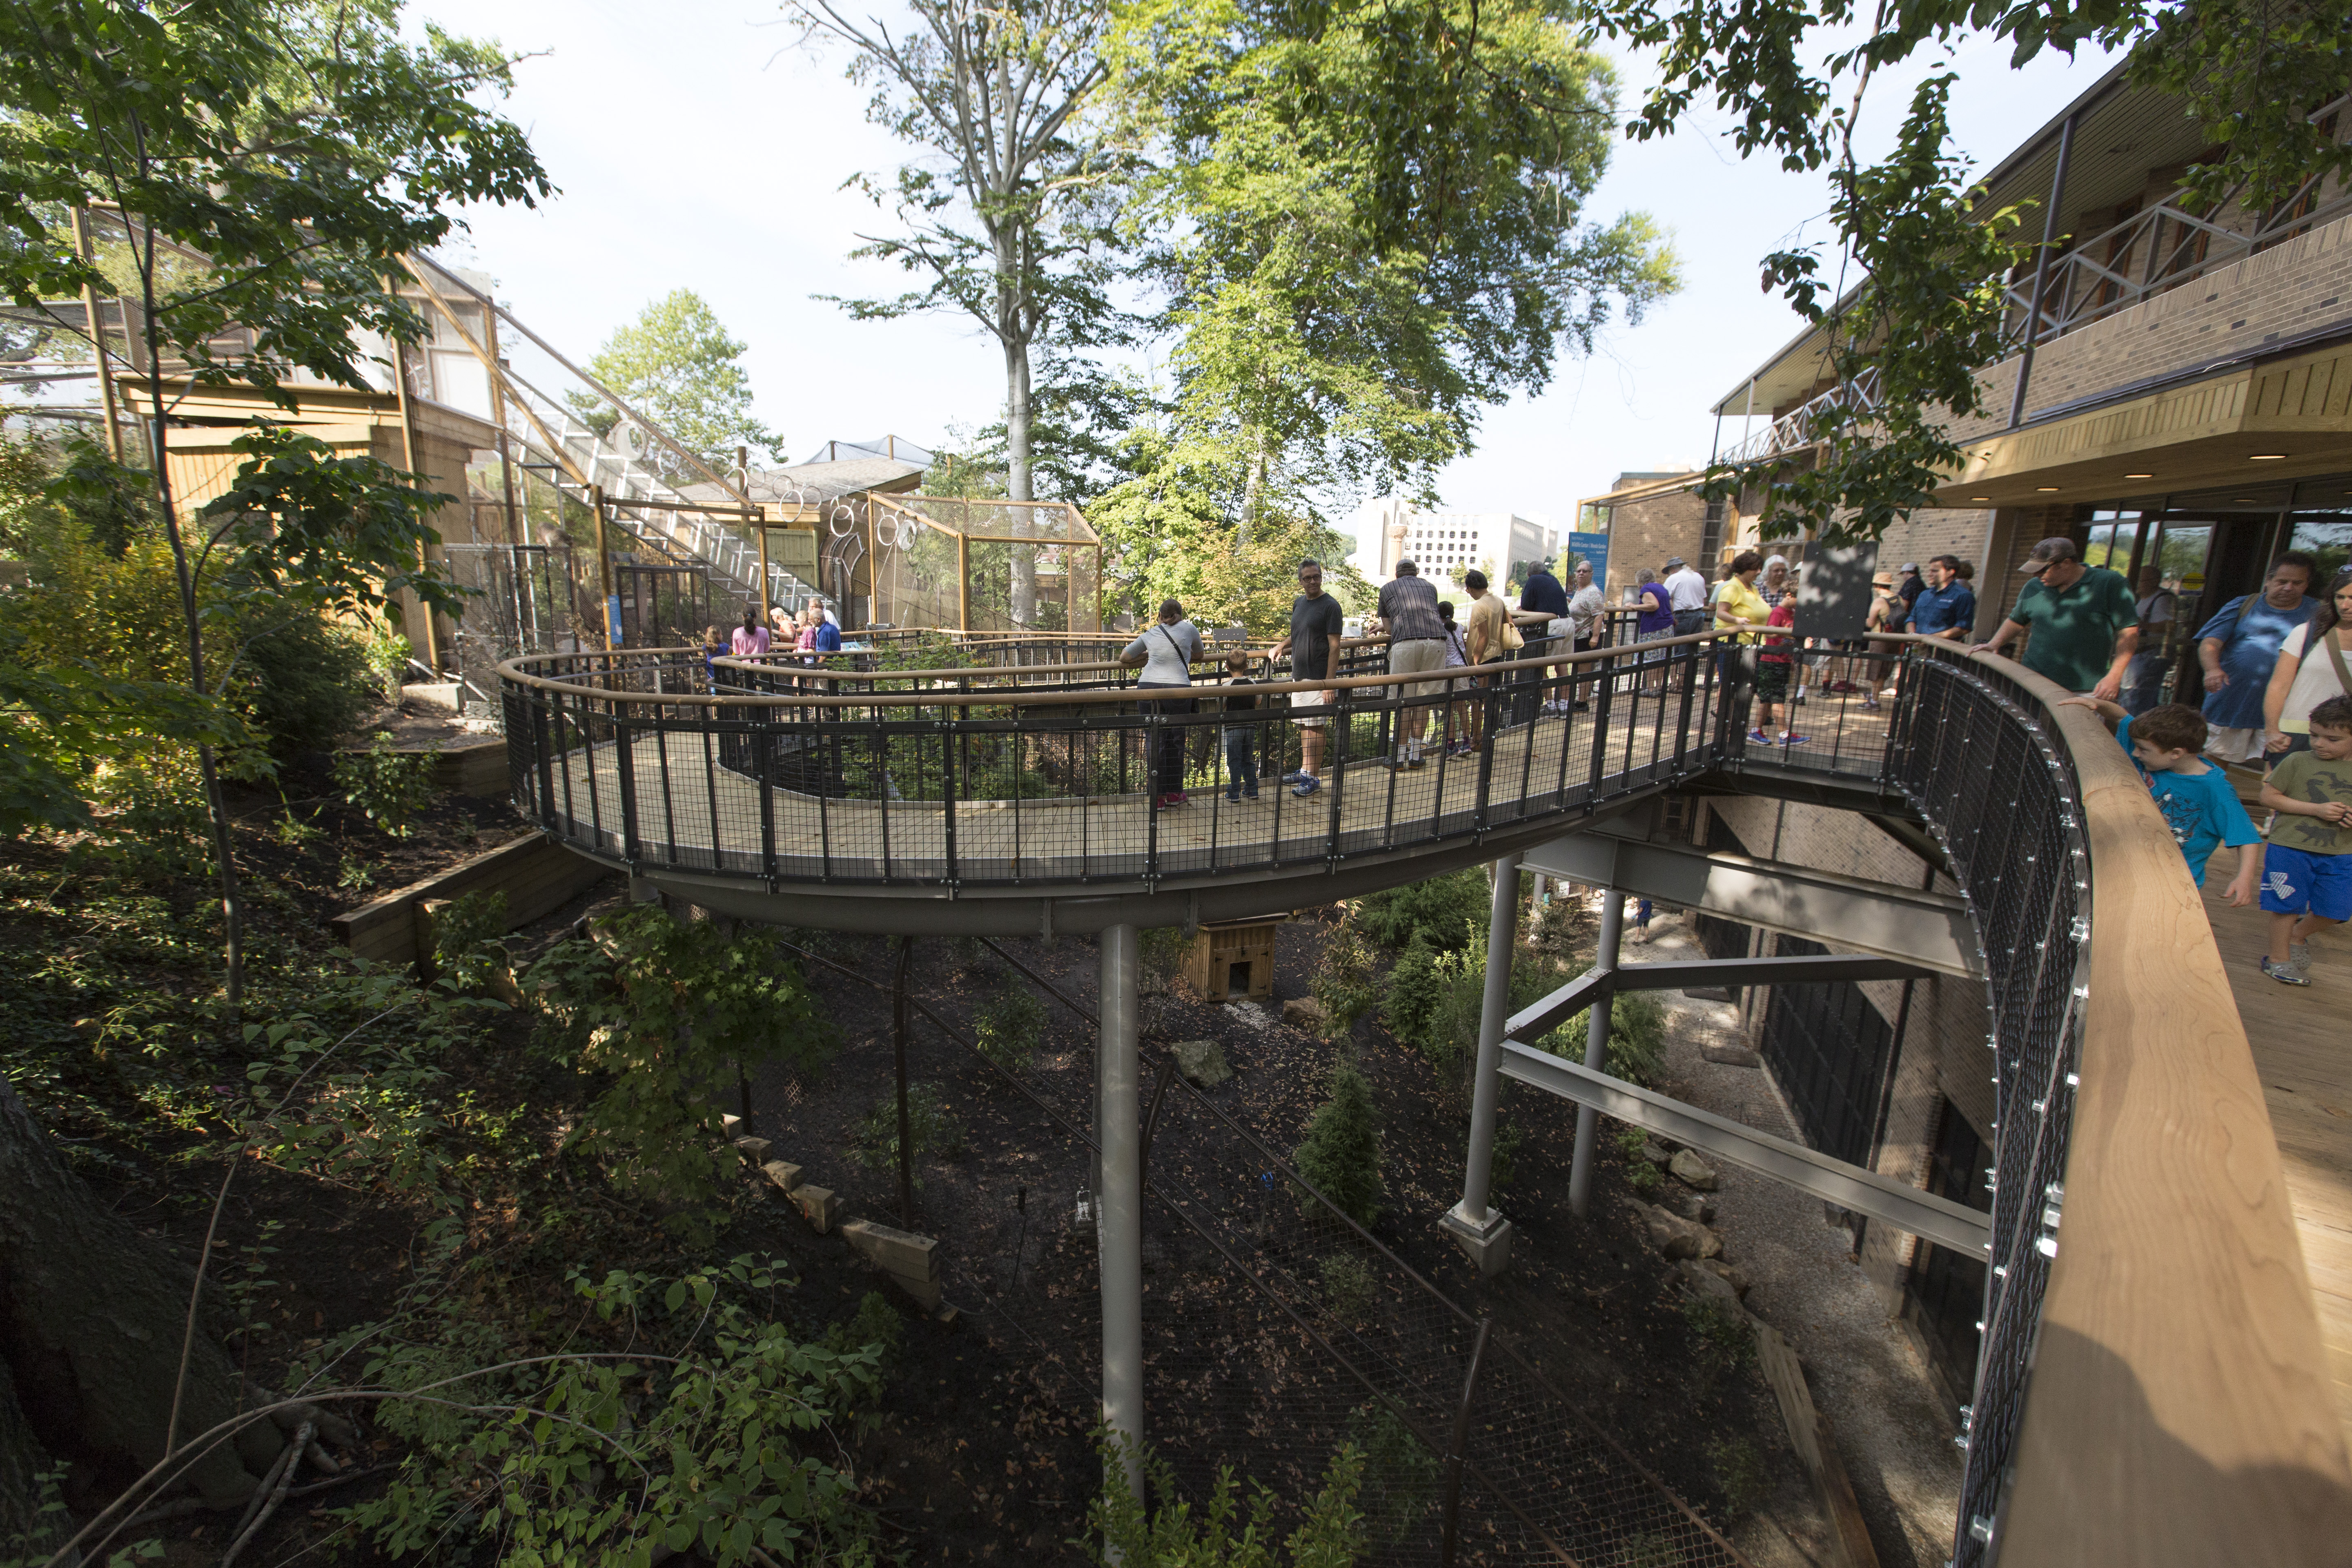
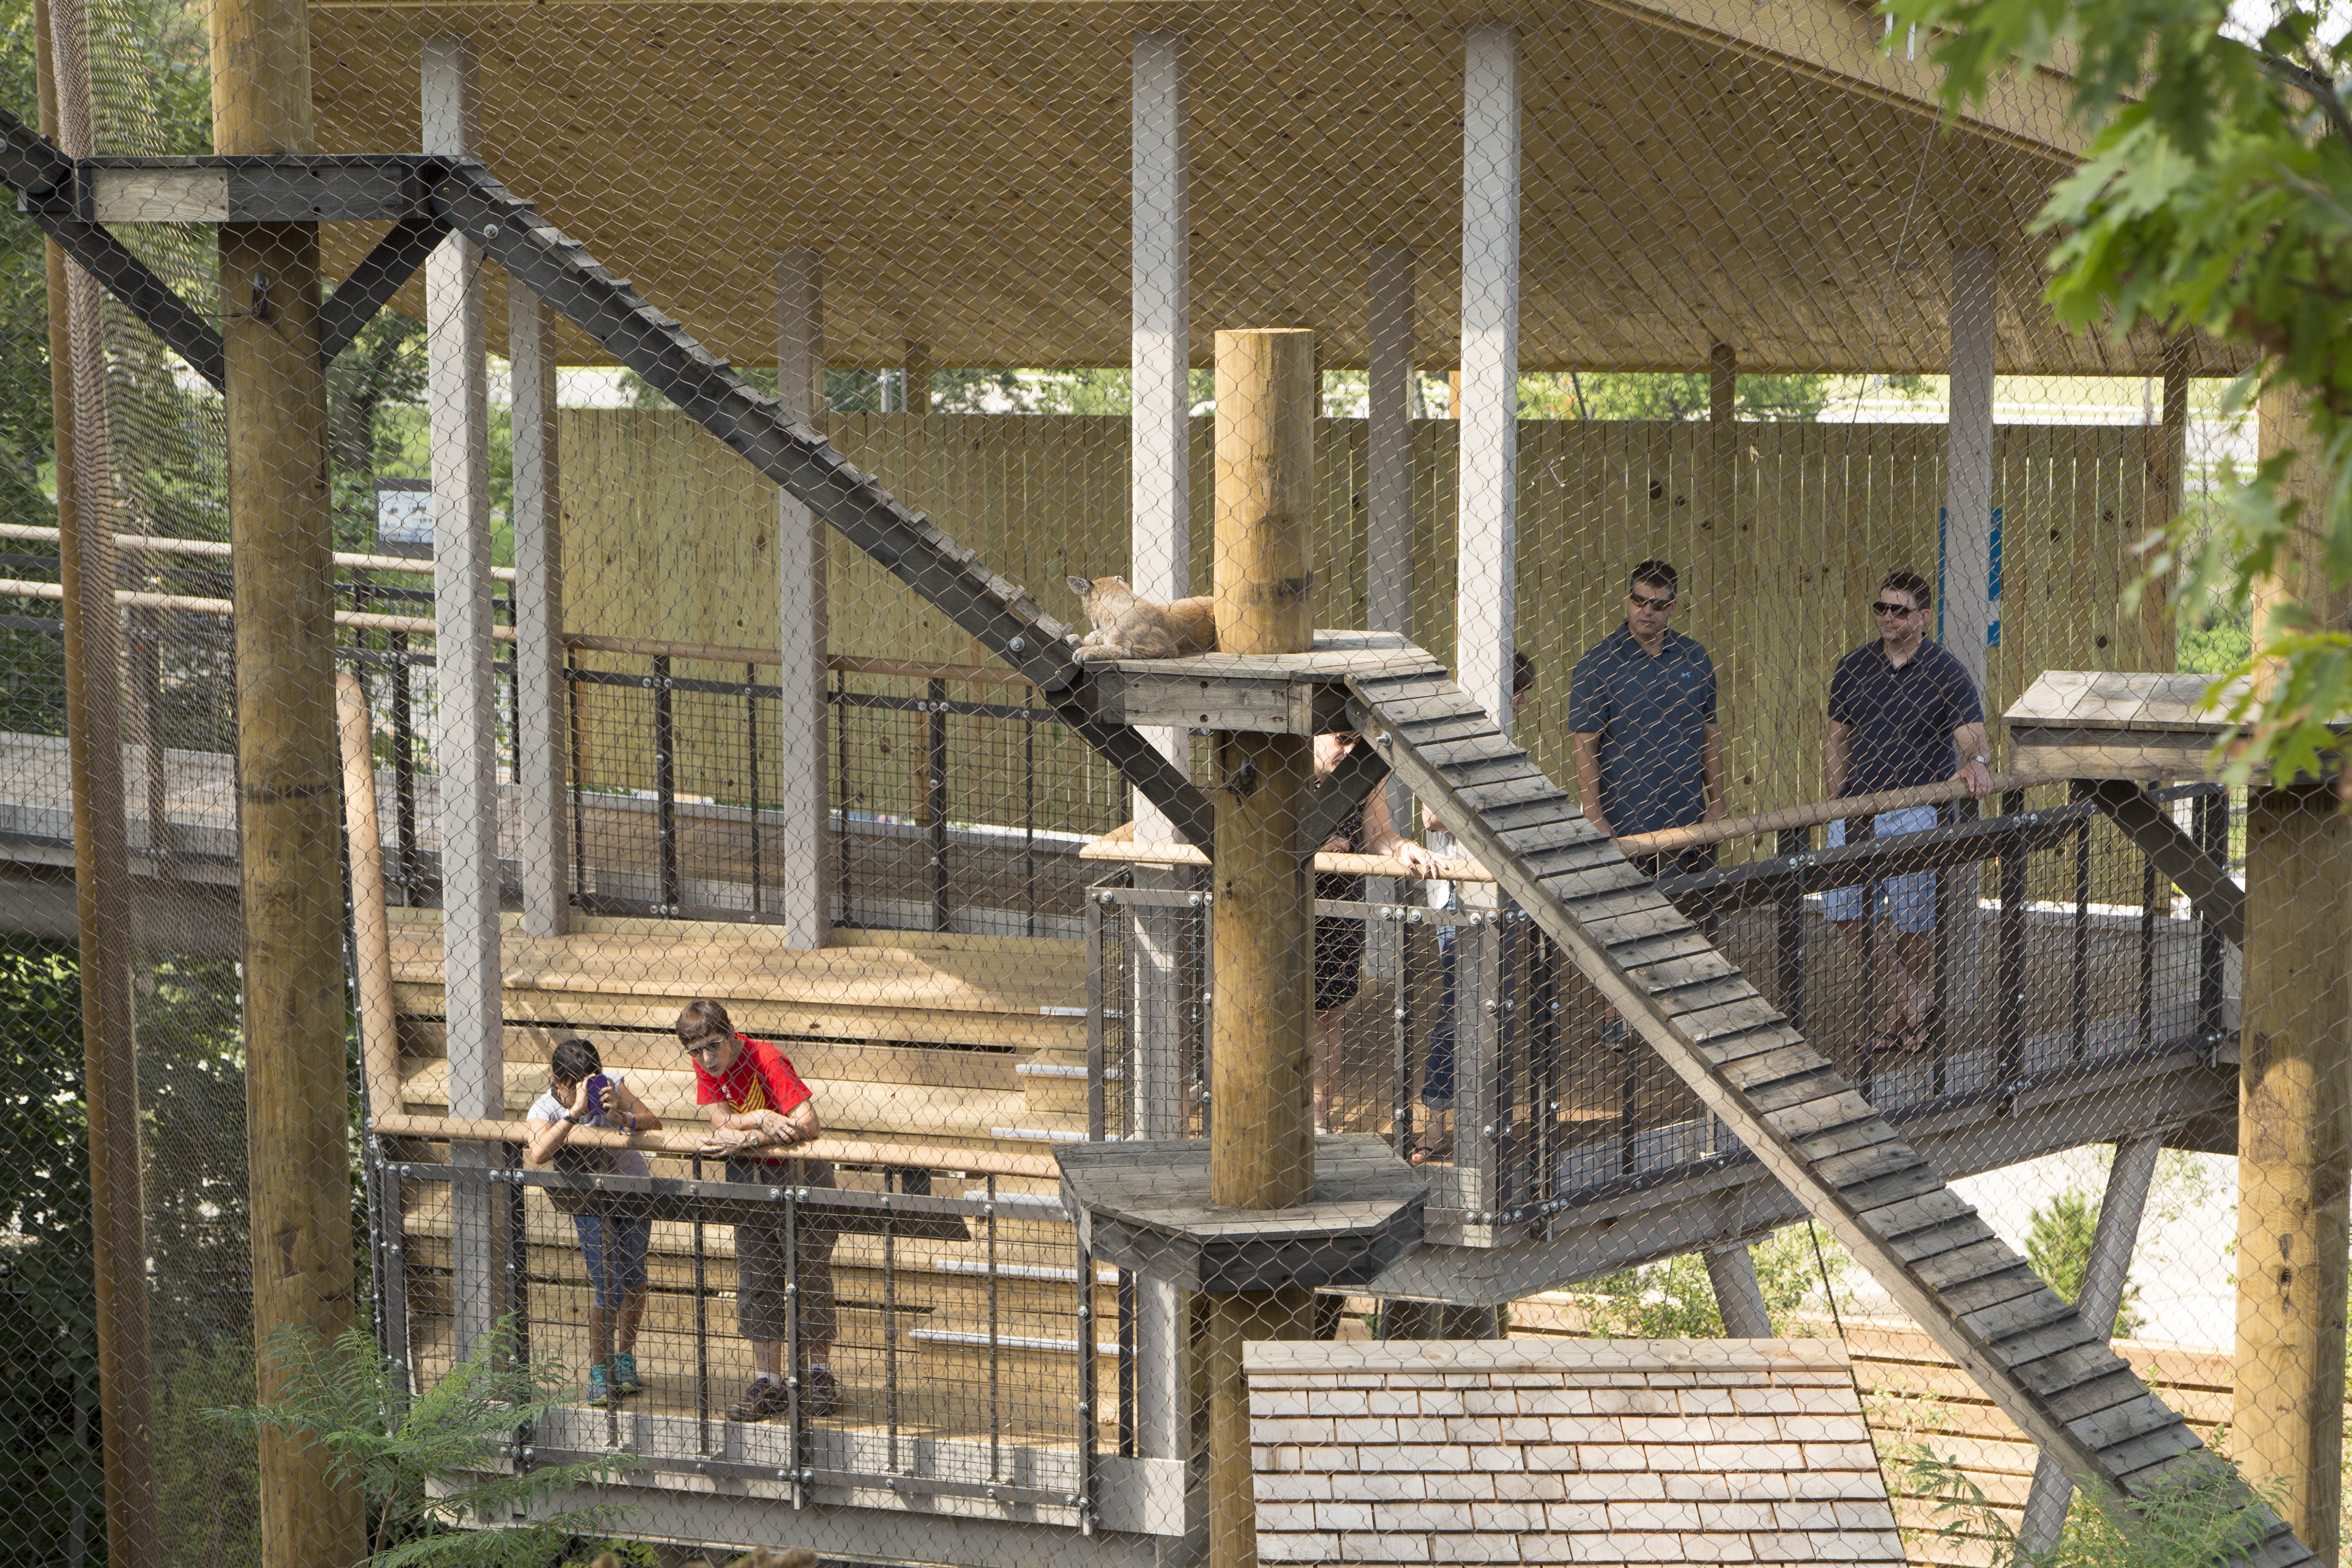
Perhaps you know the saying “the problem is the solution” — That was the opportunity here. On much of the site the animals are at ground level while the people are on transportation walkways that float through the air, sometimes level with the animals, sometimes above them, sometimes below them. These ramped walks have an easy degree of slope making the site totally handicap accessible… which I appreciated, as I am presently recovering from a hip replacement, and loath steps.

perkins_walkway_1

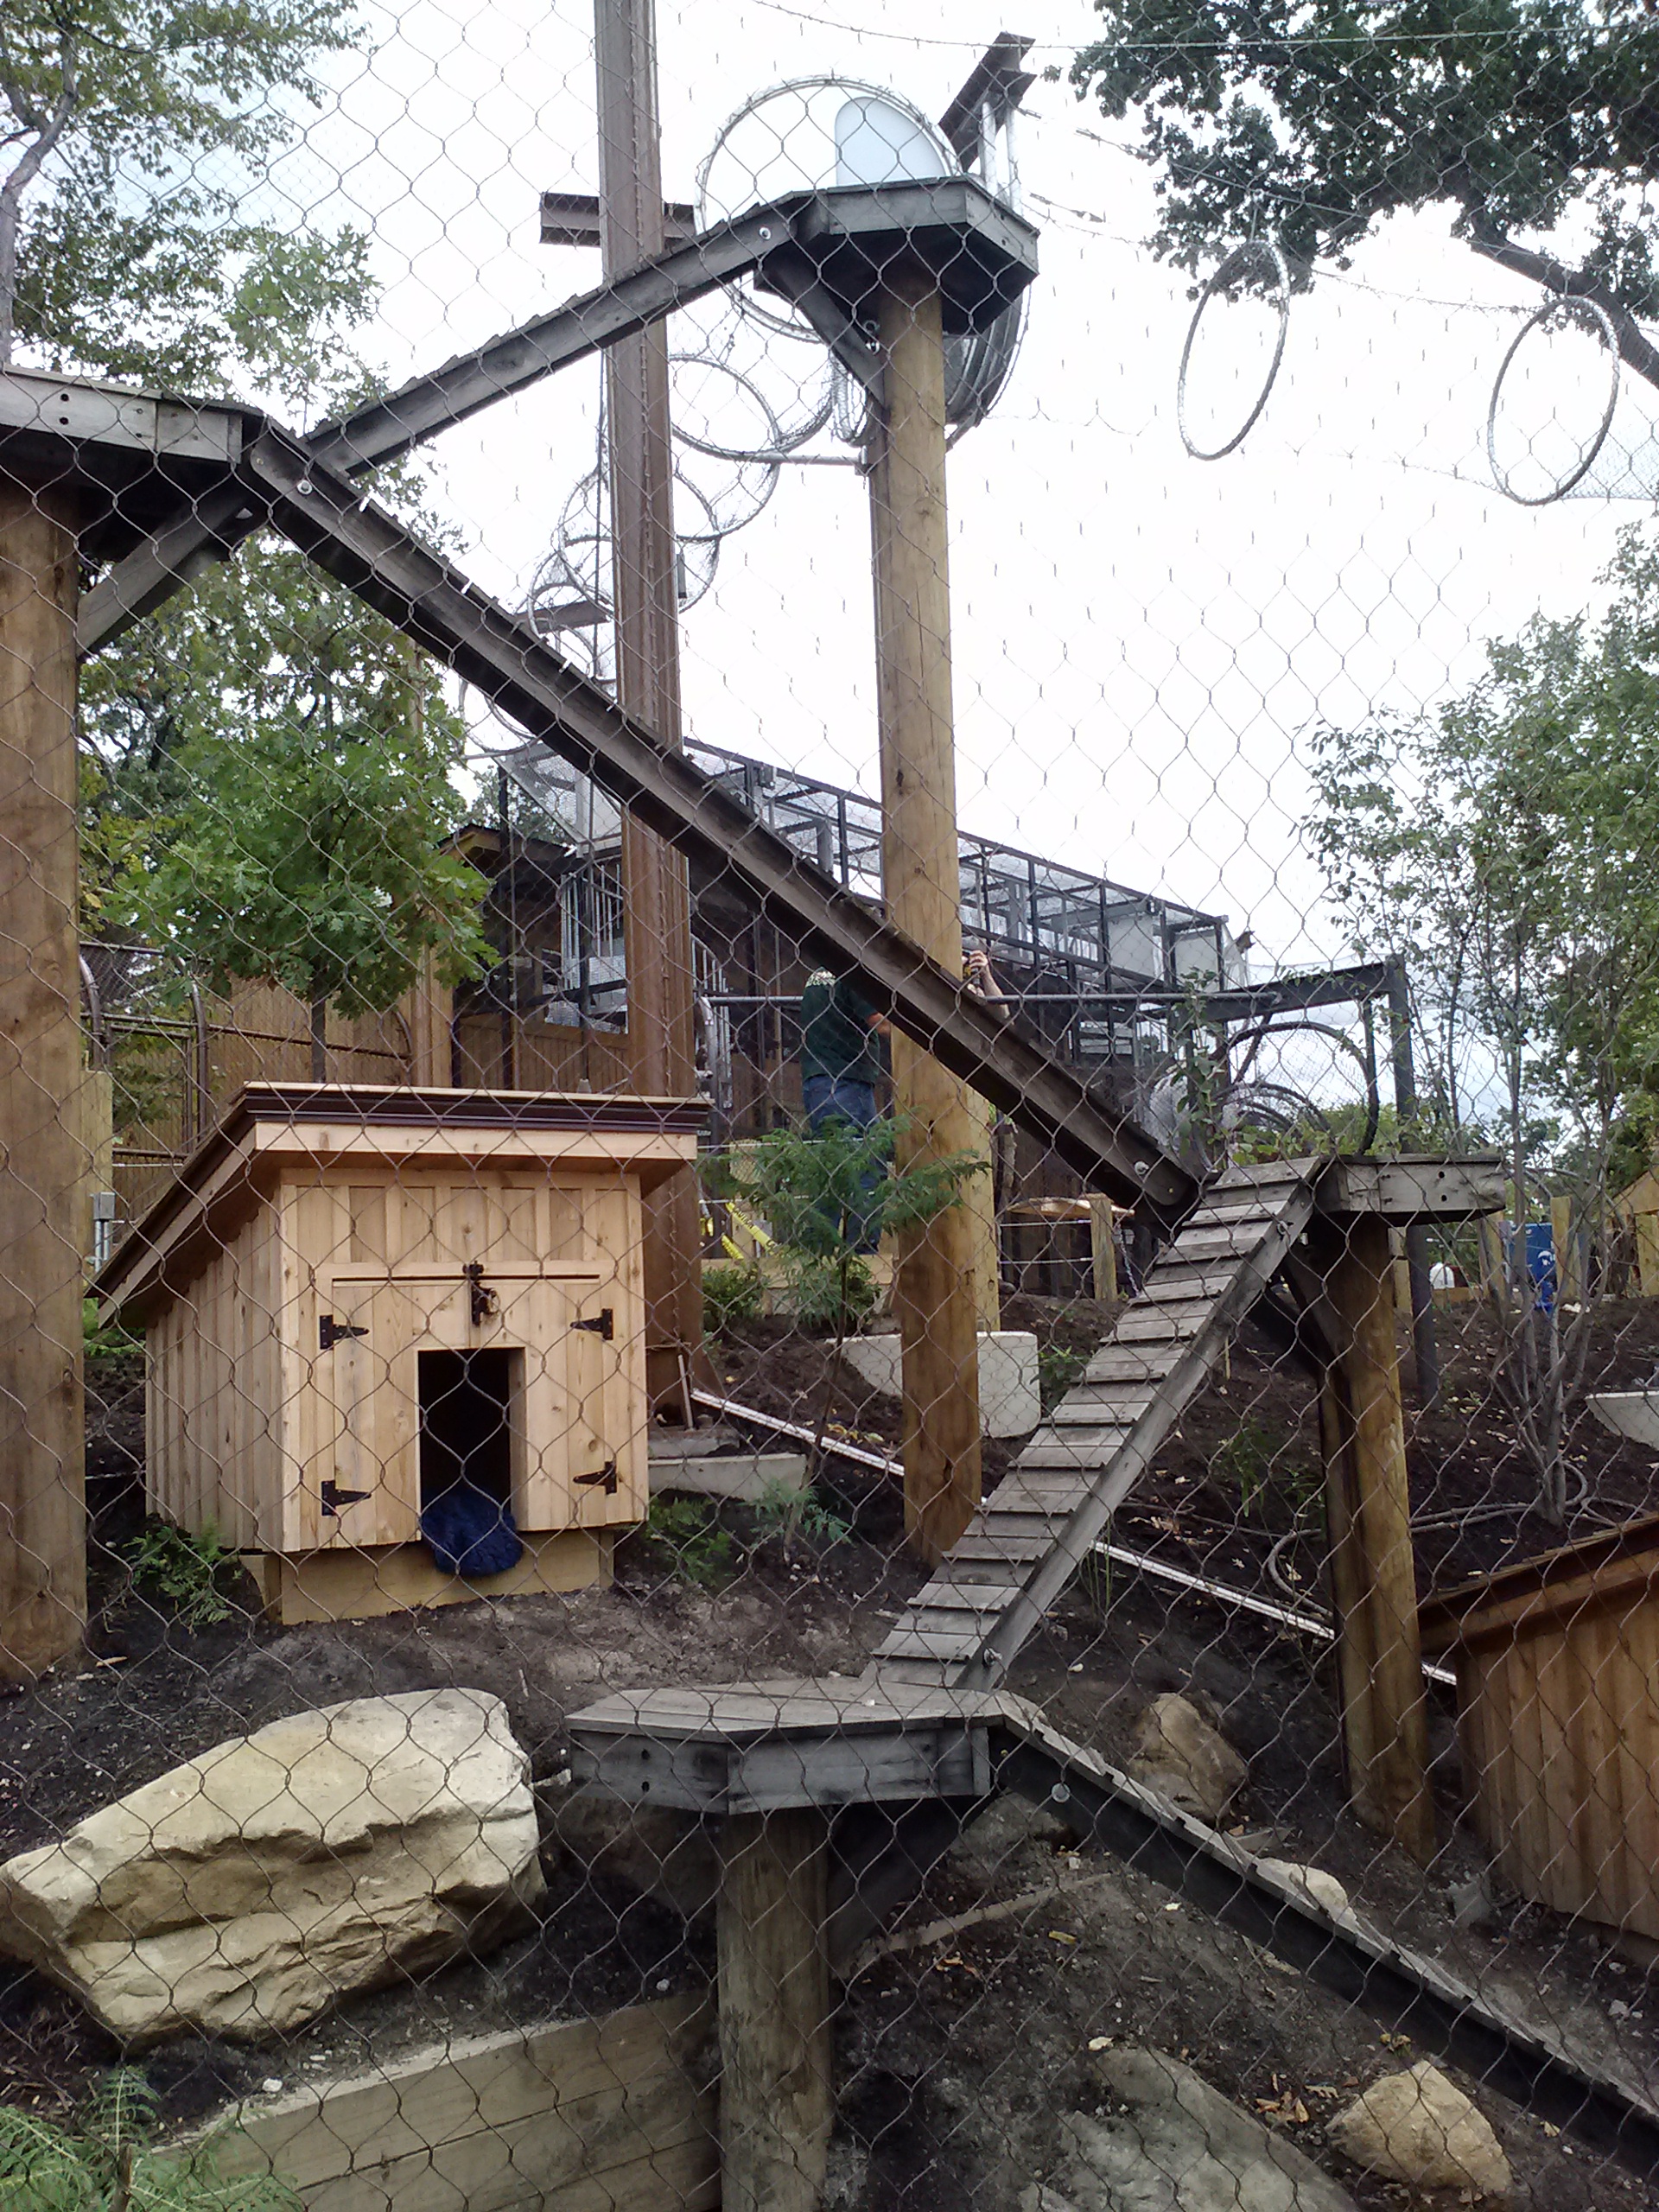
That could have been enough, but instead – indeed, the best part — the animals get their own transportation pathways, existing both on the hillside and out in space, doing the same sort of thing. The two inter-penetrating systems look like an aesthetically pleasing, beautifully crafted giant erector-set toy, with the wooden pathways for people ramping out from the hillside, looping past, over, around and under the transparent animal transportation pathways which ramp up from the hillside and climb, pass under or over (mostly over) the human transportation pathways, allowing the animals far greater freedom of movement than they previously have experienced – far more than an all-on-one-plane design allowed (which is what they had before).

0901161335a

The design is executed so that, typically, an animal – coyote, lynx, fox, raccoon – climbs up some structure to enter through a door into a totally see-through-able mesh tunnel  which the animal can circumambulate, looking down on us humans, before eventually arriving back at its starting place. I wondered for a while how these would be opened and closed, but then I realized there is a pulley system, so the answer is via manual operation. The puzzler for me with these overhead shared mesh tunnels is the issue of animal cooperation. What if a given animal doesn’t want to come down on cue? (oops?) It will be interesting for all involved, working the kinks out, which, I imagine, will take a while. It almost made me want to be a beast at this facility.  It would be really cool to experience the animal’s paths, their views. I’m sure every five year old will feel exactly like that.

perkins_wetlands_2

A reminder, these animals and birds are creatures that due to injury or familiarity of handling (or both) would not be able to survive in the wild on their own resources and abilities.  This new environment allows a greater number of them some opportunity to return to some species specific behaviors – exploring, prowling, observing. 

All in all – this is a great addition to the University circle cultural mix. Congratulations Cleveland Museum of Natural History — off to a good start.

0901161315b


Boneset Pollinator Party

by Tom Gibson

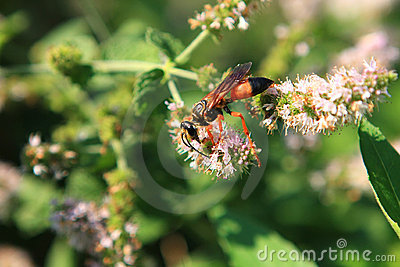
August is pollinator party time in my backyard.  Not just the steady savoring of mint by the great golden digger wasp.

great-golden-digger-wasp-11933359

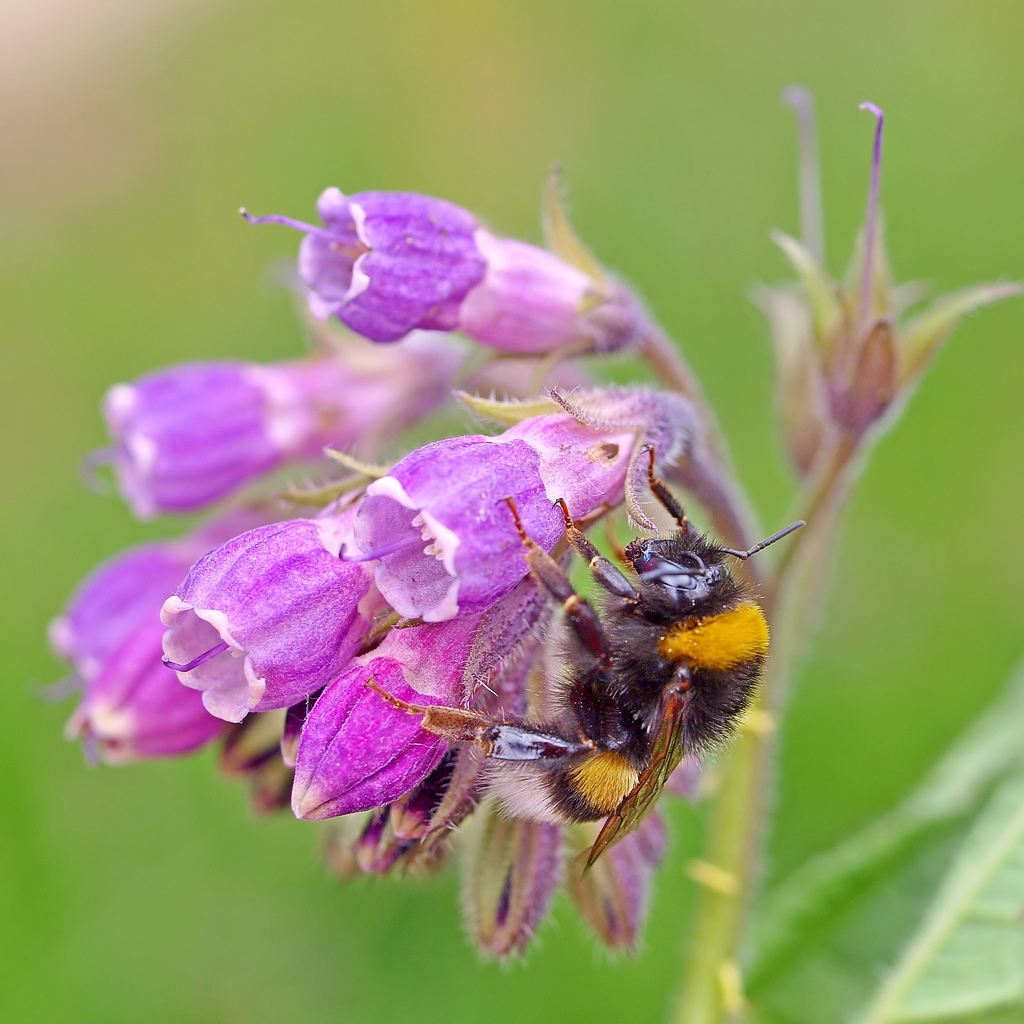
Not just the business-like mining of comfrey pollen by bumblebees.

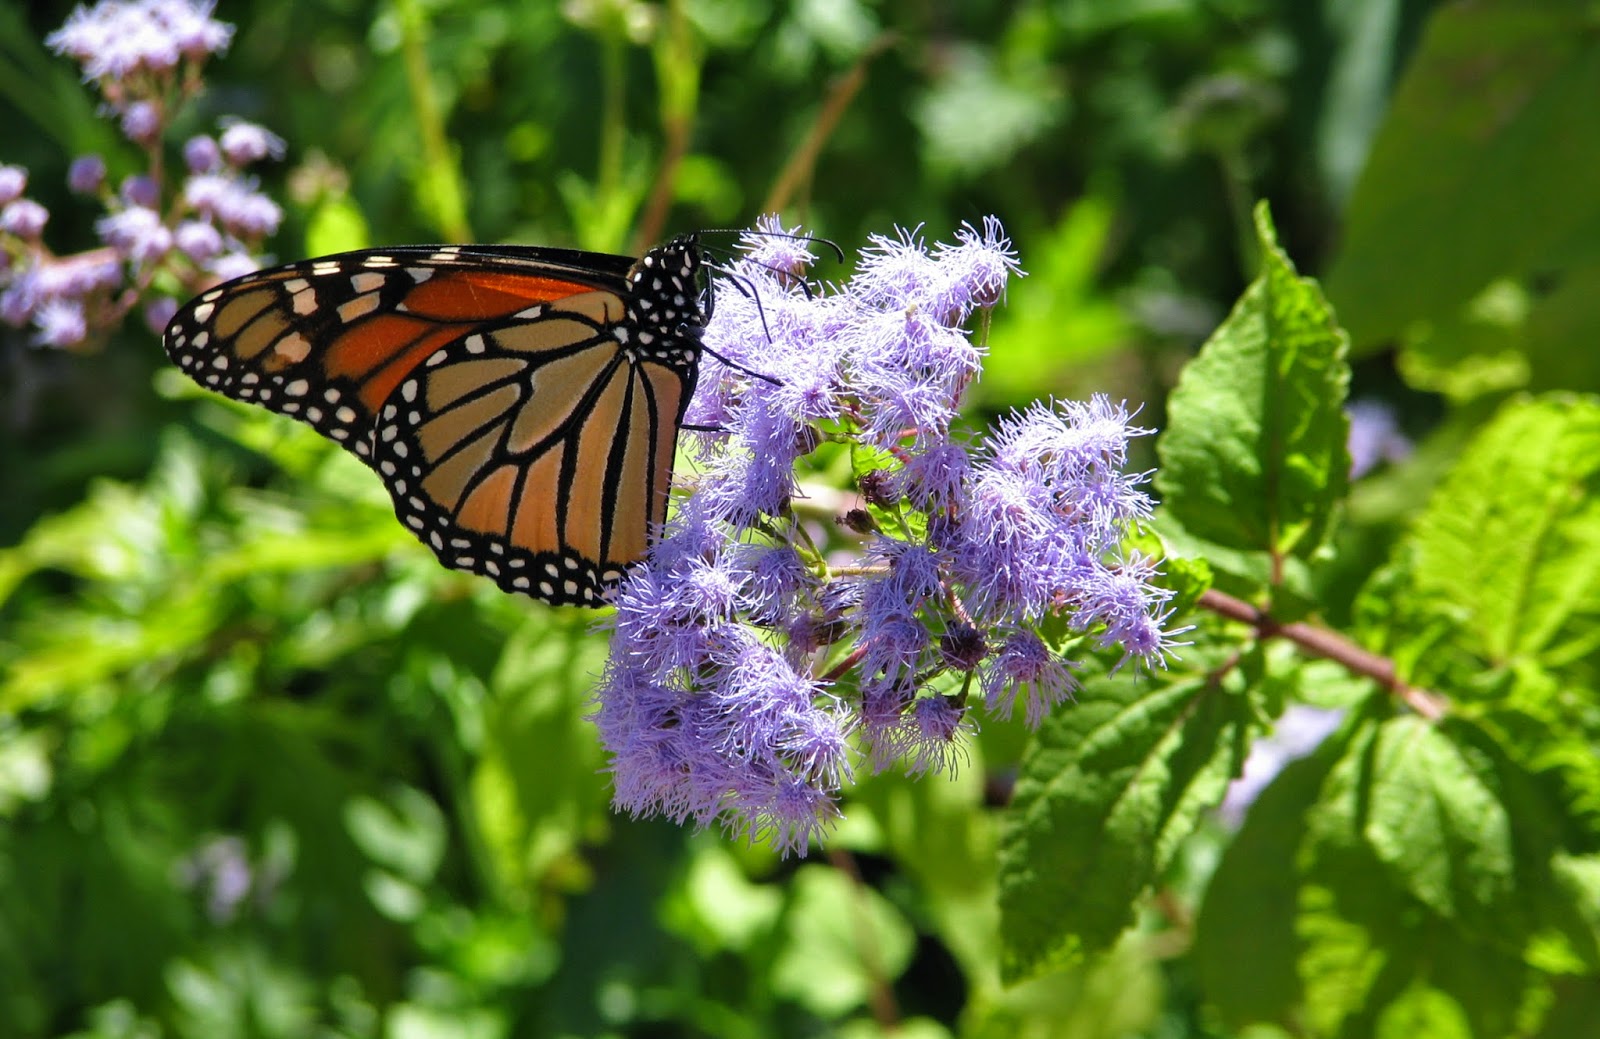
bee on comfreyAnd not just careful, trip-weary harvesting of hardy ageratum pollen by monarchs on their way south.

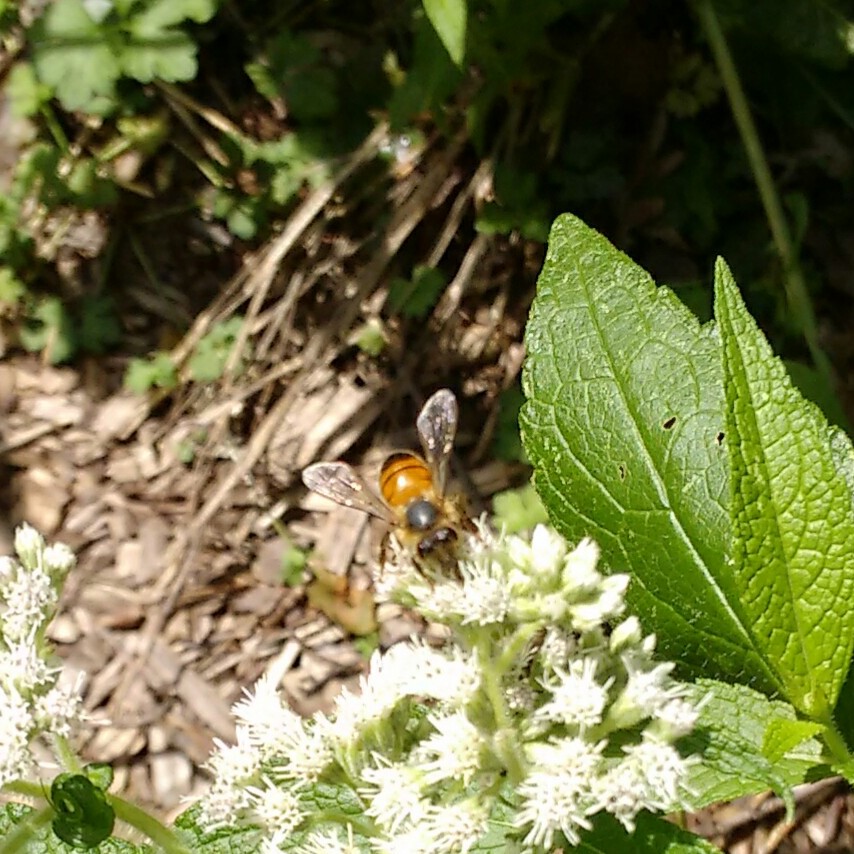
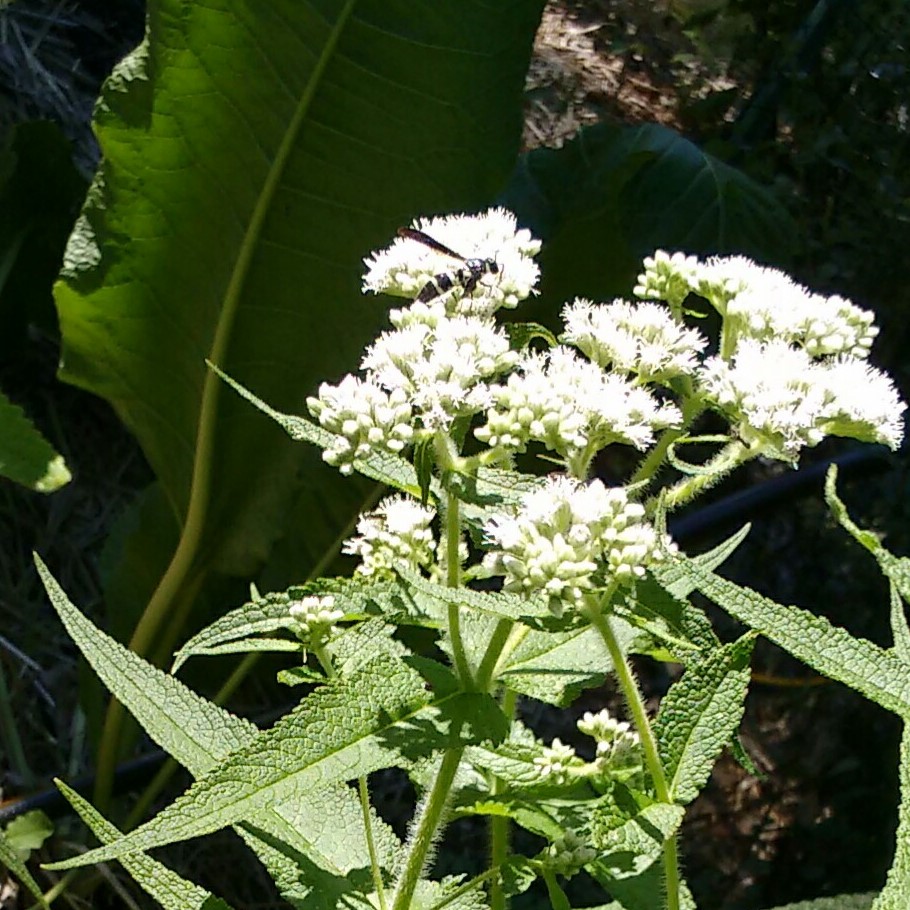
Monarch on hardy ageratumNo, the real disco atmosphere—one imagines a sparkling ball and an unlimited supply of rave—occurs just above my patch of boneset (Eupatorium Perfoliatum)*. Wasps (especially), bees and other insects lurch onto boneset’s little white flowerettes, hold their position for a split second, then burst off to the next plant.  They’re just so excited. And the variety! Big wasps, little wasps, bees, moths, butterflies, little flying things I don’t have a name for. Rarely do any of the feeders pay attention to their companions (though I have seen smaller, more aggressive mason wasps deliberately knock more cumbersome digger wasps off a flower).  A true feeding frenzy.

The only calm insect I observe around boneset is the occasional dragon fly, a non-pollen consumer and pure predator. It waits motionless for minutes on a garden stake and then swoops through the mayhem to gather a small insect meal.

I like insect-on-insect predation in my garden, and boneset is a great way to encourage it. In all the scientific journal articles I’ve read on the subject, boneset is at the top of the list of for attracting predators and parasitoids. (The latter lay eggs in host insects who eventually provide a greet-the-world, first meal for the hatched larvae.) The more predatory wasps and flies, the fewer insects like Japanese beetles that will eat my plants.

Boneset produces blossoms consisting of dozens of small white flowerettes (like Queen Anne’s lace, carrots, etc.) that make a good fit for wasp mouth parts. But their pollen must contain some special chemicals, too, that I haven’t seen described in any journal. Whatever they are, they drive wasps, bees and flies nuts.

Here are a few of the insects that stopped long enough for an iPhone close-up.  (I never worry about getting stung; the insects are just too intent on locating boneset pollen.)

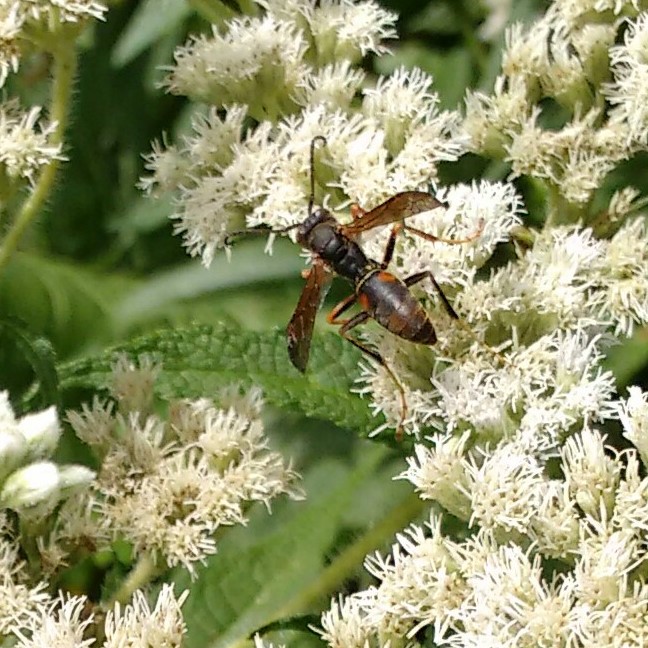
Here’s a paper wasp:

Paper wasp

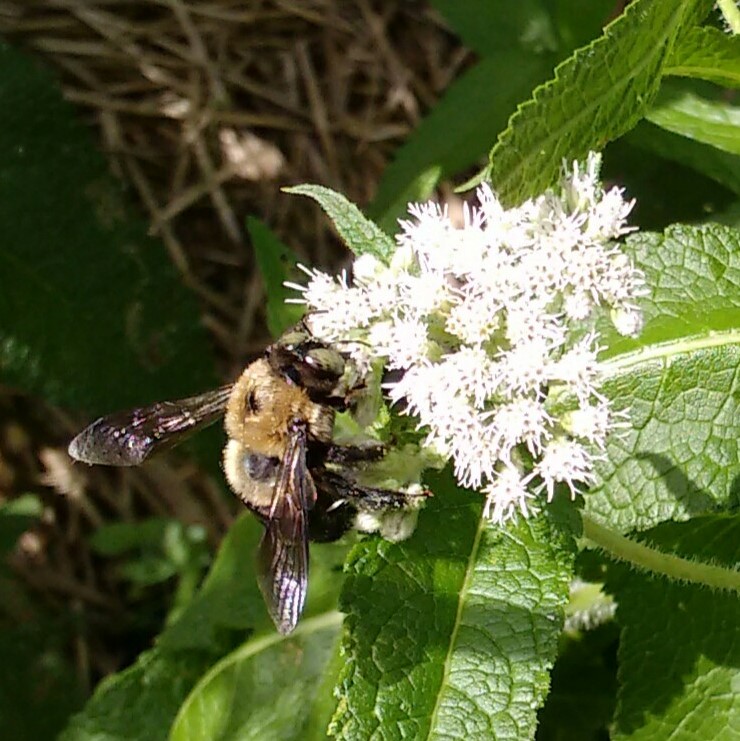
…and a carpenter bee:

carpenter bee

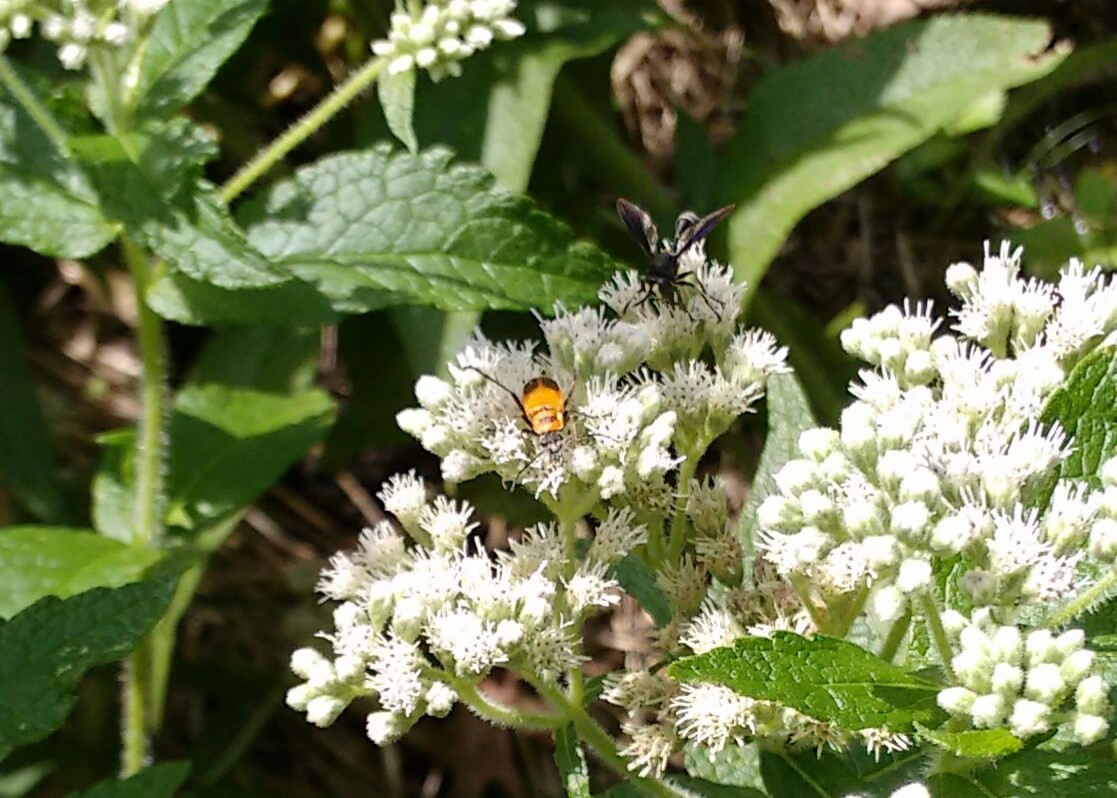
A soldier beetle and a black hornet.  The former eats aphids among other things and emits a poison that makes it inedible to potential predators…. like hornets. 

soldier beetle and black wasp

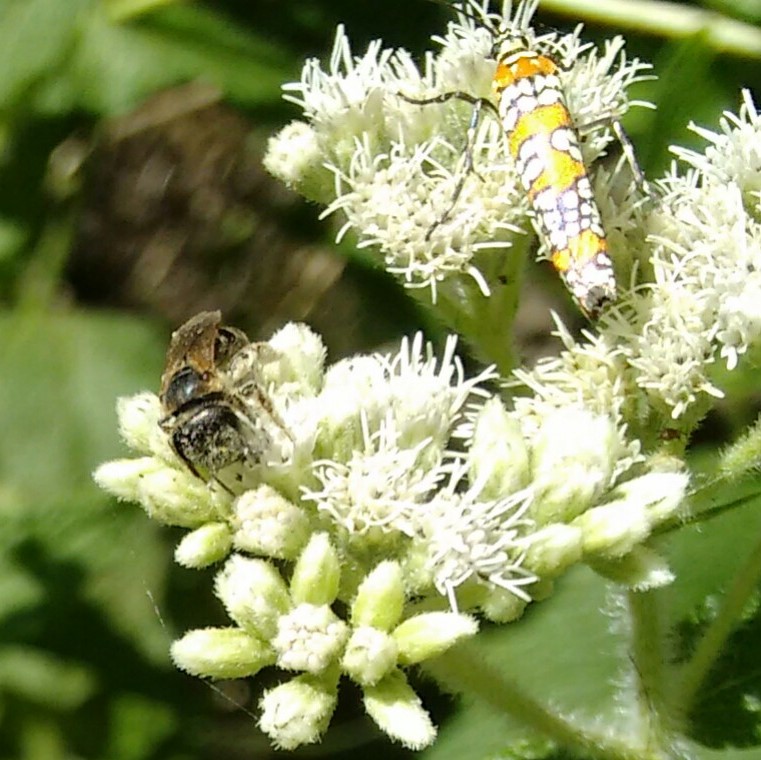
But what happens when a defenseless herbivore finds itself on the same flower as a hornet? The same as a zebra and a lion at the same watering hole.  Give the lion plenty of space.  I’ve seen an ailanthus web worm moth like the one in the upper right of this picture dive under a boneset bloom to escape from a wasp and hide there until danger passes. The little mason bee on the left, however, poses no such threat.

ailanthus web worm moth + mason bee

Here’s a syrphid fly, one of those parasitoid egg layers I mentioned above

Syrphid Fly

And is this a wasp or thick-headed fly?  I think the latter; the two circles on its abdomen are a possible clue. Many flies have evolved to look like more dangerous wasps.  The thick-headed fly parasitizes bumblebees.

Wasp or thick-headed fly

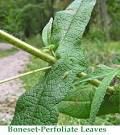
*Boneset gets its odd name from its use in (very) primitive folk medicine. Because boneset leaves join right through the stem (see picture below), folk healers would wrap broken bones in boneset poultices and give their patients boneset tea—all in the hopes for similar joining.

boneset leaves

Planning an Old Growth Forest for the Seventh Generation (Citizen Science in Forest Hill Park)

by Elsa Johnson

My friend Maria Armitage says that whenever her husband Keith goes for a walk in Forest Hill Park, when he comes home, he says: “It’s a jewel.” 

A few years ago the East Cleveland Parks Association (a volunteer board that works with the City of East Cleveland to help maintain the East Cleveland portions of Forest Hill Park; disclosure — I am on this board) began to become concerned about oak tree deaths occurring in two iconic areas of the park. The two areas, designed and named by A.D. Taylor in his 1936 master plan for the park, are The Great Meadow and The Meadow Vista. Both are upland oak savannahs – i.e., unique, lightly forested grasslands where oaks are the dominant species. Such savannahs were historically maintained by fire (set by man, or by wildfires resulting from lightning strikes), or were the result of grazing. In the history of the park since it has been a park, the savannah environments have been maintained through mowing.

1024151613a

By the time John D. Rockefeller Sr. bought the property in the late mid-century of the 1800’s, these two upland areas were pastures studded with oak trees. This was probably their beginning as oak savannahs. We do not know how old the trees in these pastures were at this time. They may have been scattered remnants of the original forests that were there in 1796 when Moses Cleaveland surveyed the Cuyahoga River site that became the City of Cleveland. Or they may have been young trees, or a mix of both. We do know that Rockefeller added a few specimen trees here when he bought the property 2/3rds of a century later, but those trees were exotic species, not oaks. We also know that the Cleveland Museum of Natural History inventoried some of the largest trees in The Great Meadow and designated some of them ‘Moses Cleaveland Trees’. What this means, in the year 2016, is that the oldest of these trees are over 200 years old, while the youngest of those original savannah trees are a minimum of 150 years old.

20111004122334

By any standard, old growth forest.

So when the savannahs/meadows began to lose trees – one of the first to go was a huge and spectacular Moses Cleaveland Tree in The Great Meadow, lost in 2011 – ECPA was deeply concerned, and became more so with each passing year, with the loss of additional trees, in what seemed like a ring spreading out from the site of the original losses, with Meadow Vista area suffering many, many, more tree losses than The Great Meadow.

20110925184130-1

If any area can be described as the heart of Forest Hill Park it is The Great Meadow.  It is the crossroads through which all paths must pass to get elsewhere, and it is the one place in the park with an unfettered view from the eastern end of the meadow all the way through to the western end of the meadow, a distance of about half a mile. And then, from the west end (where Rockefeller once had his summer home), the view continues out over Cleveland’s east side and on, out over Lake Erie toward invisible Canada, some 50 miles away.

20110925184342

Since 2011 the park has lost 6 trees in The Great Meadow, most of them in one centralized area. In The Meadow Vista area the park has lost 6 to 7 trees (or more) each year, and more than one area has been affected. In one area so many trees have been lost as to profoundly affect soil hydrology. ECPA watched, worried, and wondered how to get a handle on what was going one, and what did whatever was going on mean for the future of these iconic old growth oak savannahs? It became obvious that there was a necessity to plan for the planting of new trees to ensure oak savannahs for the future. To help answer these questions ECPA established The Great Meadow Task Force which reached out to The Holden Arboretum’s Community Forester, Chad Clink. His recommendation was 1.) test affected trees for pathogens, and 2.) do a thorough inventory using a certified arborist.

20110925134022

Alas, ECPA is a volunteer organization funded through donations and small grants, and this looked expensive, so the task force cast about and found : The Plant Doctor, Dr. David Roberts, Senior Academic Specialist at Michigan State University, discoverer of the Emerald Ash Borer, and specialist in diseases and pests of oak trees, who volunteered to come down and spend a day looking at trees in The Great Meadow.

20110925183225

Much planning ensued. What information was necessary?  Was there additional information that would be interesting? — That would help people be interested and want to invest in a Save-A-Tree/Plant-A-Tree program? — That would reforest the meadows and create an old growth forest that would still be there in another 200 years, for the seventh generation? 

The task force began by tagging each tree with a number and locating it on a photographic map. It was decided the walk-through would look at each tagged tree and list its species, general health, and recommendations for its care, and also measure each tree’s circumference (by which one applies a formula to arrive at its diameter), the distance out from the tree of its canopy drip-line, the height of the tree, and an estimate of its age (by Dr. Roberts). By using specific calculations this information can tell one how much carbon each tree is sequestering — the task force thought that would be cool information.

1024151603e

The walk-through revealed that, of the old trees in the Great Meadow – a total of about 70 trees – many, if not most, are close to or exceed 100 feet in height. The largest tree has a circumference of 15 feet – but many other trees are very nearly as big around. Canopy was the most variable component measured, with trees standing in isolation having larger canopy spreads than trees growing in the proximity of an oak grouping. And Dr. Roberts estimated the various ages age of the trees as around 150 to 200 years old, which fit with their known history. He said that the trees in The Great Meadow are largely in good health, and what a pleasure it was to visit such a collection of healthy old growth trees.

All of this information is in the process of being brought together in a spreadsheet. It will be used to seek funds for the necessary maintenance of these valuable trees in their unique and iconic savannah environment, and also for the planting of new trees so that the oak savannahs of Forest Hill Park remain the inspiration of exclamations like : “It’s a jewel!”

Note: ECPA is hoping to get Dr. Robert back for a return visit to study the diseases and/or pests affecting the trees in The Meadow Vista.

Note : To learn more about ECPA and Forest Hill Park go to ecpaohio.org

How to Measure the Height of a Tree (without climbing it).

You will need a stiff equilateral triangle with a drinking straw taped to one side of it which you will use to look through, and a 100 foot measuring tape. You will need two people. One person will stand at the trunk of the tree holding the zero end of the tape. The other person will walk away from the tree spooling out the tape. When she gets out to what she thinks is the tree’s height, she will stop, take the triangle, and at eye level, line the horizontal bottom of the triangle parallel to the ground and the vertical side of the triangle parallel to the trunk of the tree. Looking through the straw, she will look for the top of the tree. When she can see where the tree leaves touch the sky, she will note the distance on the measuring tape (she may have to move and try this several times). The height of the tree is the distance measured on the tape plus her height at eye level added to it.     This is fun to do.


Book Review of “Gardening in a Post-Wild World” by Thomas Rainer and Claudia West

A Book Review by Evelyn Hadden of Garden Rant; reposted by with permission from Evelyn Hadden

Big Ahas from Planting in a Post-Wild World

PostWild2

Their primary audience may be other designers, but Thomas Rainer and Claudia West’s Planting in a Post-Wild World (Timber Press, 2016) offers many take-aways for regular gardeners too. The book outlines how to design and maintain an ecological landscape, and does so in beautifully clear, fluid language that is easy to read and absorb.

The first few pages had me reaching for my notebook to jot down phrases from the book and ideas it sparked for my own garden. Even better, Rainer and West pointed out gaps in my own way of designing. My biggest aha was their concept of “design layers.”

“The good news is that it is entirely possible to design plantings that look and function more like they do in the wild: more robust, more diverse, and more visually harmonious, with less maintenance. The solution lies in understanding plantings as communities of compatible species that cover the ground in interlocking layers.” — page 17

I was used to thinking in terms of vertical layers of plants that physically occupy different niches; this frankly produces landscapes that are ecologically functional and diverse but not necessarily beautiful to those who don’t understand ecology. What makes them beautiful is their robust health and the life they support; visual impact is strictly a secondary consideration.

But Rainer and West present a powerful set of tools for adding aesthetic oomph while maximizing ecological function. They advise viewing a landscape in terms of four different layers (really, roles) that can be focused on individually while designing, and also while determining ongoing maintenance strategies.

Structural Layer: most powerful year-round key parts of a design. These should be retained through the years, replaced if needed, and kept clearly defined as they form the backbone on which the rest of the design hangs.

Seasonal Layer: waves of color and/or texture provided by each season’s visually dominant “design” plants. These are maintained by treating them en masse, thinning or spreading as necessary.

Groundcover Layer: provides the main diversity of the planting and therefore most of the ecological function. This layer does not contribute noticeably to the aesthetic design, except as a living mulch. Manage it by retaining and augmenting diversity as much as possible to maximize its functionality and the health of all the plants in the landscape.

Gap Fillers: self-sowing plants distributed regularly through the planting and encouraged to set seed. This builds up a seed bank of desirable plants which will ideally sprout to fill any gaps that occur.

I love how the authors separate the main aesthetic contributors (the first two layers) from the main ecological contributors (the last two). That makes it much easier to create a landscape that is strong in both beauty and functionality.

For a gardener unfamiliar with ecology (the science of how nature works), this book is a great primer. Sample insights include:

  • Plants fare better in communities.

    “When plants are paired with compatible species, the aesthetic and functional benefits are multiplied, and plants are overall healthier.” — page 47

  • Rational guidelines for moving past the natives-only debate.

    “… place the emphasis on a plant’s ecological performance, not its country of origin… The combination of adapted exotics and regionally native species can expand the designer’s options and even expand ecological function.” — page 42

  • Work with each unique site.

    “For designers interested in creating communities with a rich sense of place, the first step is simple: accept the environmental constraints of a site. Do not go to great effort and cost to make soil richer, eliminate shade, or provide irrigation. Instead, embrace a more limited palette of plants that will tolerate and thrive in these conditions.” — page 47

  • Rather than creating generic “ideal conditions” (by bringing in soil or amendments), rely on plants to gradually improve a site.

    “Hundreds of thousands of root channels will heal and rebuild even highly disturbed and compacted soils over time, and enrich low-lying soil horizons with organic matter. The more roots, the more quickly a soil is restored. In order to get as many roots in the ground as possible, plant as densely as possible and use a diversity of root morphologies to interact with the soil at different levels.” — page 194

  • Cover the ground with plants.

    “Plant ground covers wherever there is space for them: under trees, shrubs, and taller perennials. Fill all gaps between taller plants… Use them like you would mulch.” — page 180

The authors move from details to big-picture with ease. They advise starting each design with a “vision” patterned after a natural landscape (or archetype) such as woodland or meadow. This concept is dear to my heart, and I would like to see it treated in more detail  beyond the few basic archetypes mentioned in this guide. Some of the most affecting landscapes I’ve encountered were created by designers who were intimately familiar with regional ecosystems in their many variations, and were able to use them as inspiration.

Another important point brought home by the book is that a designed landscape — to stay functional and beautiful — needs thoughtful management as well as ongoing attention to its design. An installation followed by generic maintenance strategies will not preserve aesthetics or ecology. This aha combines that beloved old adage “a garden is never finished” with Abraham Maslow’s astute observation that “if you only have a hammer, it is tempting to treat every problem as a nail.”

“Because communities are dynamic, managing them is a creative process… Designers must be part of a planting’s life as regular and ongoing consultants.” — p. 221

Let us hope the well-defined and highly desirable steps laid out by Rainer and West help to hasten the end of the modern “mow-and-blow” approach to landscape management, in which we routinely cut down, poison, or prune plants without regard for their growth habits or their web of connections, applaud sterility and unpalatability, and kill off the majority while pampering the chosen few. Let us follow Planting in a Post-Wild World into a future where humans respectfully manage landscapes for our comfort, our quality of life, and our very existence, while acknowledging (in our treatment of them) the inherent value of these living communities.

Posted by on July 20, 2016 at 1:27 pm, in the category Books, CRRRI

A Song of Gentle Extirpation (Chasmanthium)

by Elsa Johnson

Some plants that you invite to your garden                                       

can never over-stay ‘welcome’                                                    even

when they overstep                                   Sea oats aren’t like that : 

they spread      take up space      crowd      sprawl like their name

sprawls on a page                      and                            given a year or   

two            they inundate                drown out phlox                 lilies

agastache                   the plants we love                 that beacon

butterflies                    and all kinds of bees                        Our eyes

need spaces          to pause          to rest          to breathe            Air   

that seems to hold nothing                  holds our eyes            which       

land         dry off their wings                                    then fly on again                       

This grass              that works to bind beach dunes                stilling 

sand against the surge                         works wrongly in my garden   

  •   graceful though it be when the soft winds  stir